Ok, quite a bit happened before i remembered to start taking pics. This is a frame from a 20' 1978 coachman. I liked that because they weren't as cheap with the metal thickness.
I painted the entire frame, top and bottom with Rustoleum Black undercoating, rust-resistant, rubberized paint on the bottom, and Krylon Black rust protector on the top. I then bought a large sheet of pond liner and laid it across the frame from front to back. I glued it to wood panelling (1/8" thick) so that it would hold tight until I added the 2x8s and 2x4s. That way it has a nice thick barrier and it wouldn't sag.
You can see the pond liner at the bottom of the first few pics.
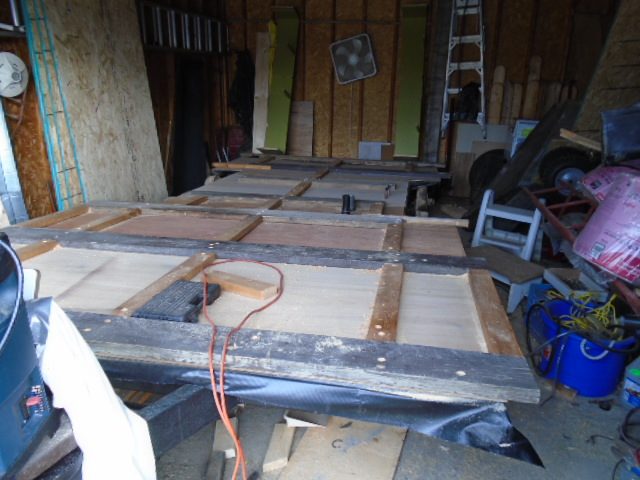
The 2x8s, and 2x4s were mounted to the frame with #8 and #10 self tapping screws through the wood right onto the metal frame. I used older 2x8s that i had because they were much stronger than the stuff they sell at Home Depot now.
I had to first predrill to get a hole in the frame. It is very tough metal. I mounted the 2x8s onto every frame crosspeice approximately to extend the width from 7' 6" to 8'6" to have a wider floor area. I then secured 2x4s along all metal linear cross pieces AND secured them to the 2x8s. Once i framed the entire floor by screwing 2x4s around the perimeter i would have a very secure floor to bear the distributed weight of walls.
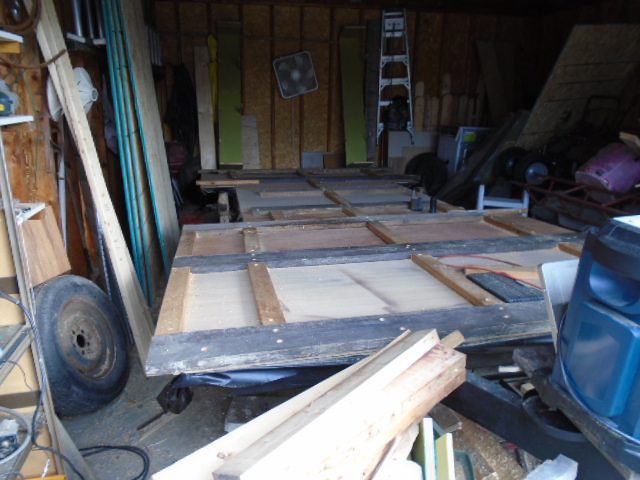
The green boxes are from hardwood cabinetry. I wanted to make strong covers for the wheel wells and avoid too much space wasting. These pieces allowed for great clearance and were the right shape.
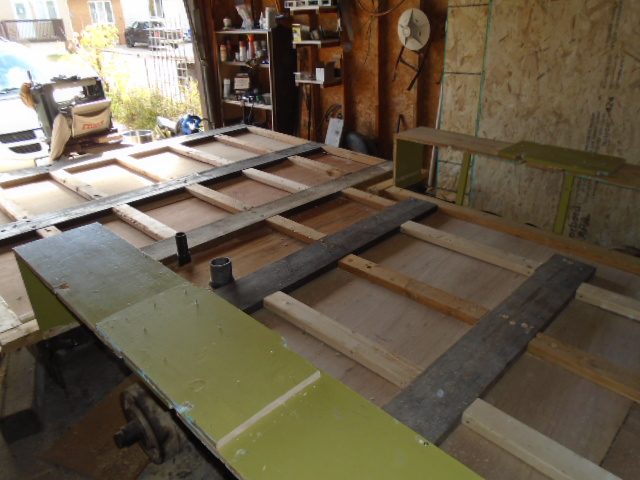
I would later frame them with 2x4s to reinforce them. Insulation and vapour barrier is coming.
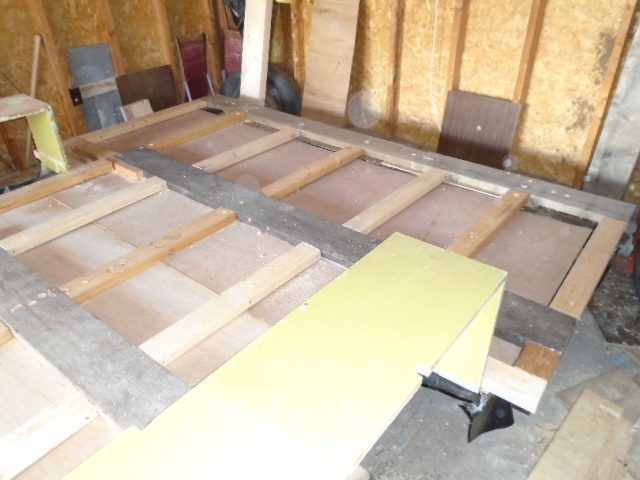
I added remnants of the pond liner to the wheel wells. You can also see near the right wheel well where the drain and venting, the ABS pipe, comes through from the waste bin under the frame. There is the 4" drain, and a 2" vent.
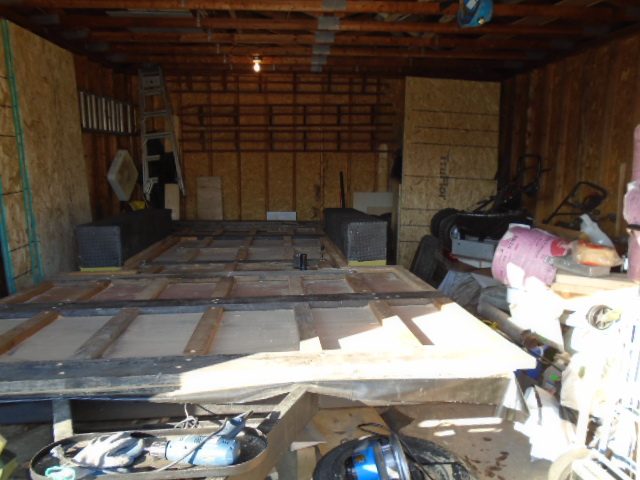
You will see there are many 2x4s between each 2x8, i placed them 16" on center. Once the subfloor goes on, (3/4" OSB) it will be well supported.
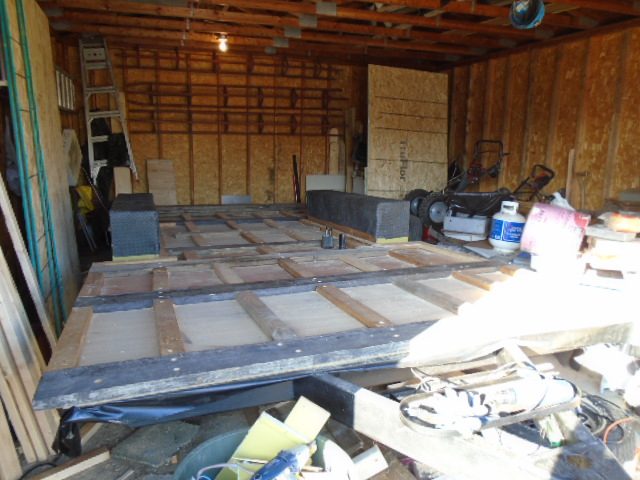
Here comes the insulation. It's R14. There was really no point in going thicker because it is going to be compressed by the subfloor and also be sandwiched between the 2x8 exterior mounted beams and the 2x4 perimeter frame.
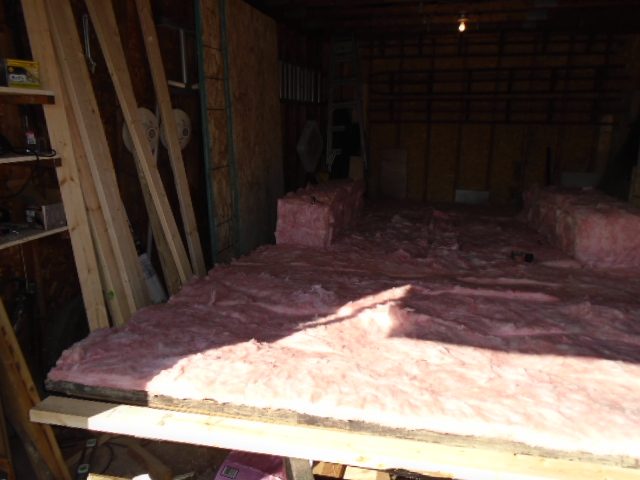
Every square inch is covered, with the exception of the allowance of the ABS drain andvent to poke through, and also 2 propane fittings (will be shown later).
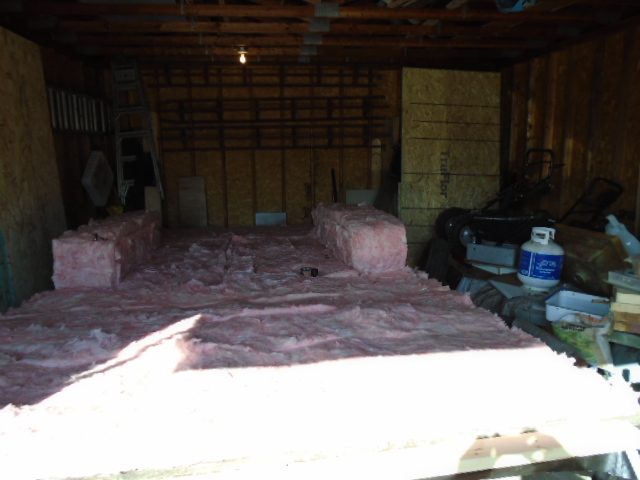
This is 15 mil heavy gauge vapour barrier. It covers everything, it will then be attached to the perimeter 2x4s and pinched with the second row that becomes the bottom plate for the walls.
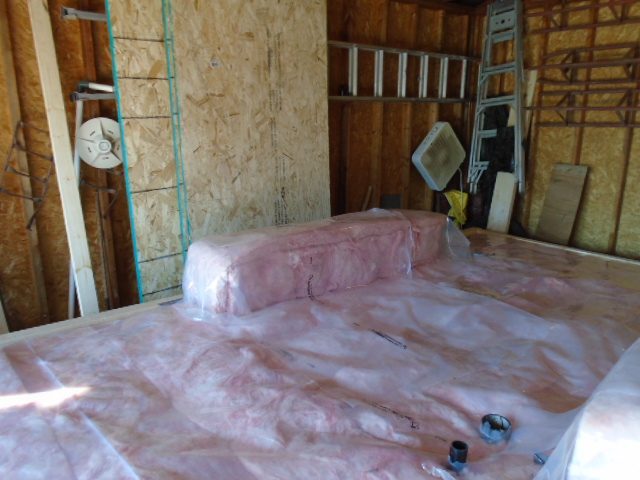
Note: along the outside walls on each side of the wheel wells the 2x4s going along the perimeter were offset appx. 3/8" to allow a full 4'x8' sheet of 3/4" OSB tongue and groove sheet to have support at both ends. It wasn't needed at the front and back as they were resting on 2x8s.
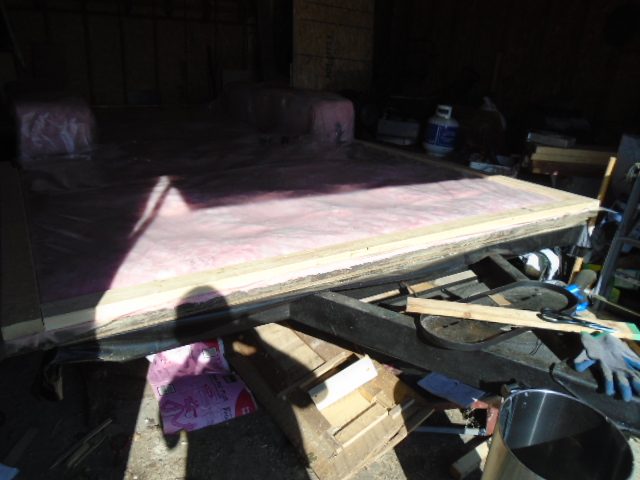
Perimeter is almost complete here. It gets a bit tricky since the wheel wells are recessed a bit. So I built a transition to go from the outside row of 2x4s, then up and over the wheel wells. I intend to line the outside of the wheel wells with pond liner, but it hasn't been done yet.
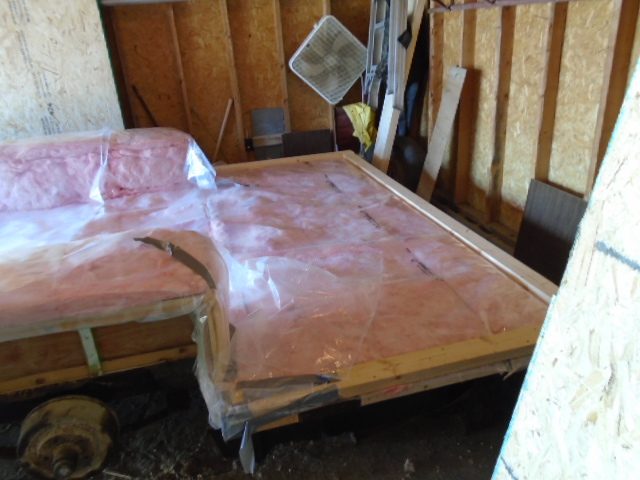
Now the 3/4" OSB floor can be put down and be secured. This was my intention: to have rooms on the inside that are a full 8 feet wide.
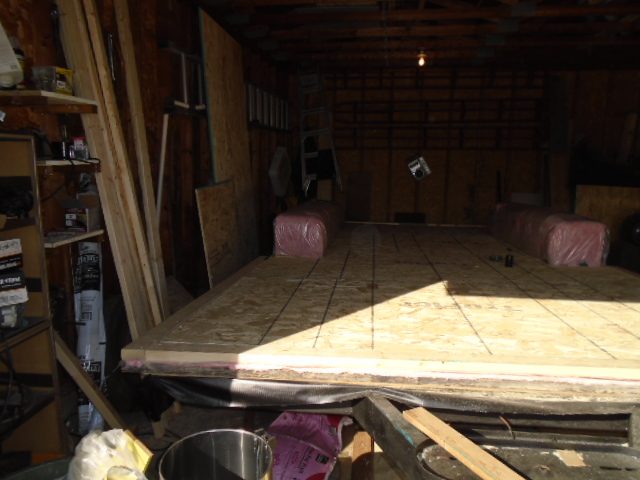
Front to back, subfloor looks good. You can clearly see the liquid waste drain and vent, and then very close to the wheel wells (so that the propane supply is in the walls) are the 2 propane fittings. Note i have a 50 foot roll of copper propane piping. And some flared fittings.
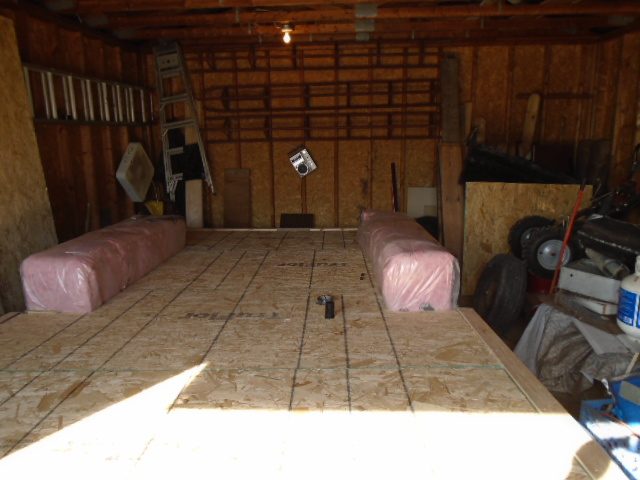
Once the wall framing and exterior 1/2" OSB plywood walls are added, the pond liner was then stapled up the wall. That way, there is a total barrier between the inside and outside. The vapour barier serves the same purpose.
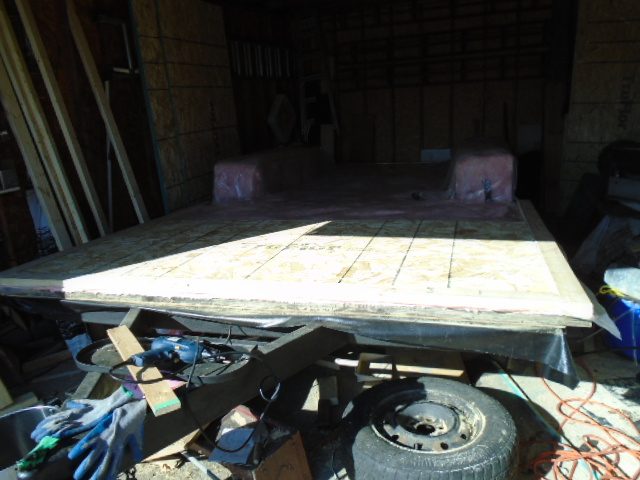
Ok, a bit of a jump ahead, we have framed up the walls and added the 1/2" exterior OSB plywood. This is the rear of the larger shell. showing the framing that will be cased in for a large window over the wheel well, and a doorway at the very back right corner.
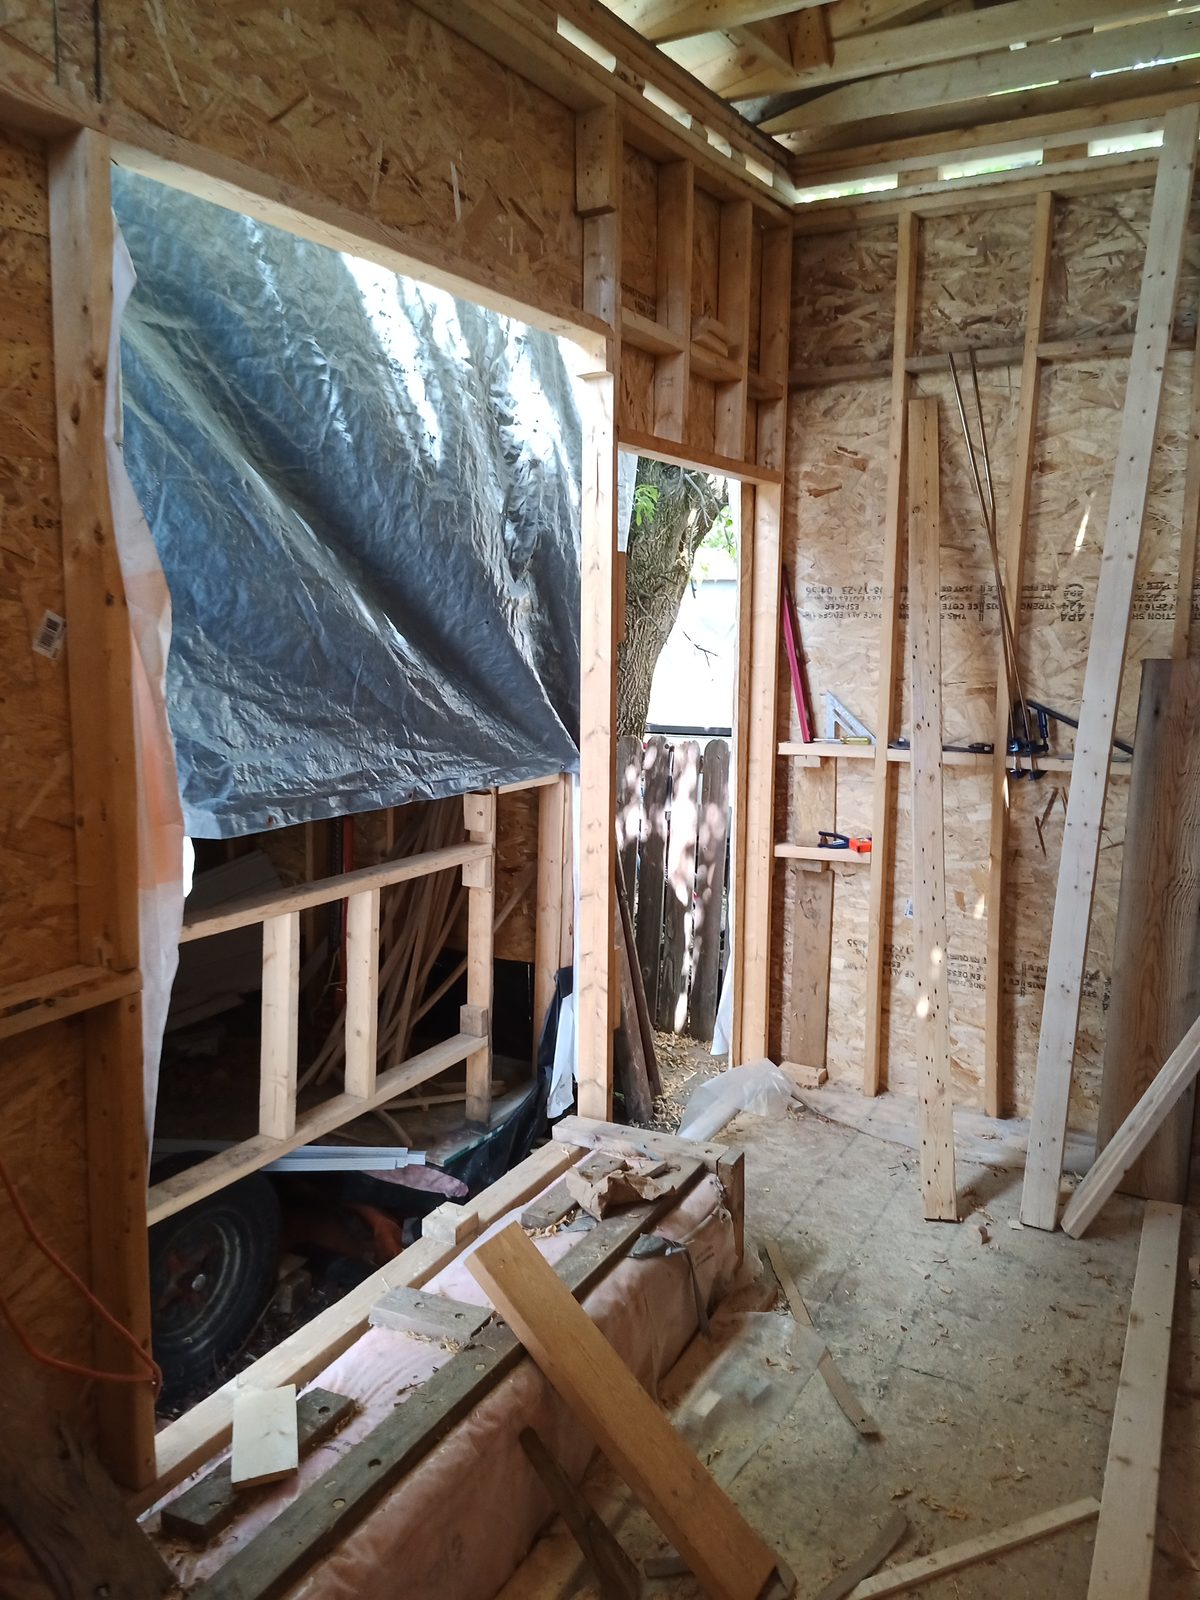
Larger shell, looking toward the rear. The trusses are normal. the ceiling height is a tiny bit less than 10 feet (119"). This will help keep it cool in the summer.
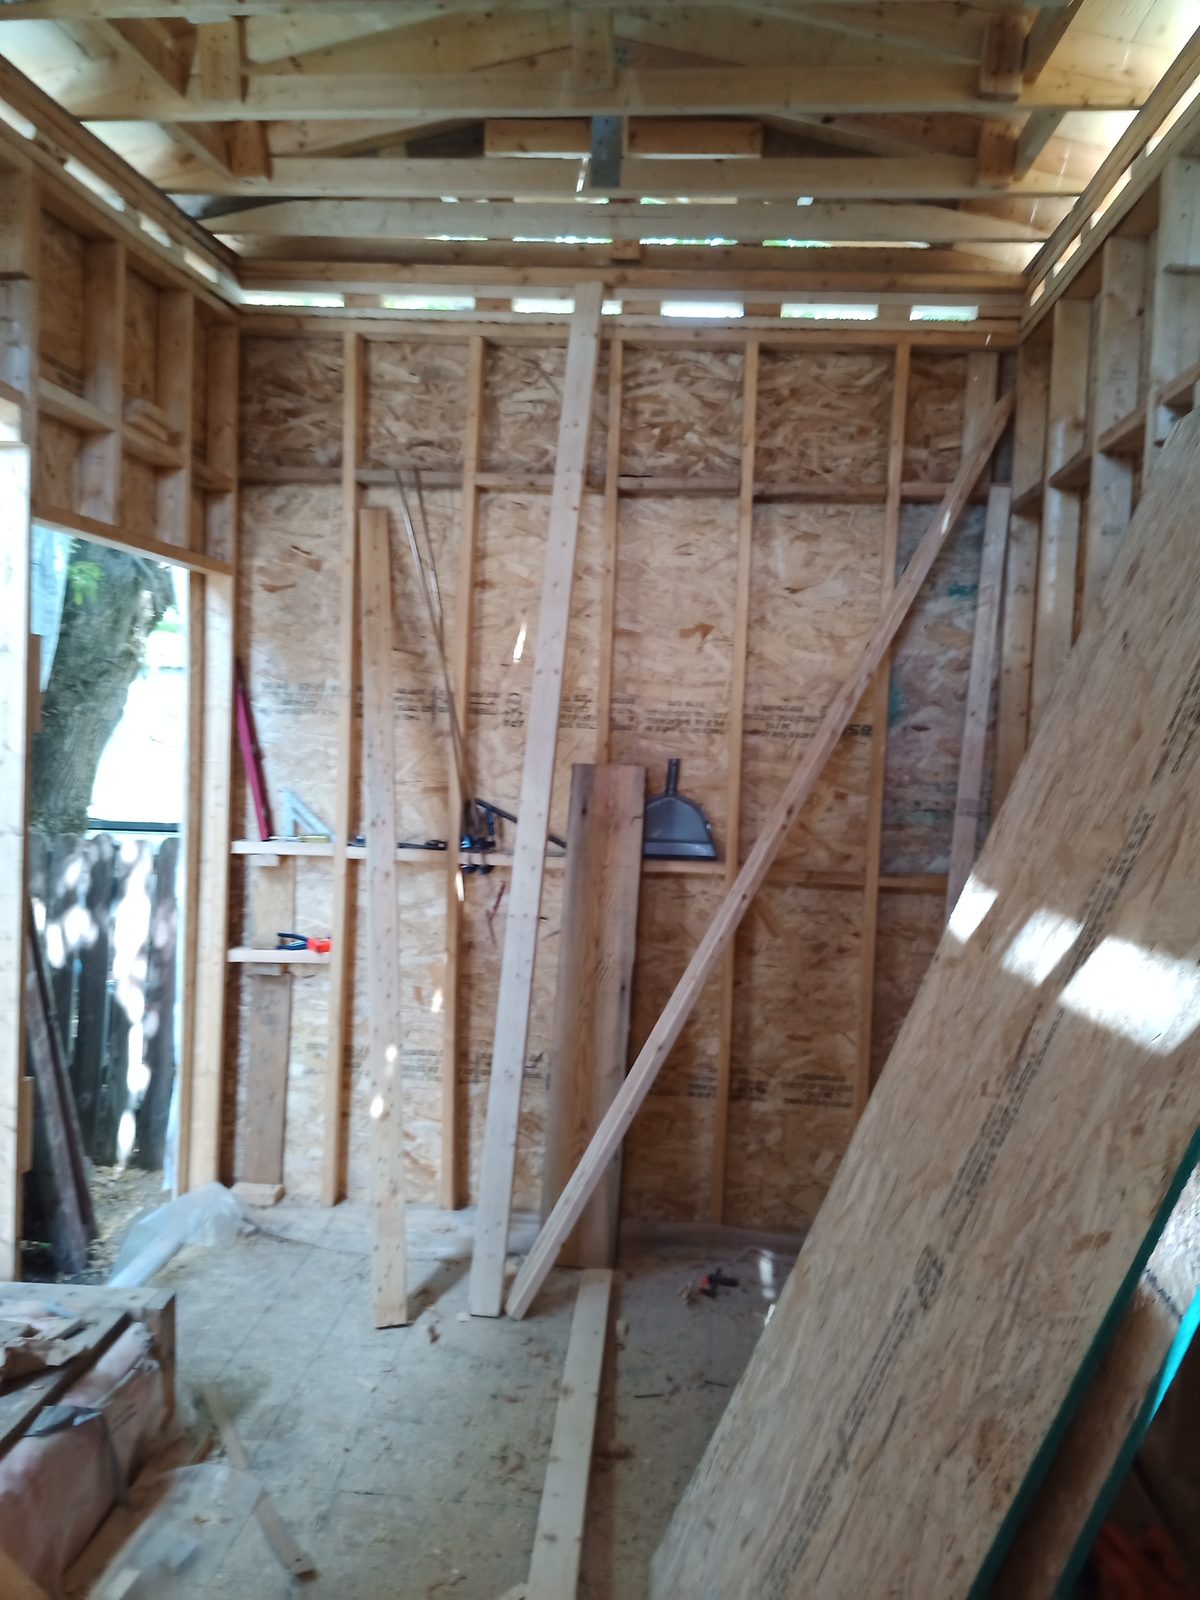
This is the front of the larger shell. Above are the vaulted ceiling trusses to allow for as much clearance as possible. The difference between in height the 4' flat center of the ceiling and where is meets the wall is only about 4.5".
Note: I temporarily added 2x3 strapping to hold everything flush until after the roof was done.
Loft height and code: Building code is that the minimum height for a ceiling below a loft is 6'10". Using double 2x4s for the loft floor... that leaves 40" for the loft height (along the 4' center) and just over 34.5" at the very edge of the loft. I left the loft only partially mounted. If one is not dealing with that particular rule, you can lower the height to 6" and have 4'2" as the height for the loft.
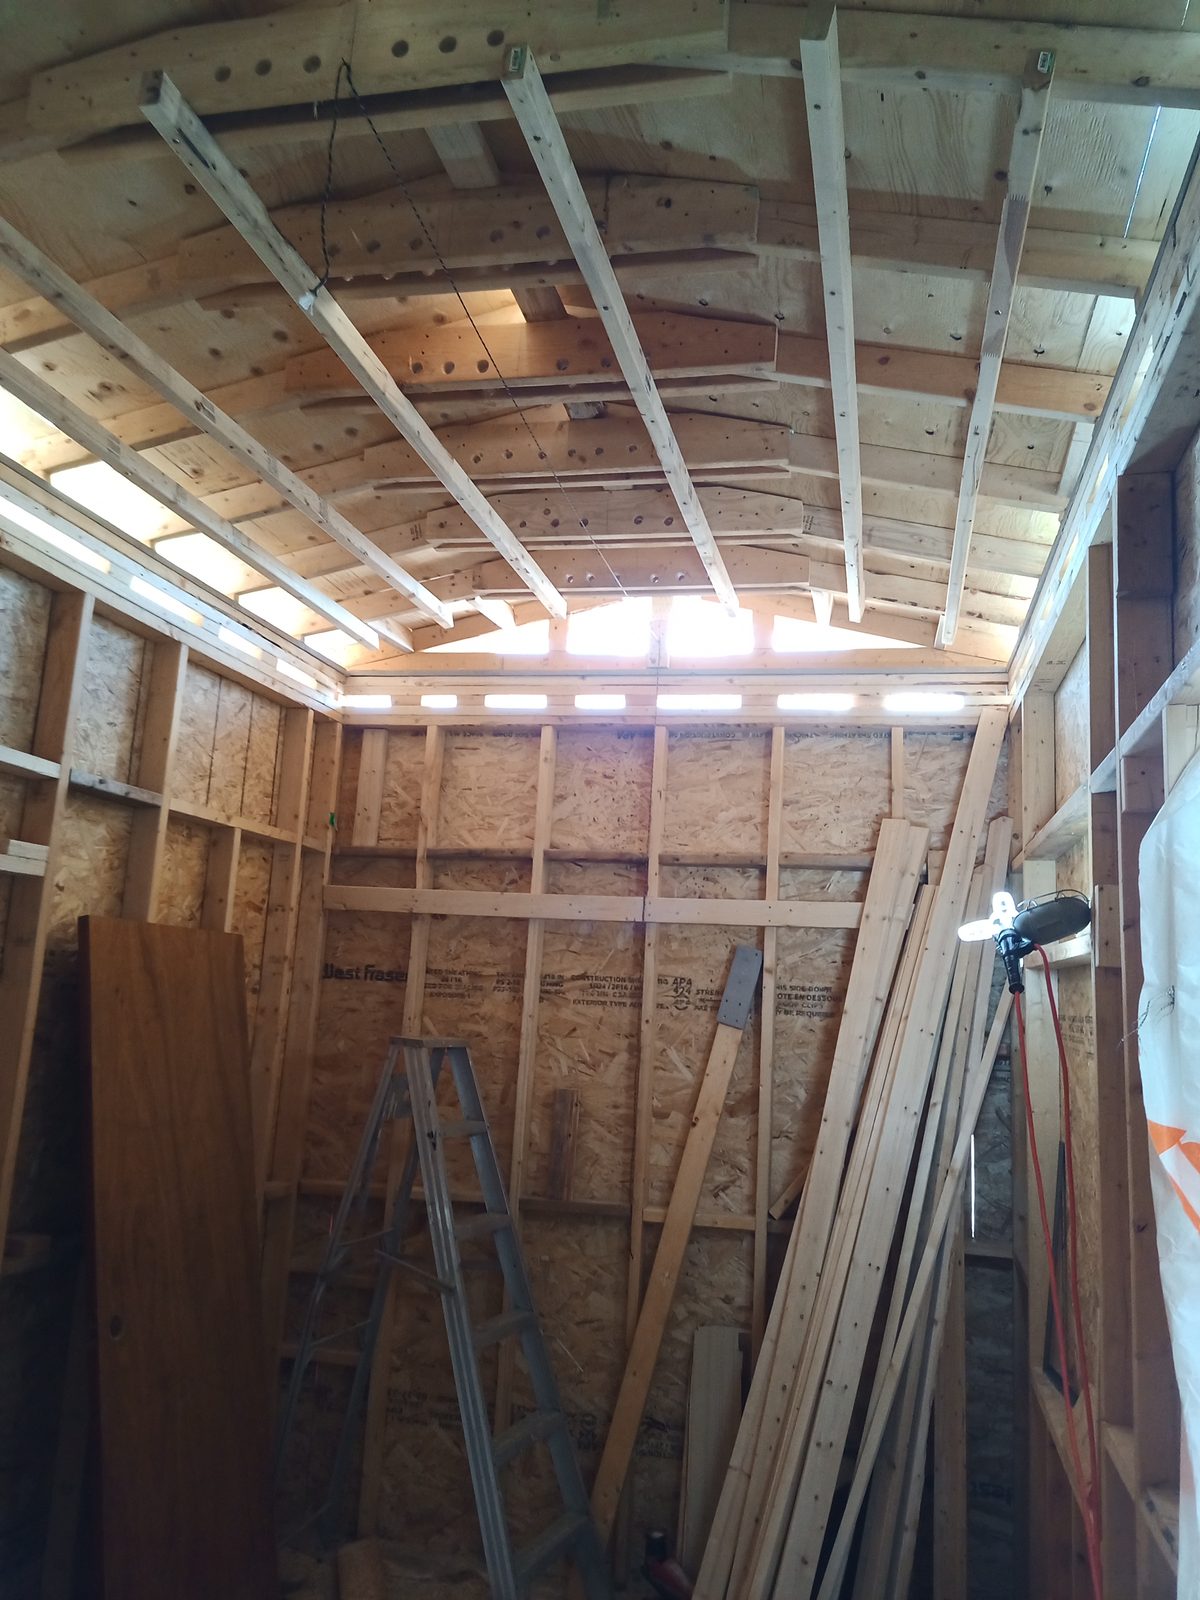
Ok, knowing this shell will have to travel highways, i rechecked the max height (13' 6") allowable for highway transport. You also need to consider the pitching and yawing of a load. I originally had the roof lower, about 12' 10". I decided to change that. I went to 13' 4", which is as high as i wanted to push it. It was a big job to raise the roof. I know i added a lot of weight, but i went for maximum strength.
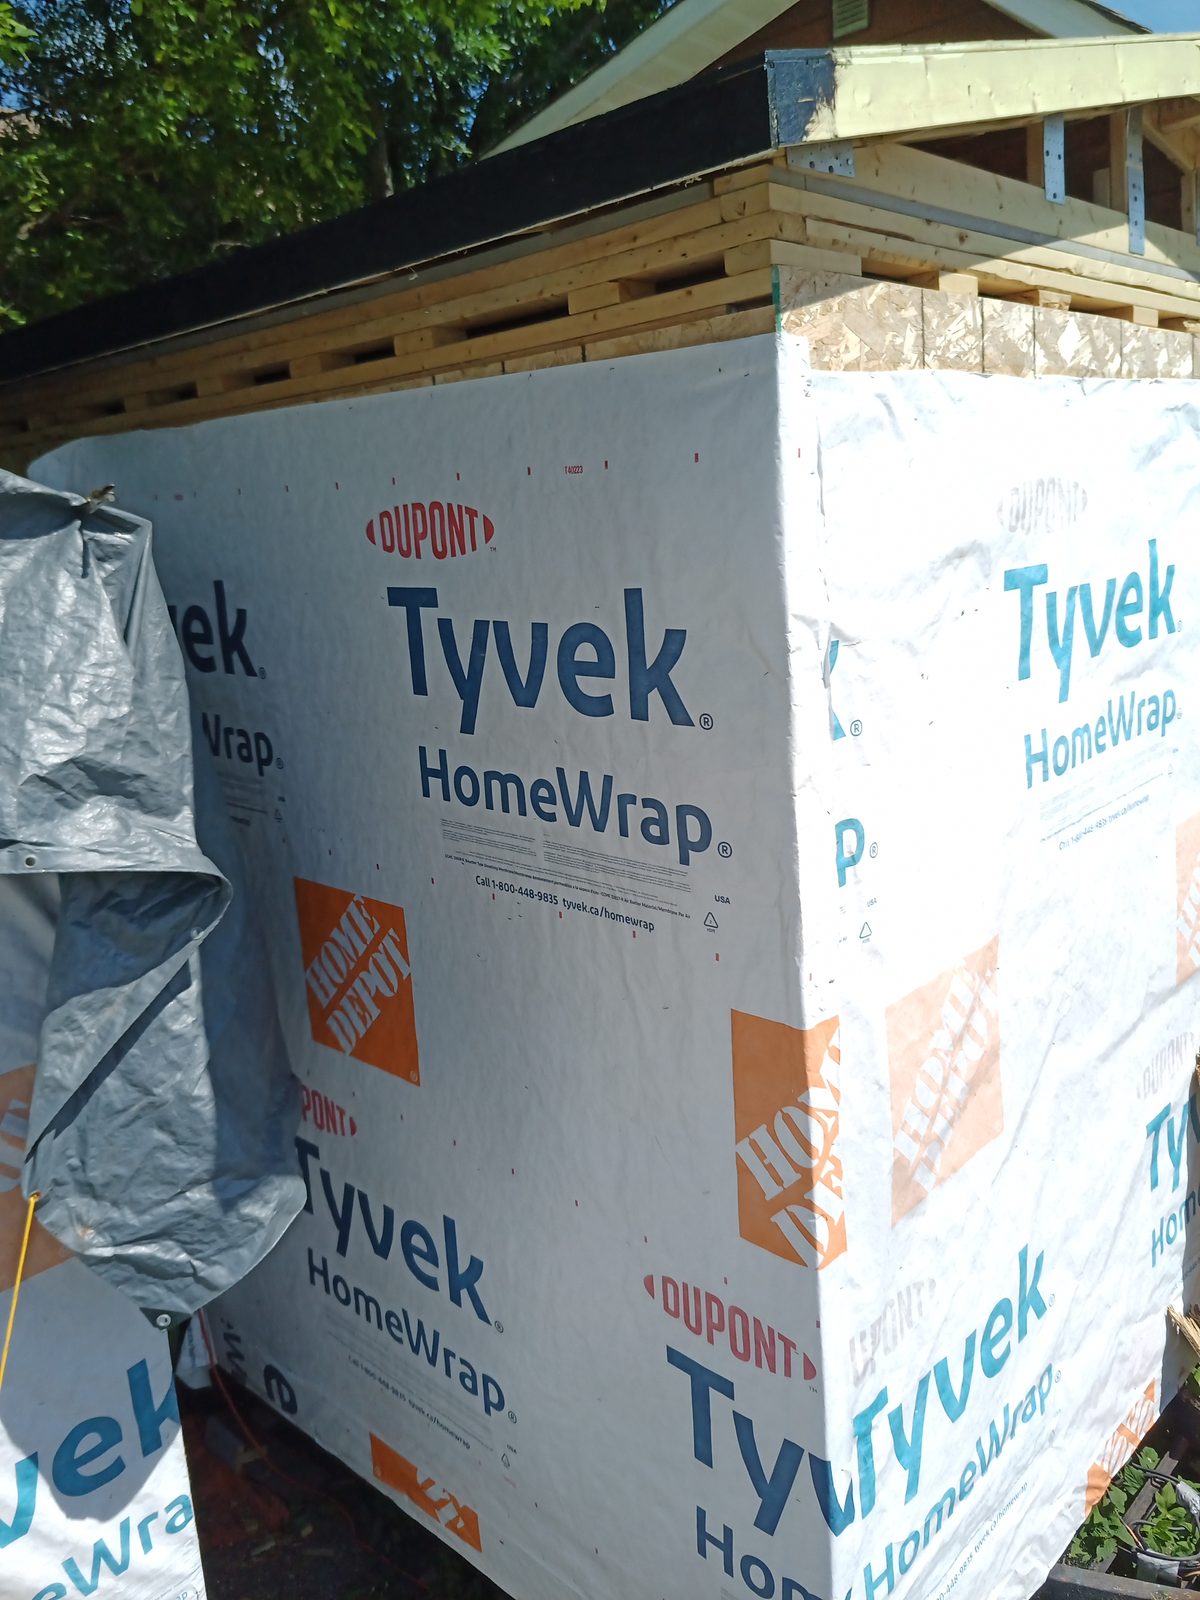
It's more expensive, but you can buy 9 foot long rolls of Tyvek! It saves a lot of time, and just gives you a lot of uninterrupted coverage
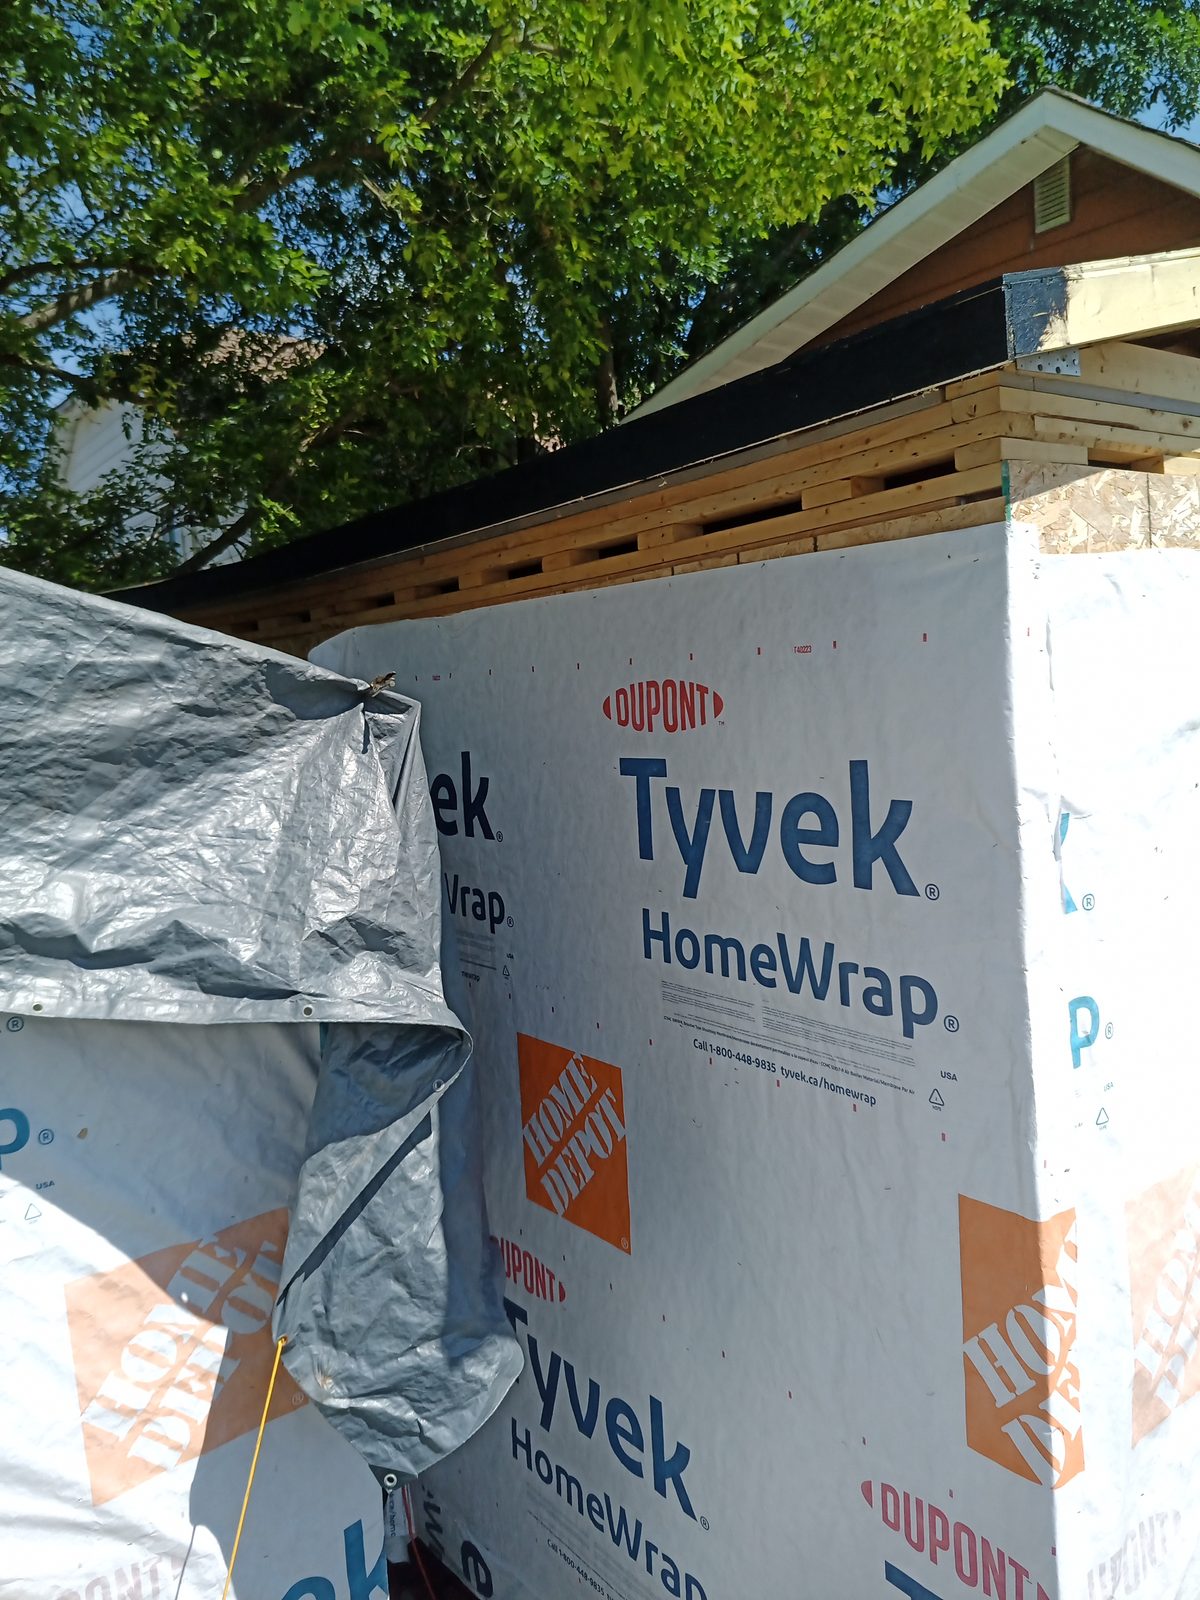
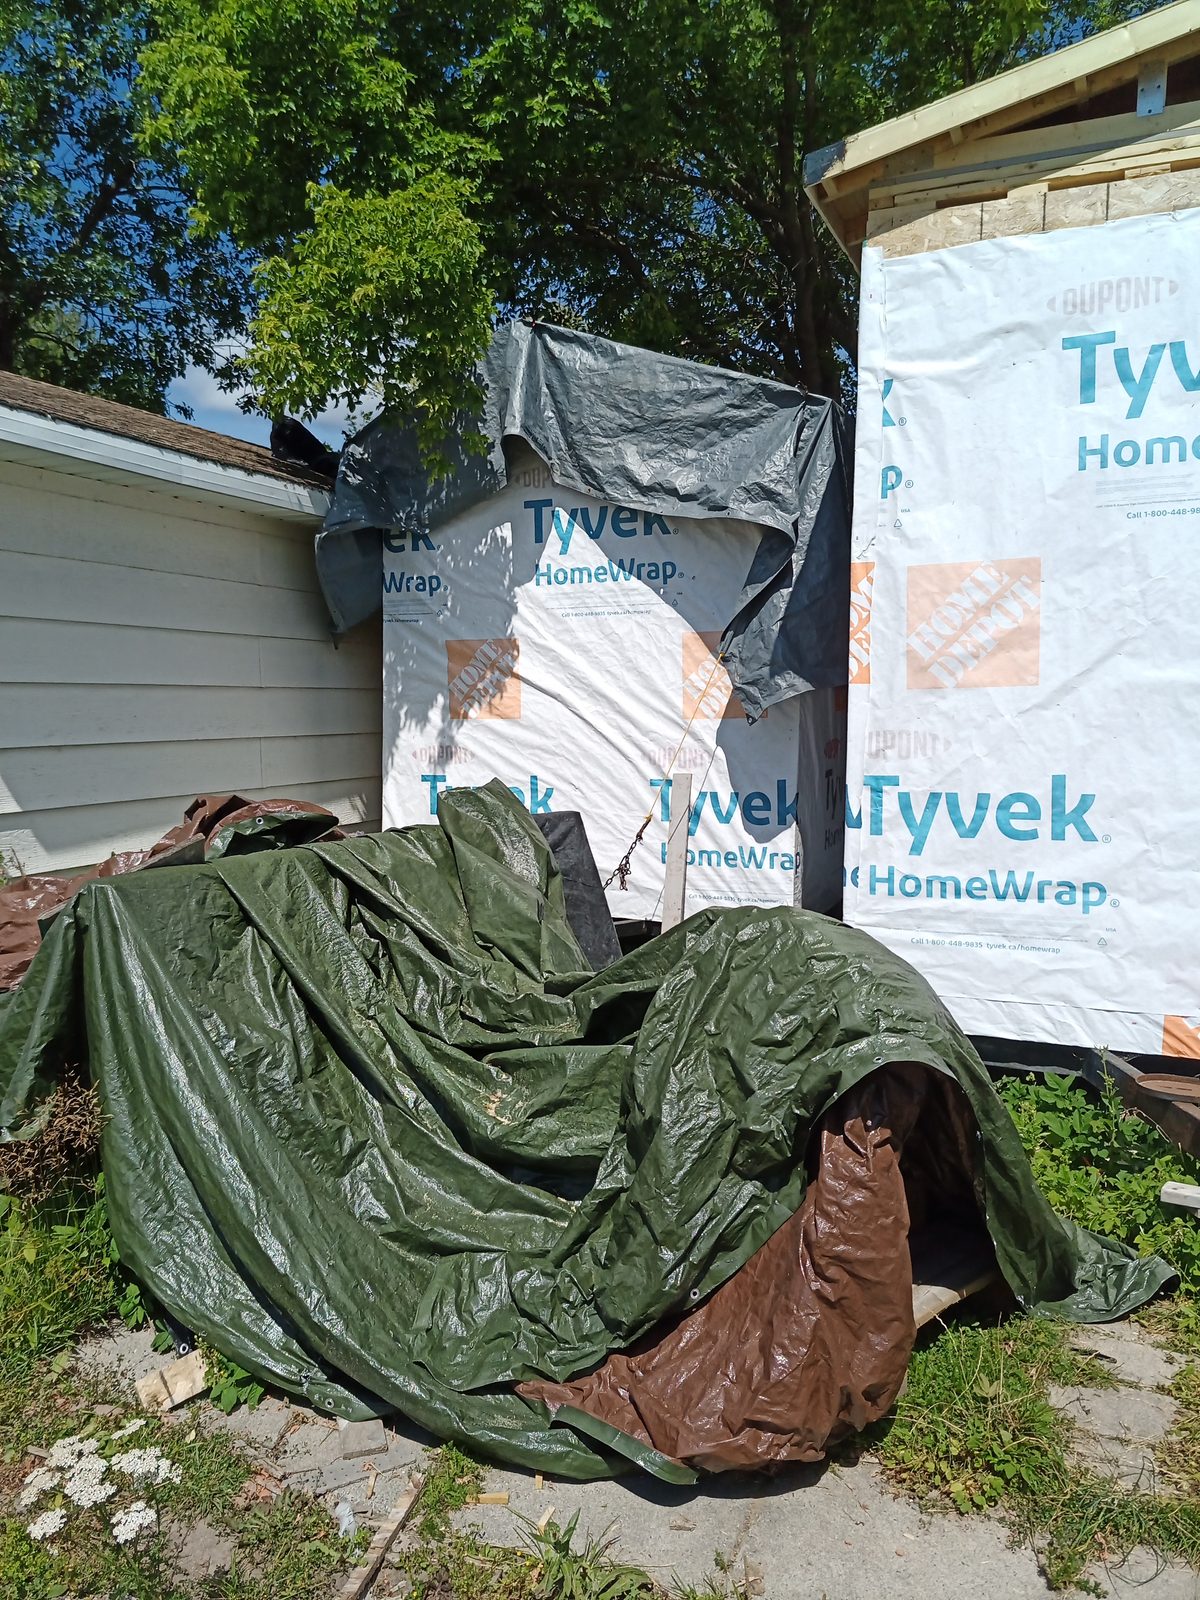
Here on the left, you can see the second shell, more on it to come. Work on it was not complete at the time of this picture.
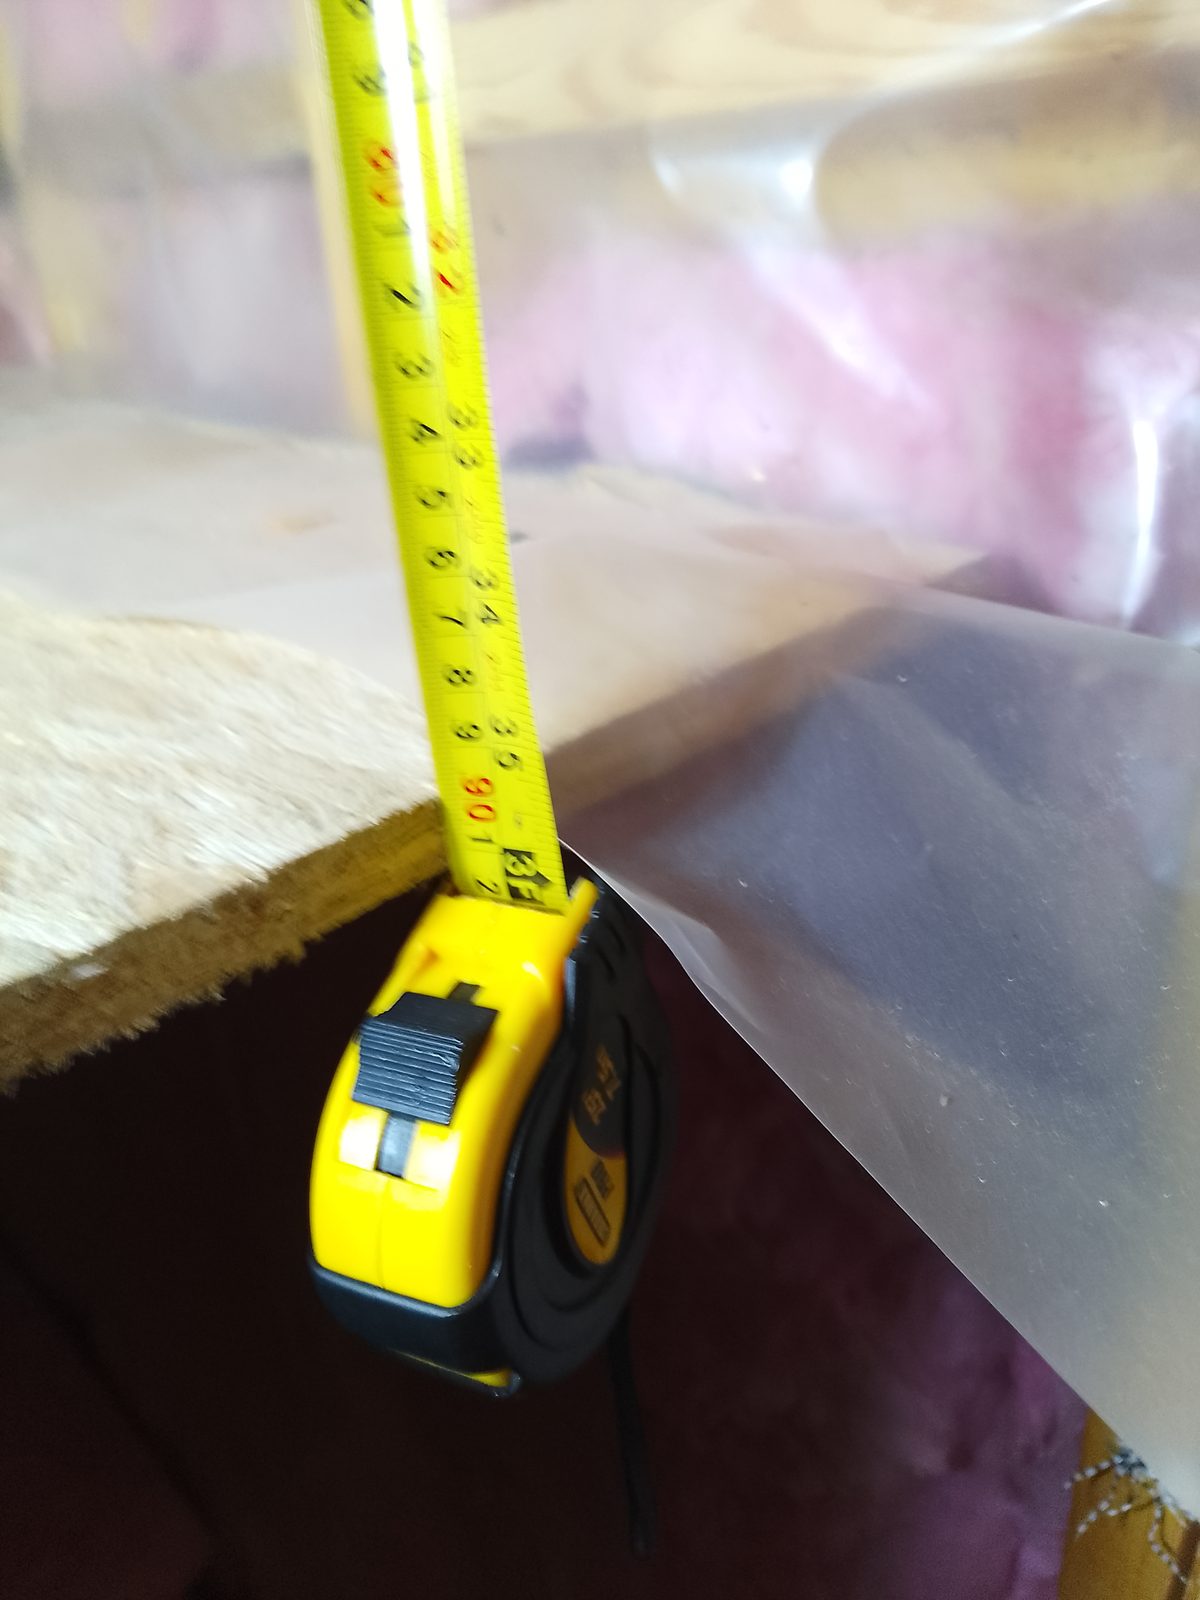
Ok here is the loft. I may be repeating myself, but if you follow code in MY district, the ceiling below the loft must by 6'10" minimum. That meant the loft (using double 2x4s to maximize height) is about 39.5" across the 4' top of the vaulted ceiling, and down 34.5" where it meets the wall.
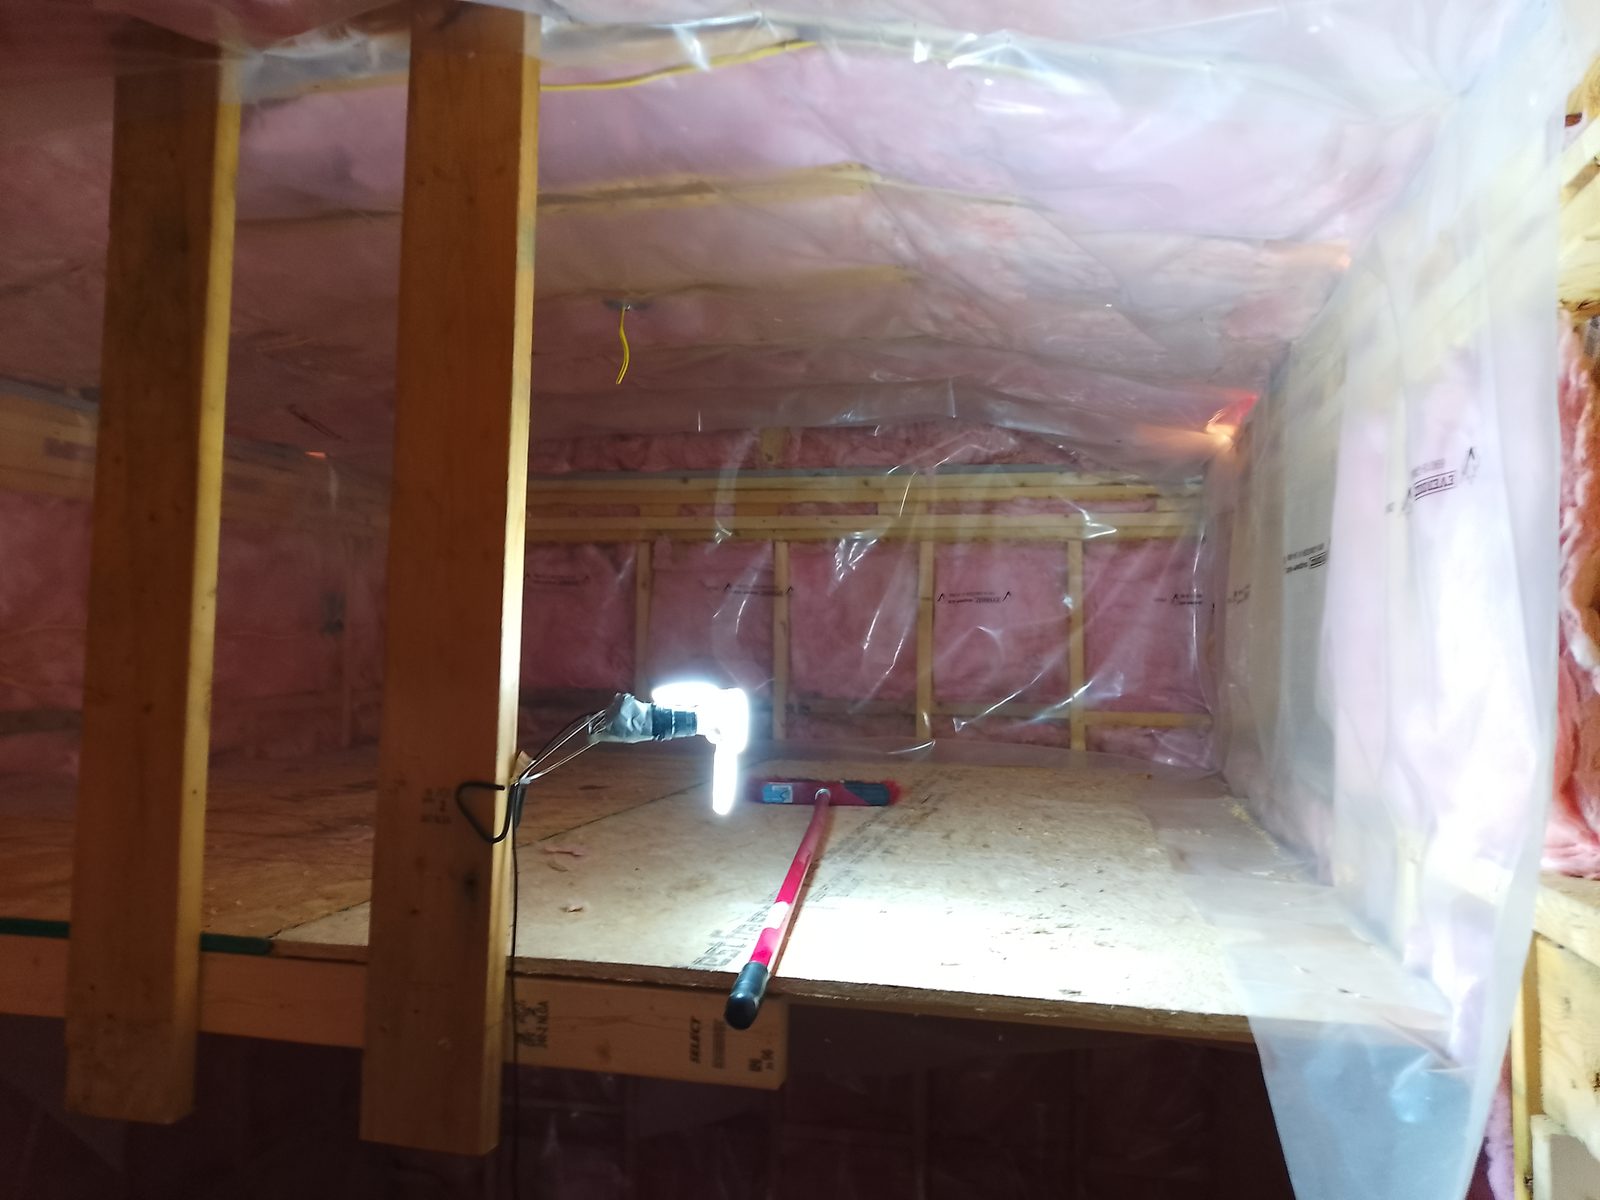
Here is the light. Switch is on the left. There are 2 outlets up here.
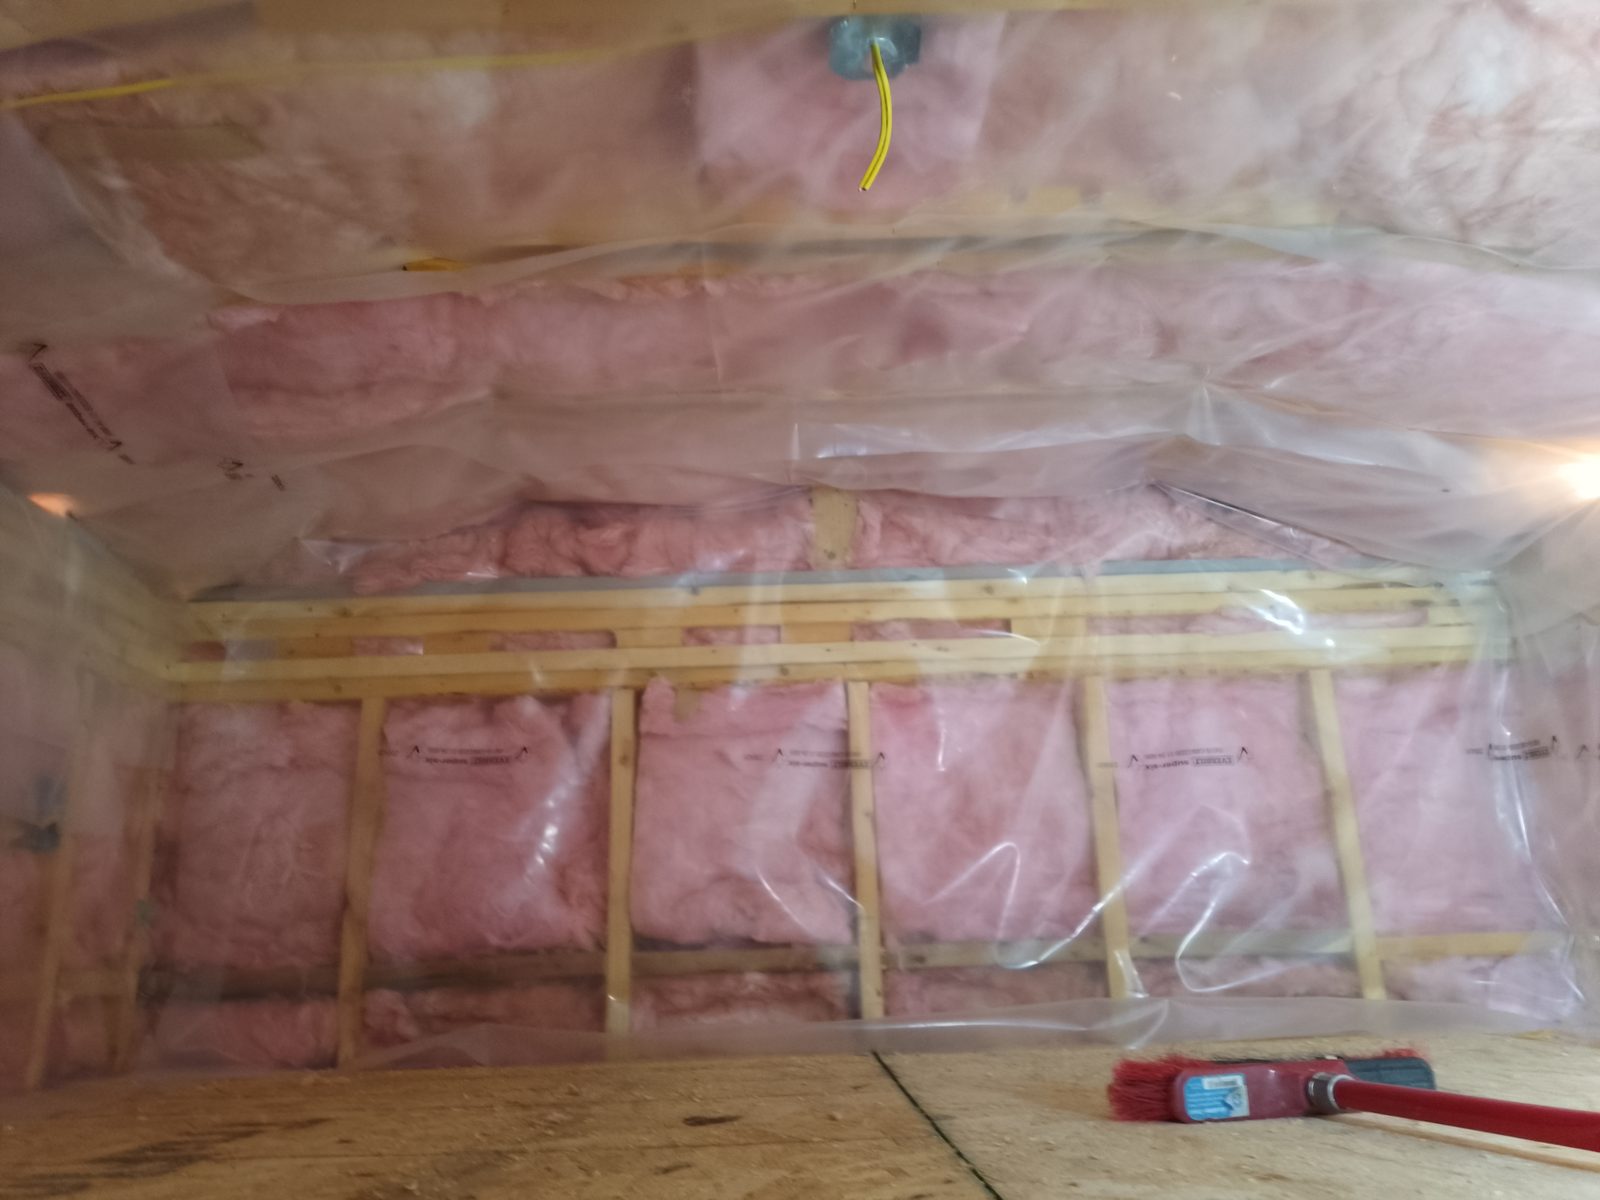
Very hard to hold this and snap a pic at the same time. It's actually 39.5" floor to ceiling here
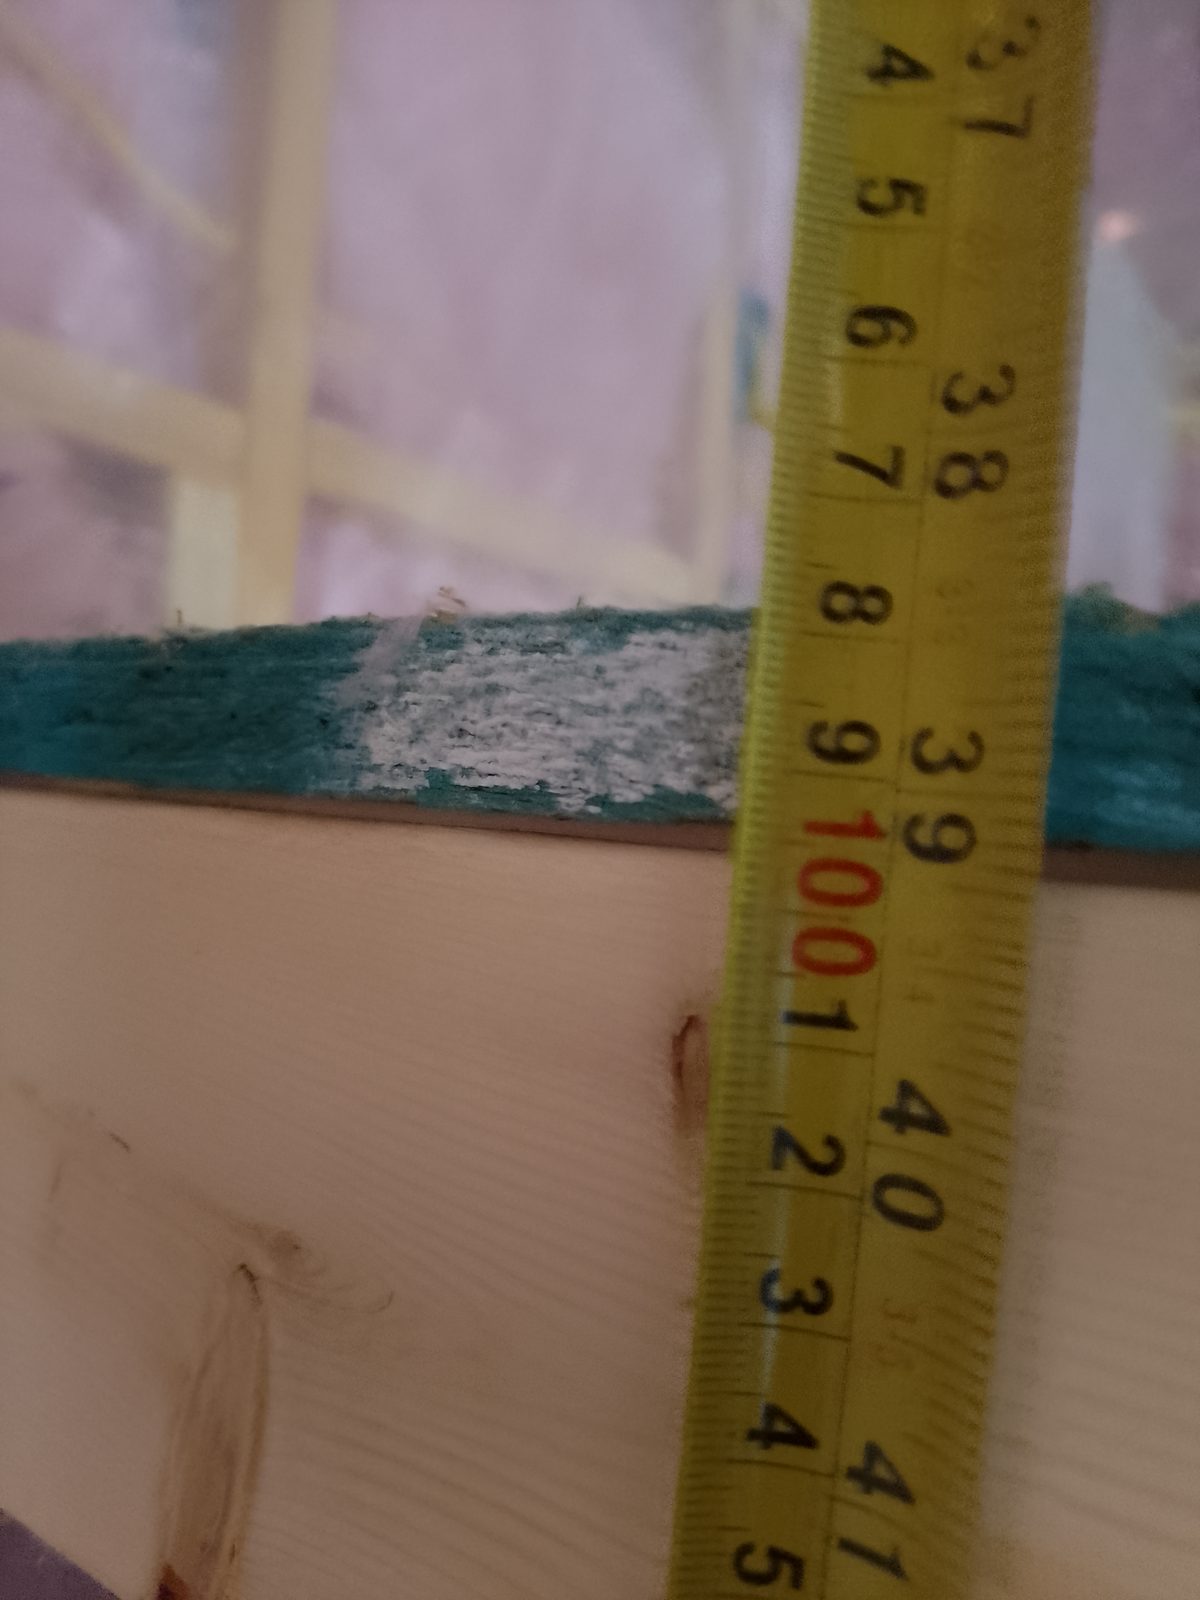
This is not right where it meets the wall, where it will be 34.5"
Casement with cripplers for a good size window. Yes, there is a window for this opening.
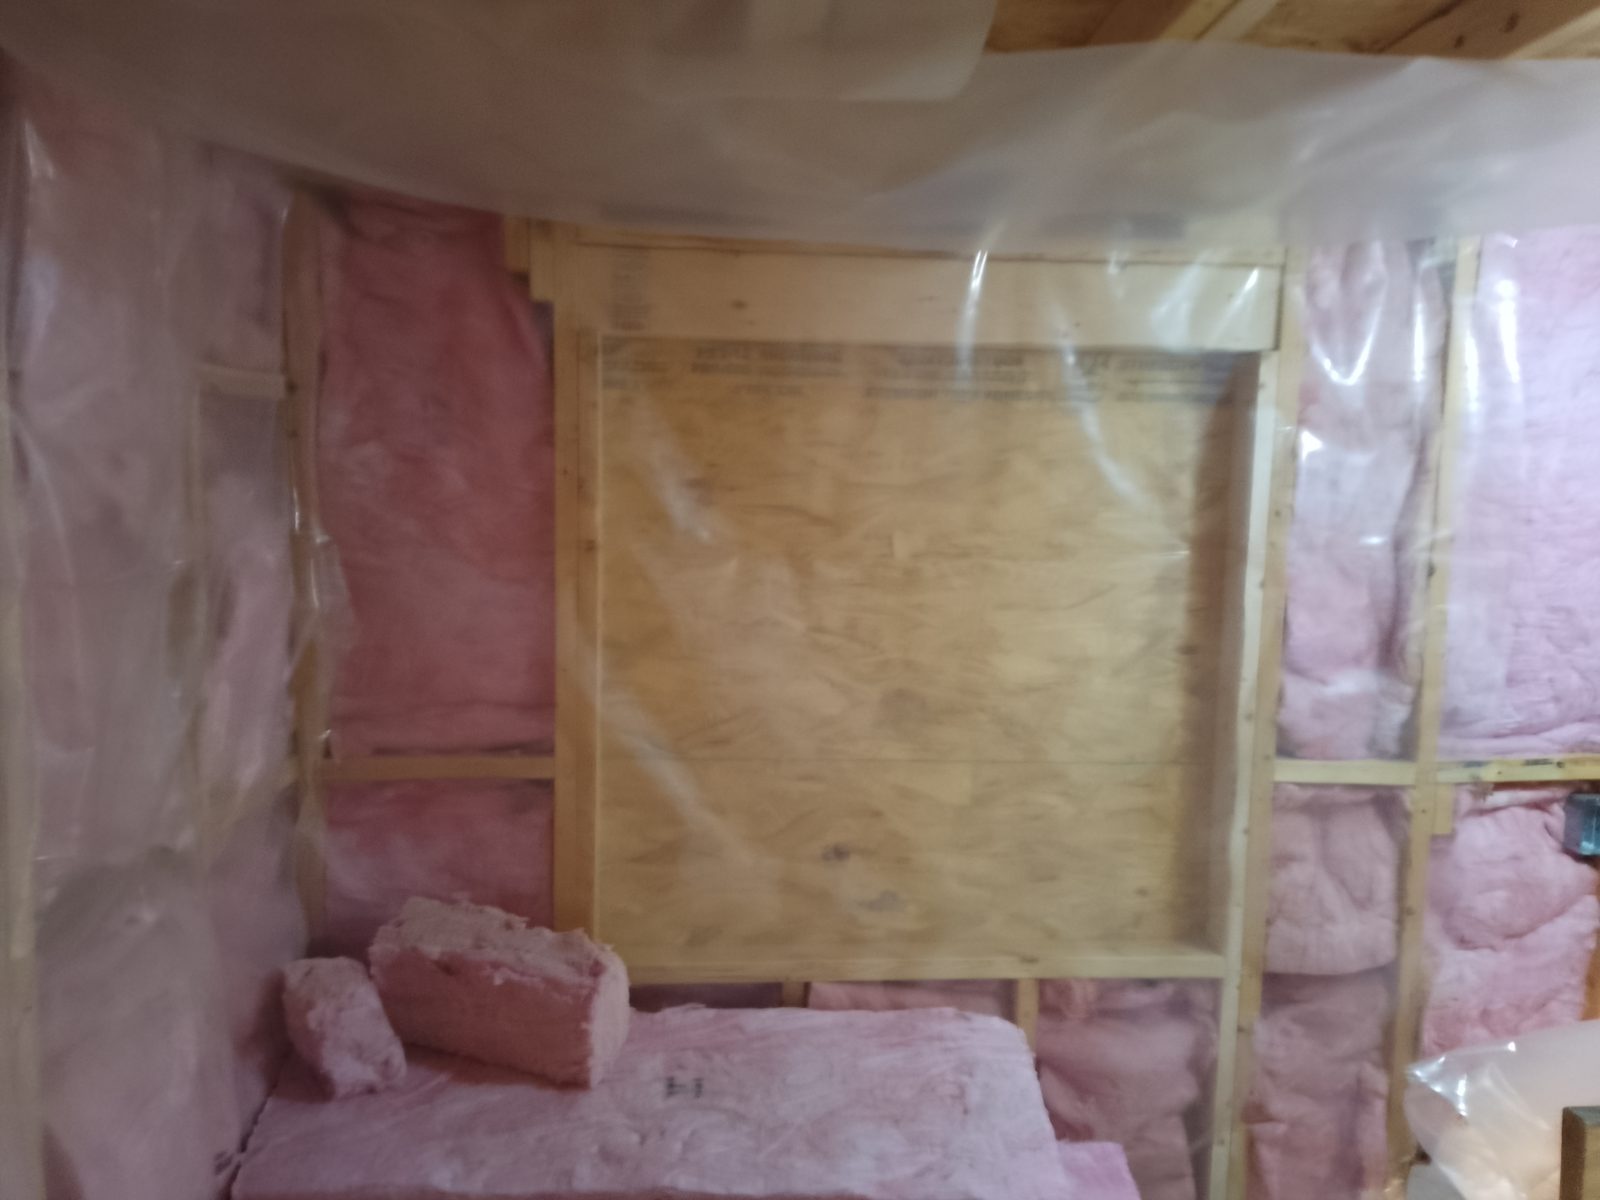
Ceiling light for room below loft. Switch is on the right wall. There are 2 outlets
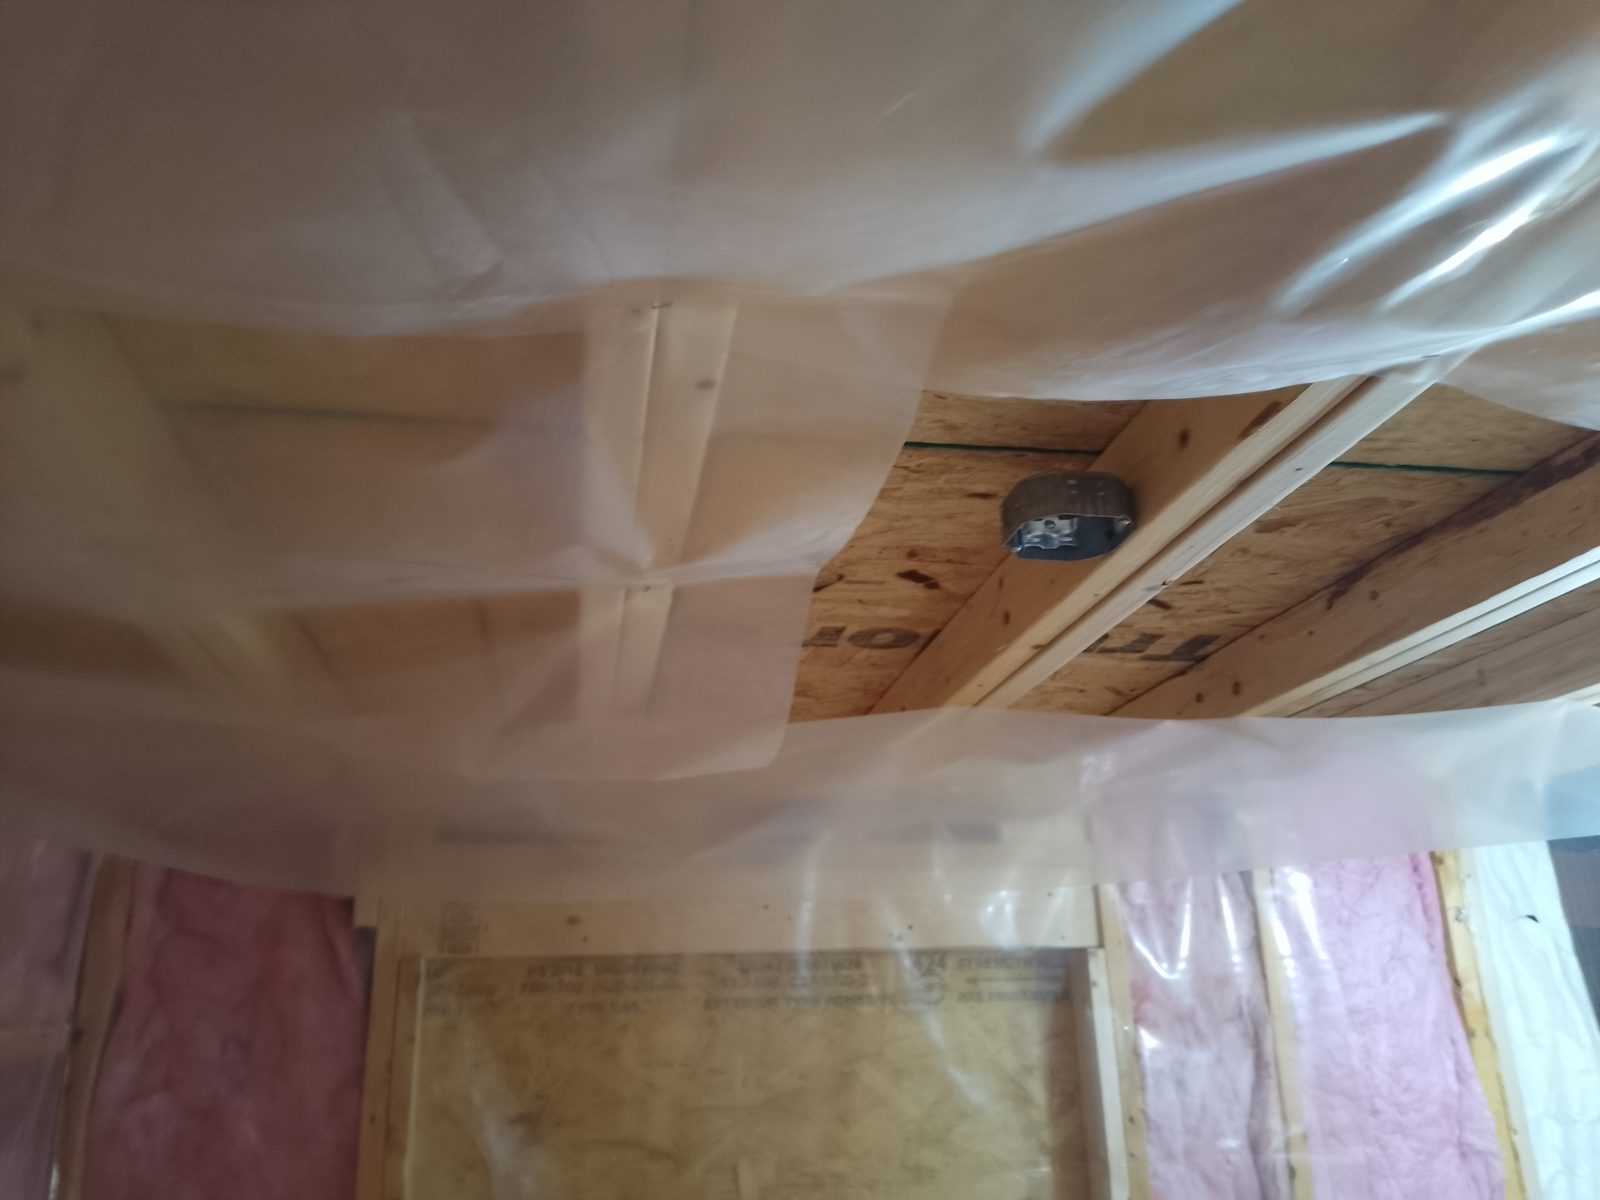
Another window casement. There is a window for this.
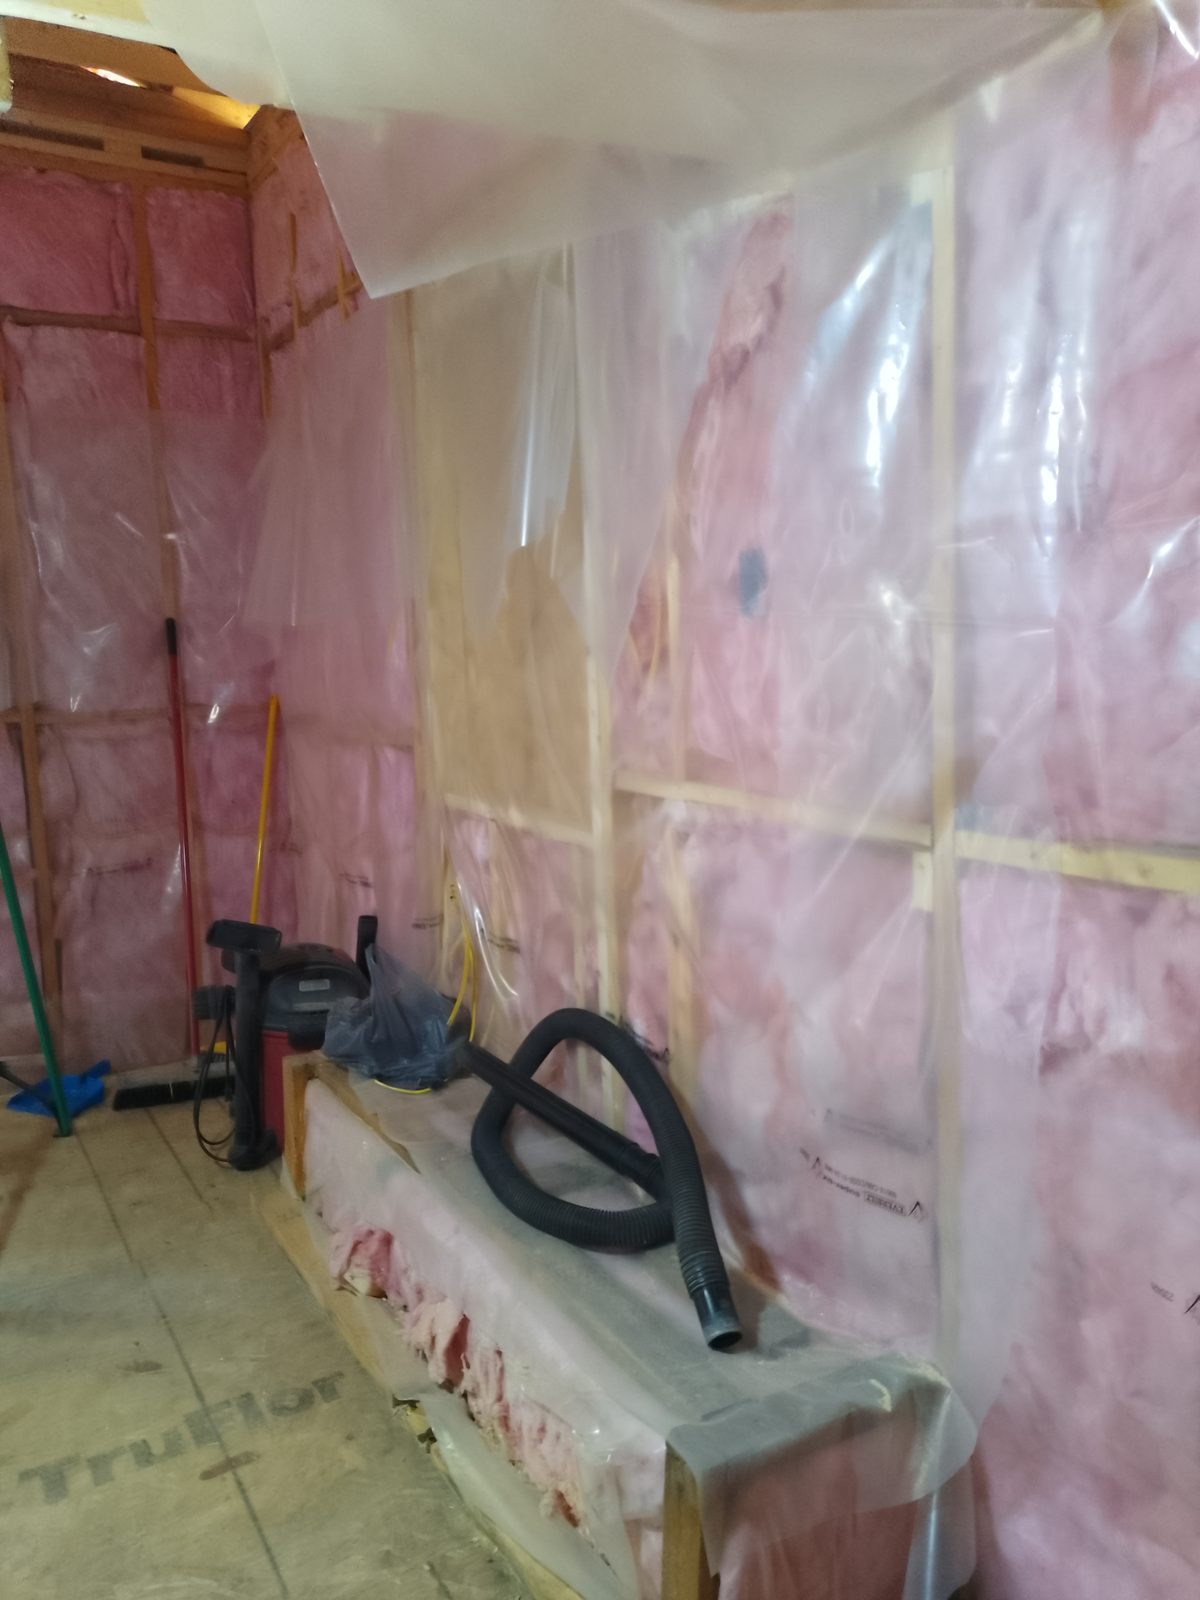
The vapour barrier was folded down so I could run wiring. It all originates from the back end of this wheel well, which can be the power center. There is plenty of vapour barrier left to finish this place along the wheel well.
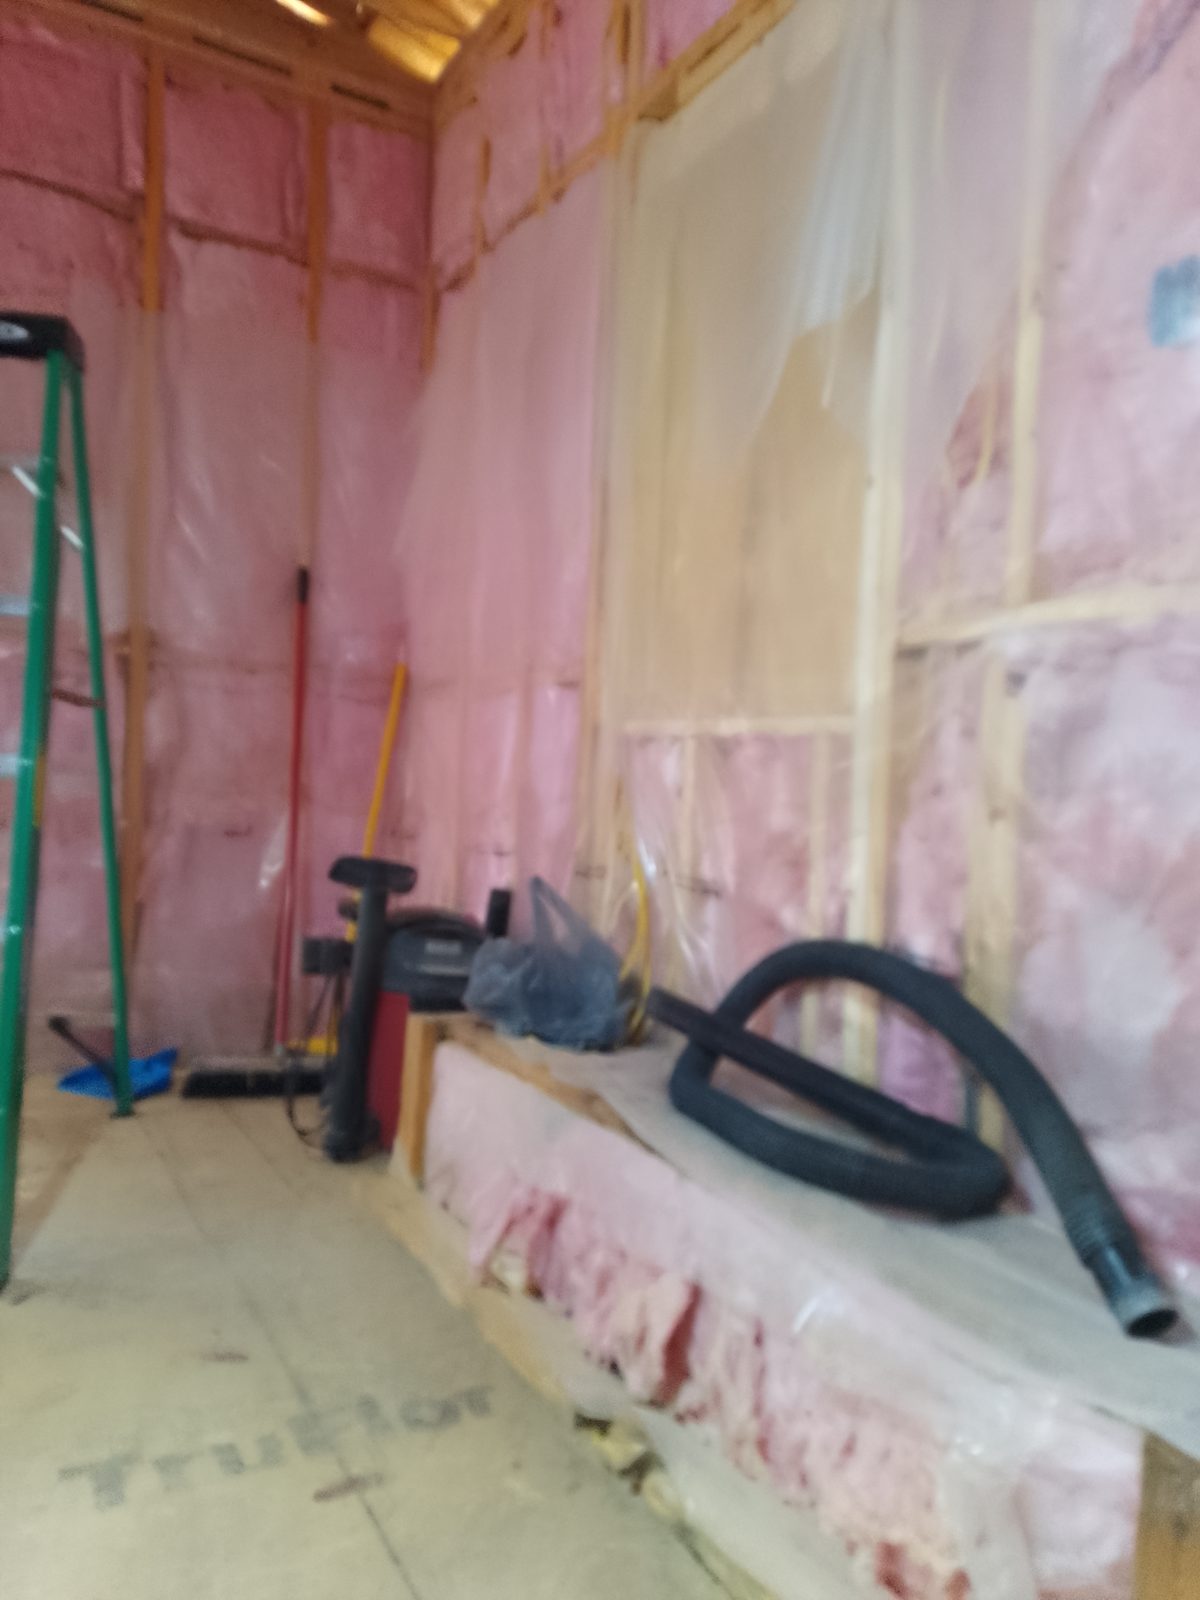
Back wall of large shell. Ceiling is about 10 feet. That should keep it cool in the summer.
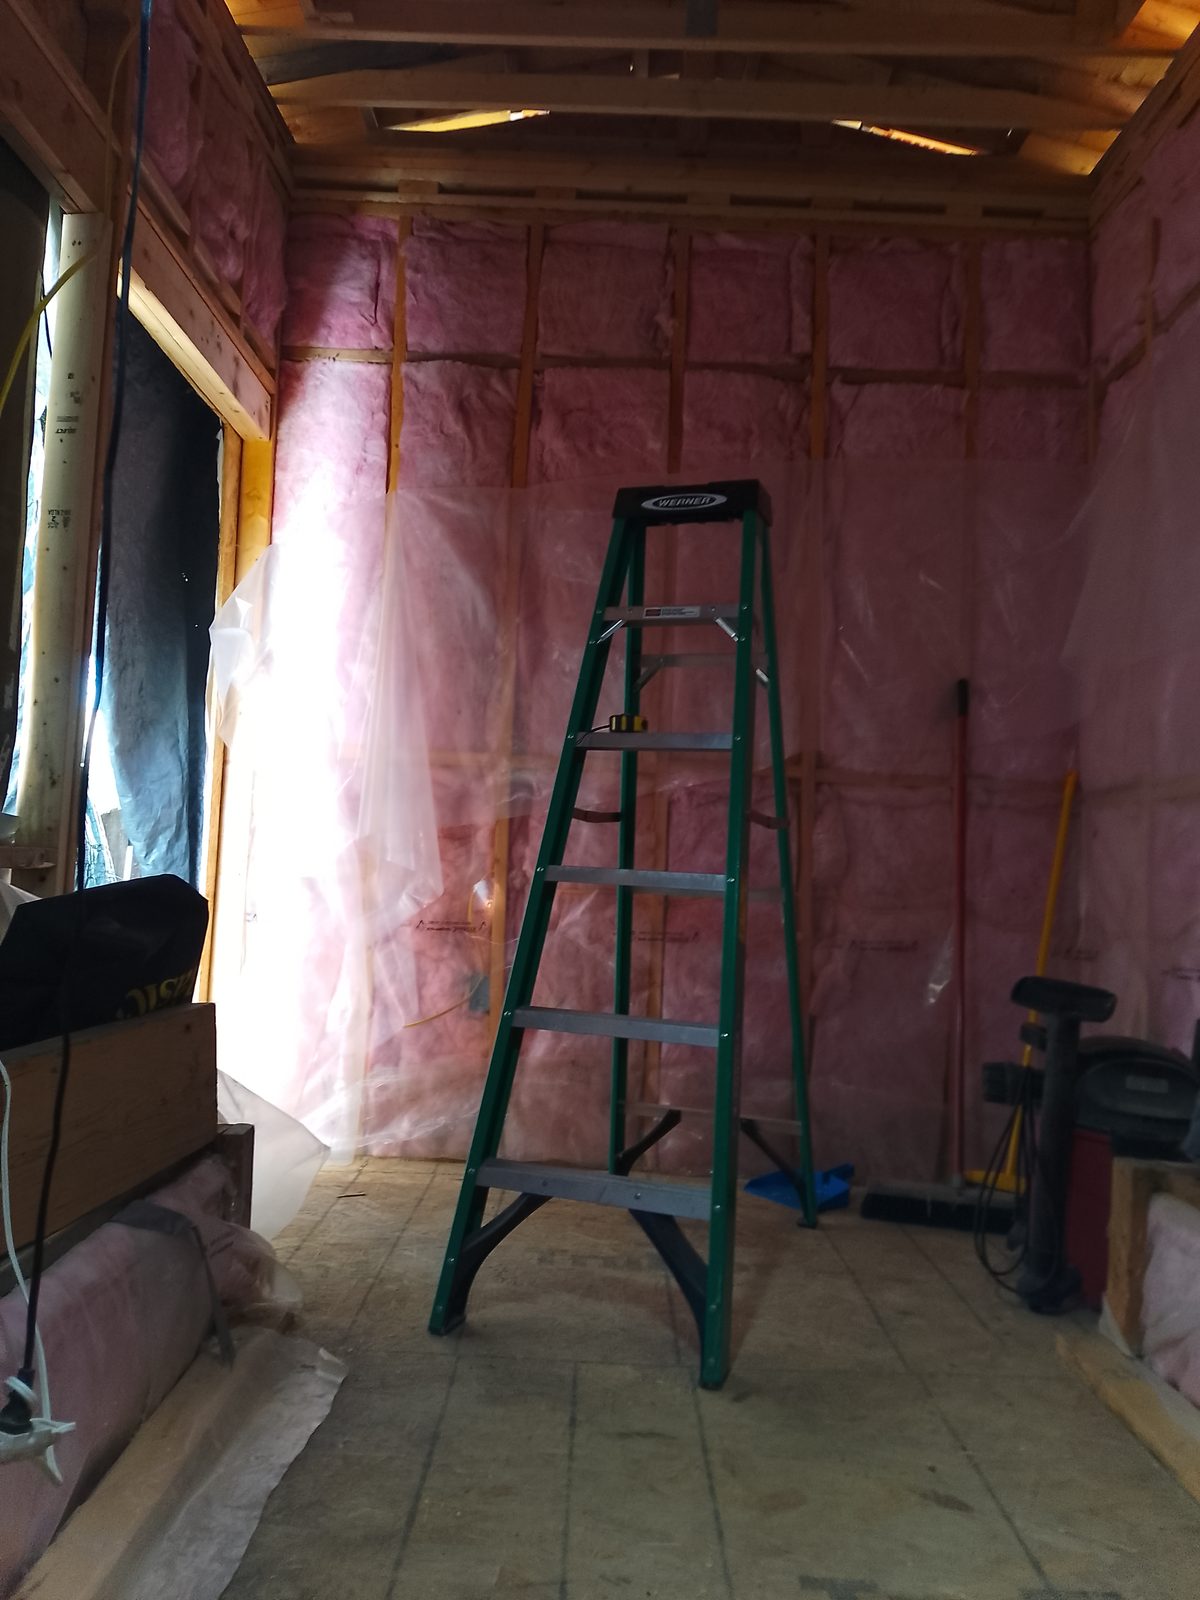
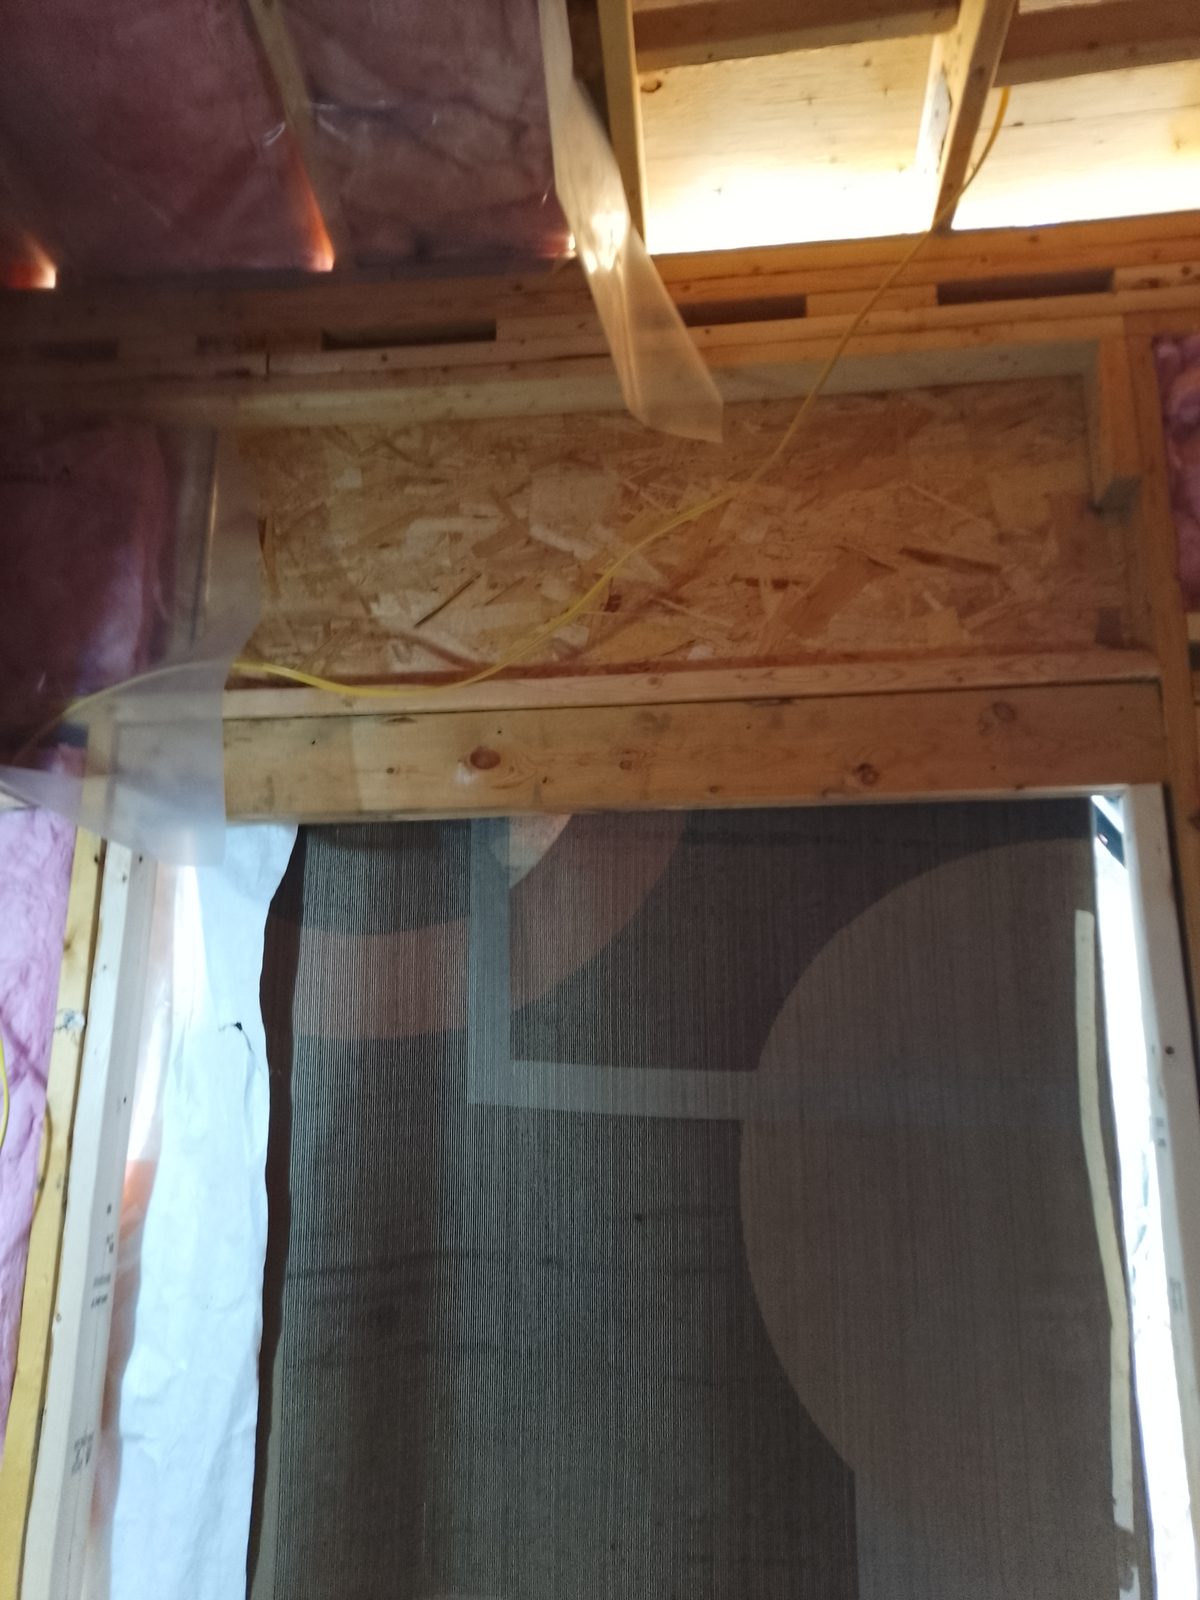
Window casement with cripplers (there is a window for this). I also left the spot open above it in case you want to add a small window to let light in. If not, you just add studs in 16" on center.
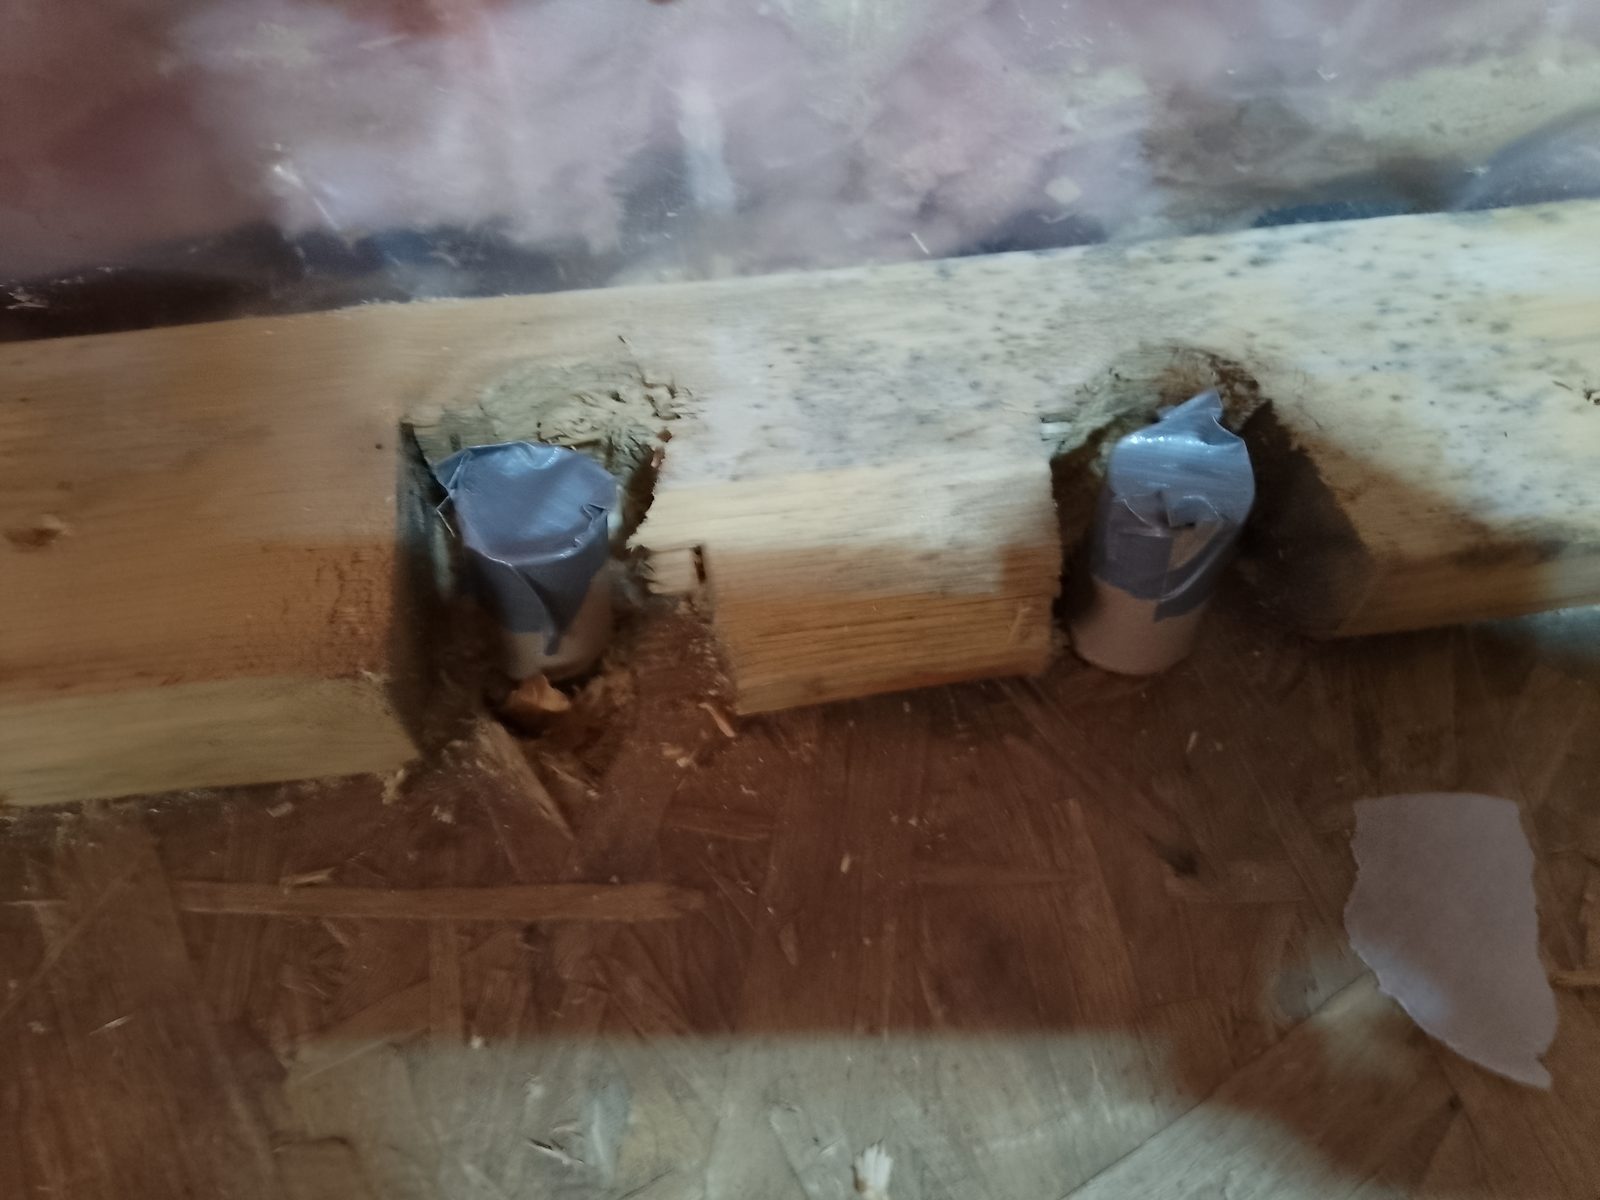
Vent (2") for water drain and 4" water drain. The bin is under the floor. It has a standard 4" exit outside below.
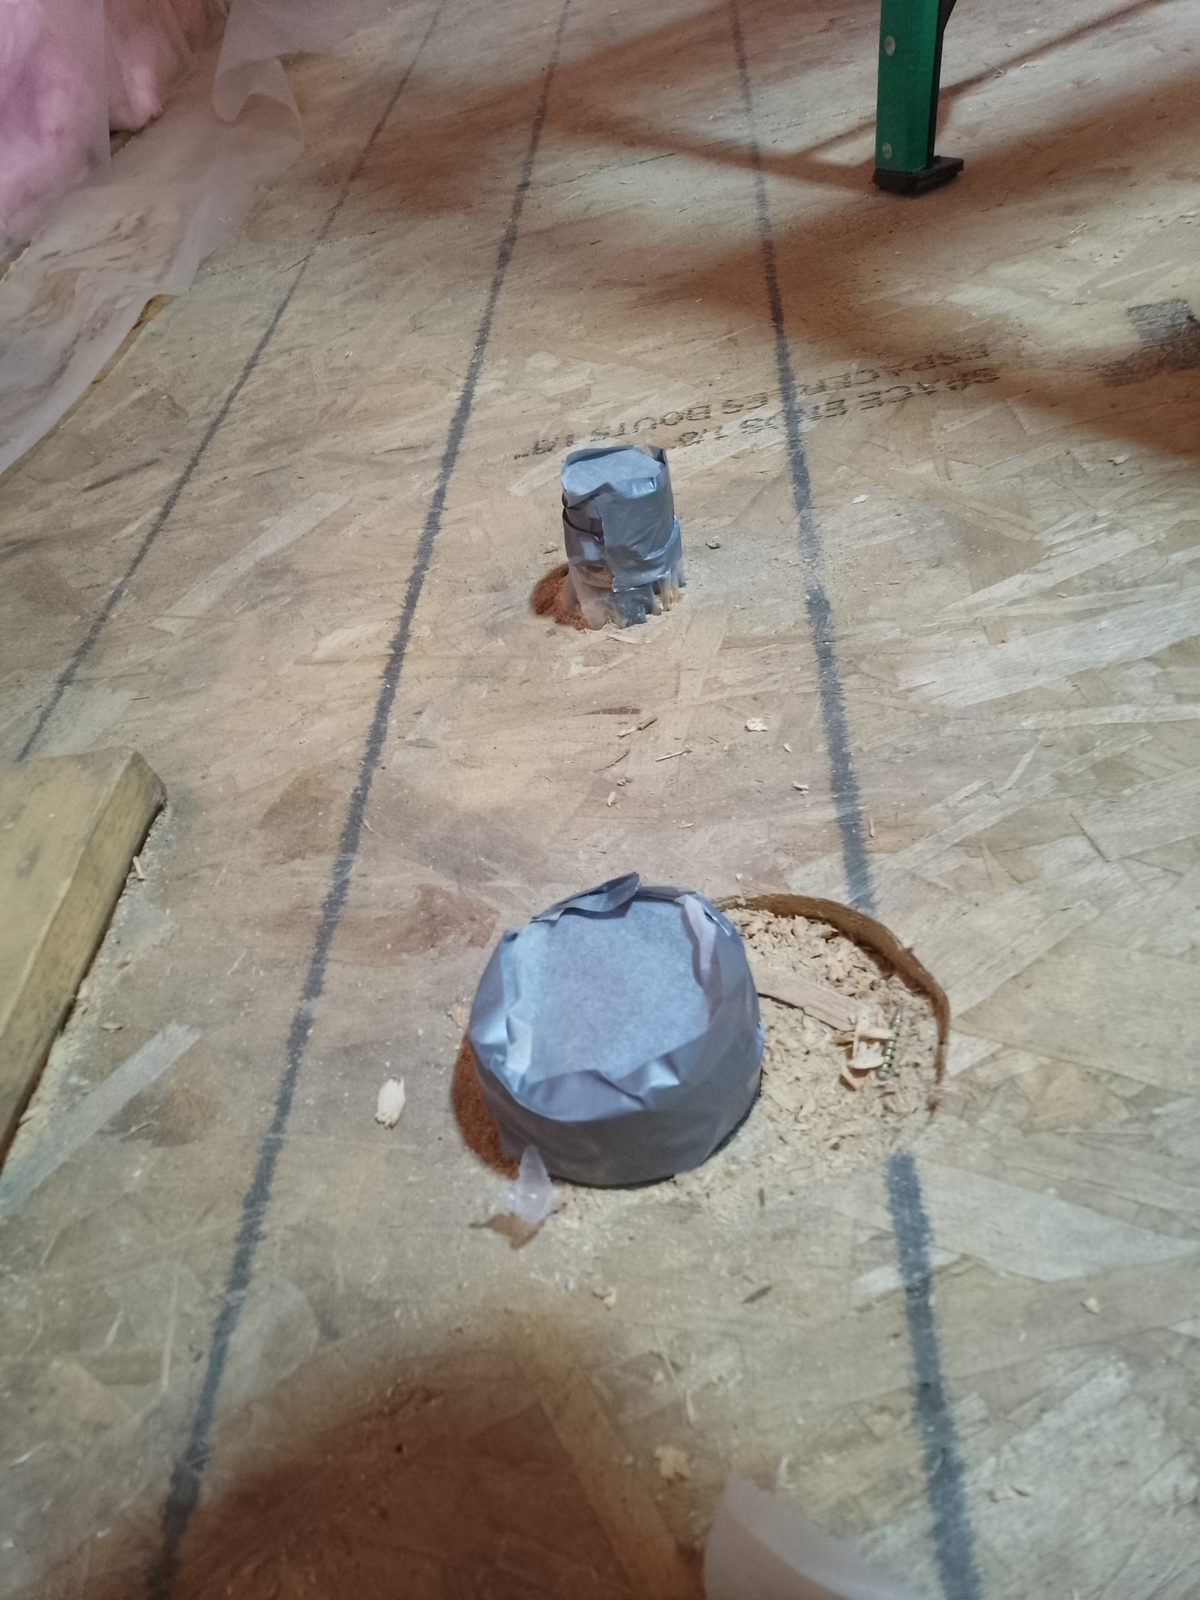
2 fittings for propane (which can be split for more than 2 propane devices) protected by cardboard tubes and duct tape.
Ok i chose for 1/2" plywood for the roof. I didn't want to use OSB for the roof. I added the fascia. I added some black sealing paint to the edges
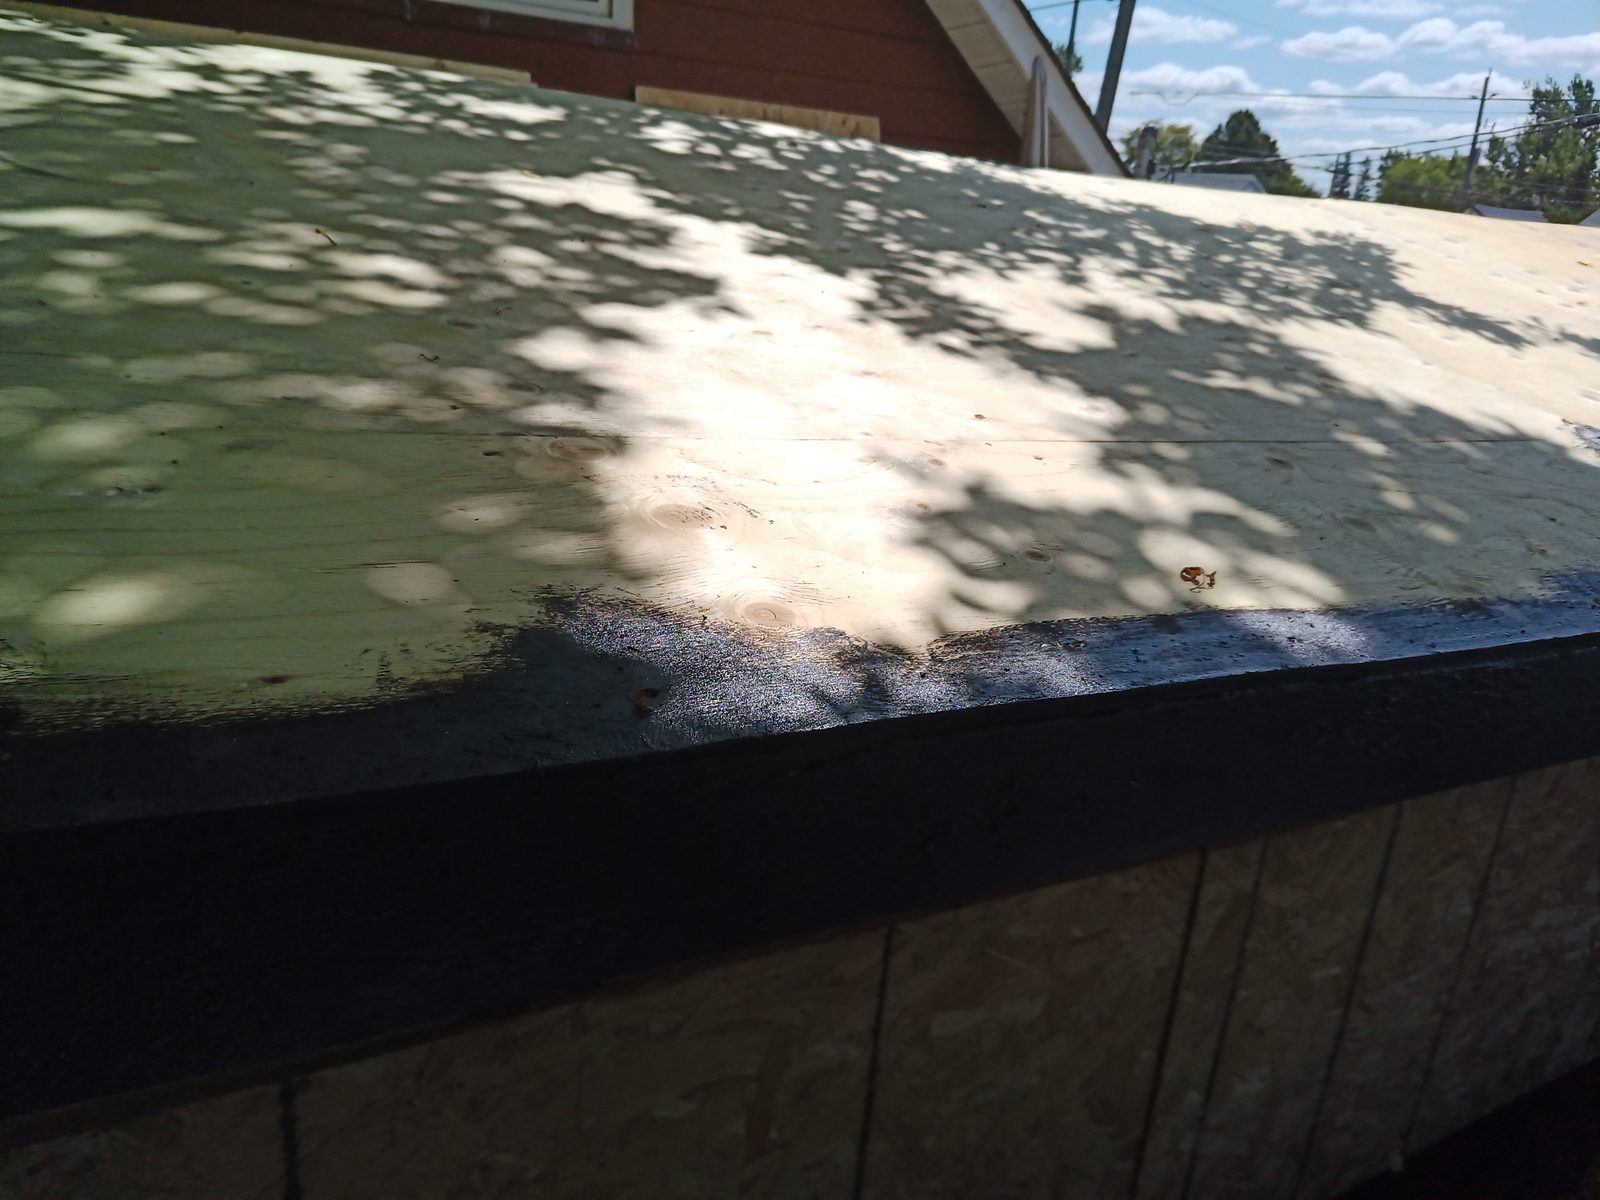
Roof plywood is done.
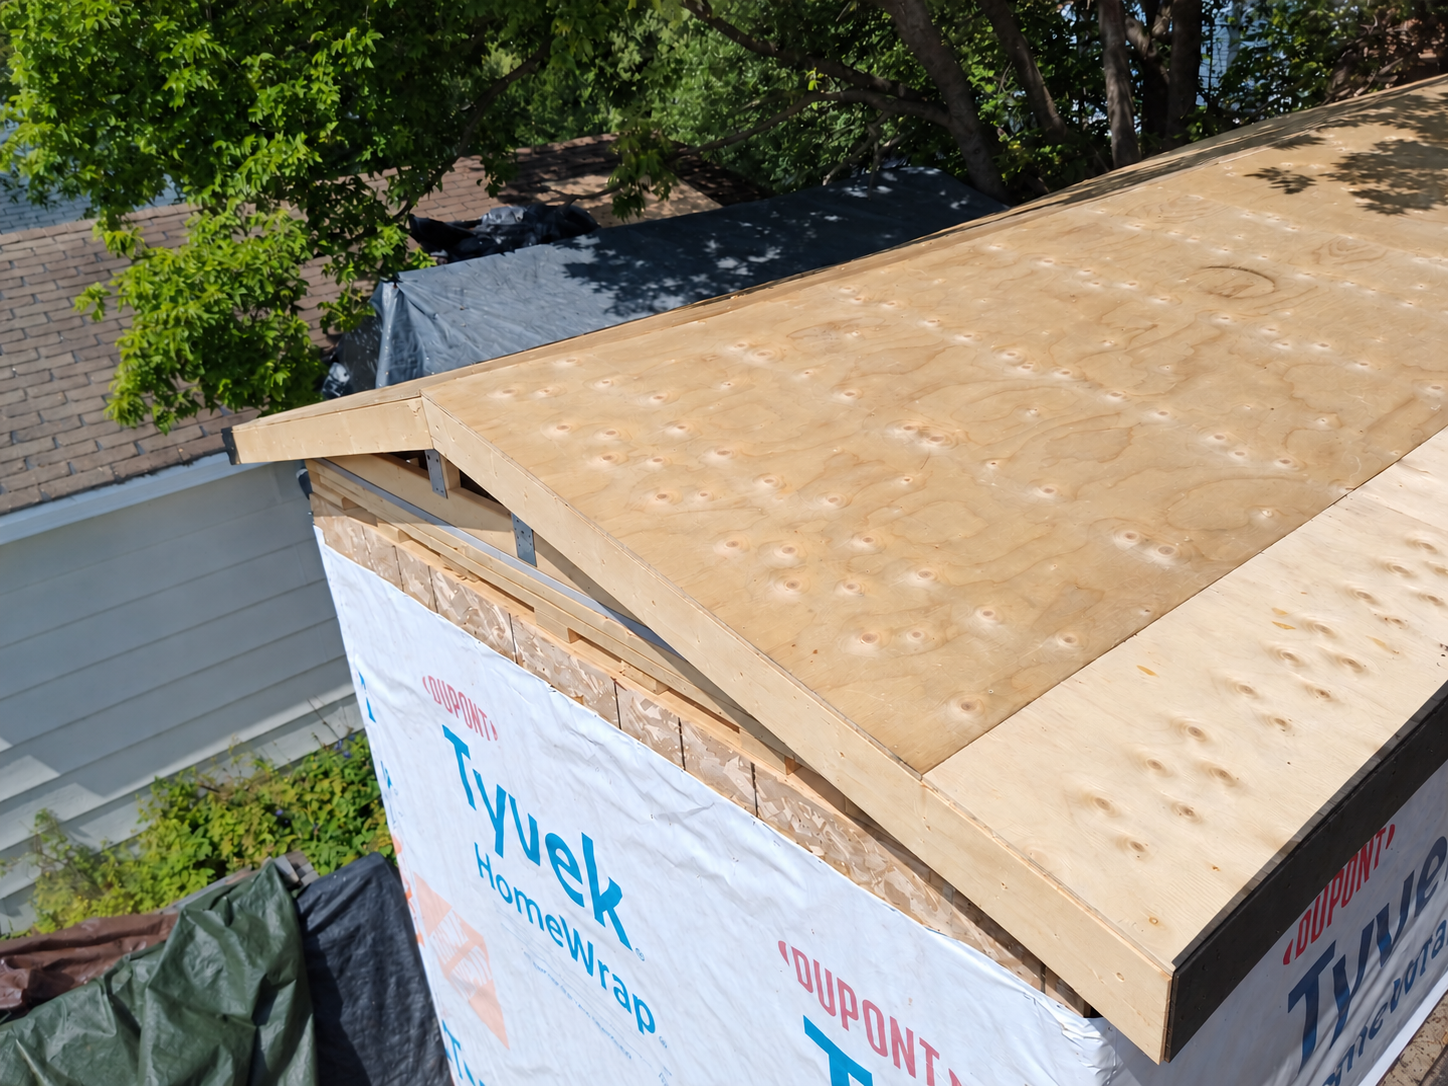
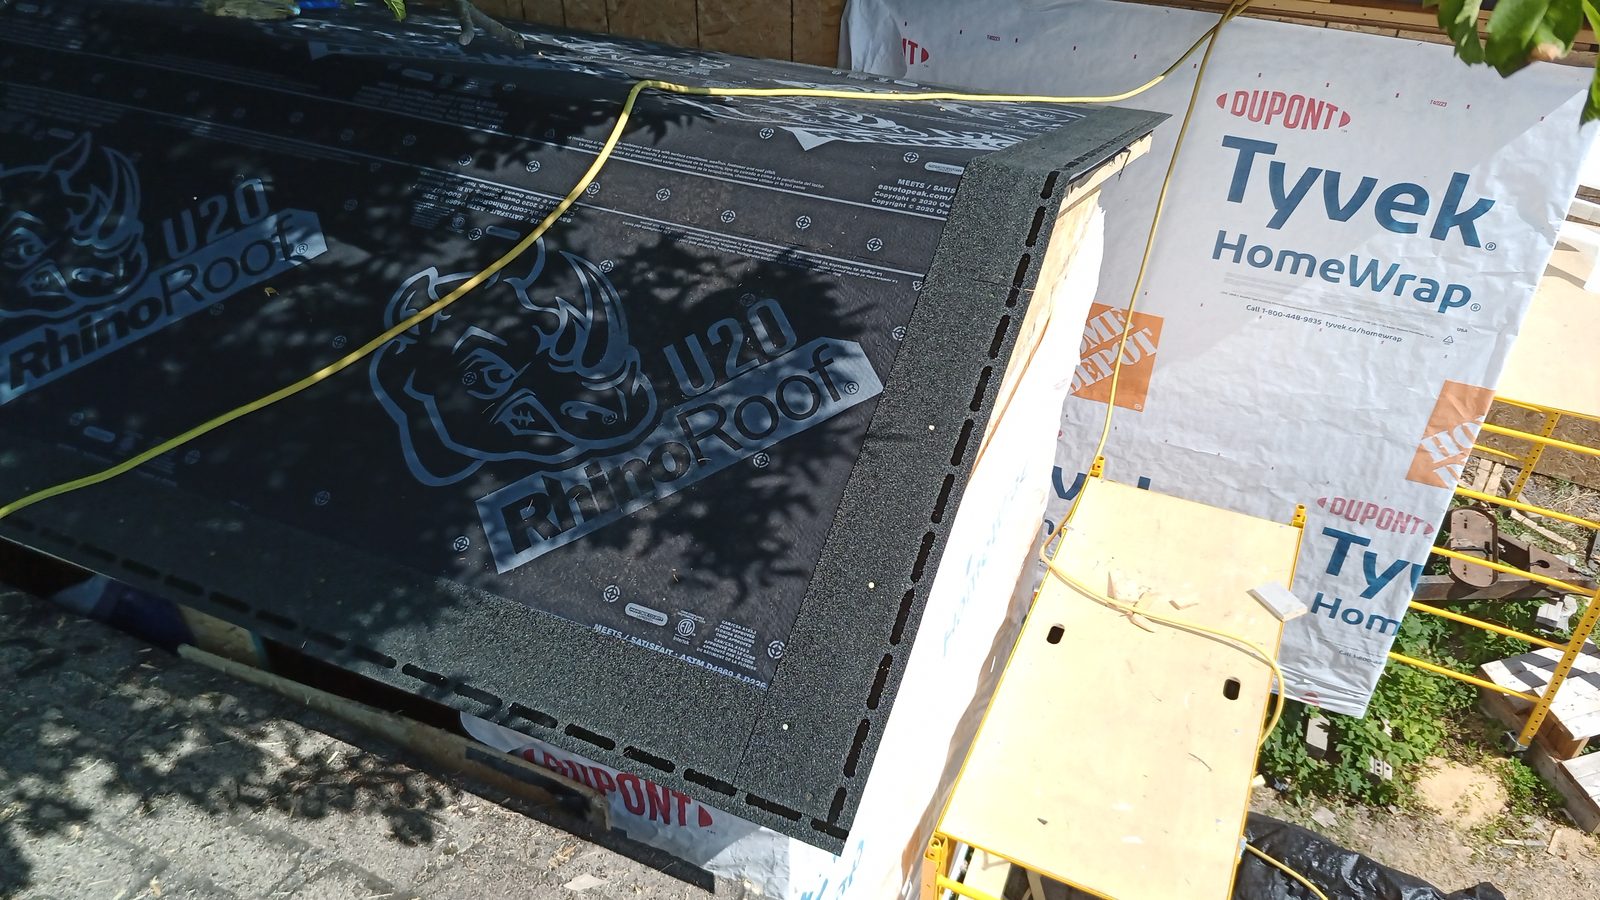
Ok i used heavy duty GAF ice barrier and storm guard. Since these aren't giant roofs, I covered the entire roof with this storm guard. Both shells have 100% coverage with GAF ice/weather barrier.
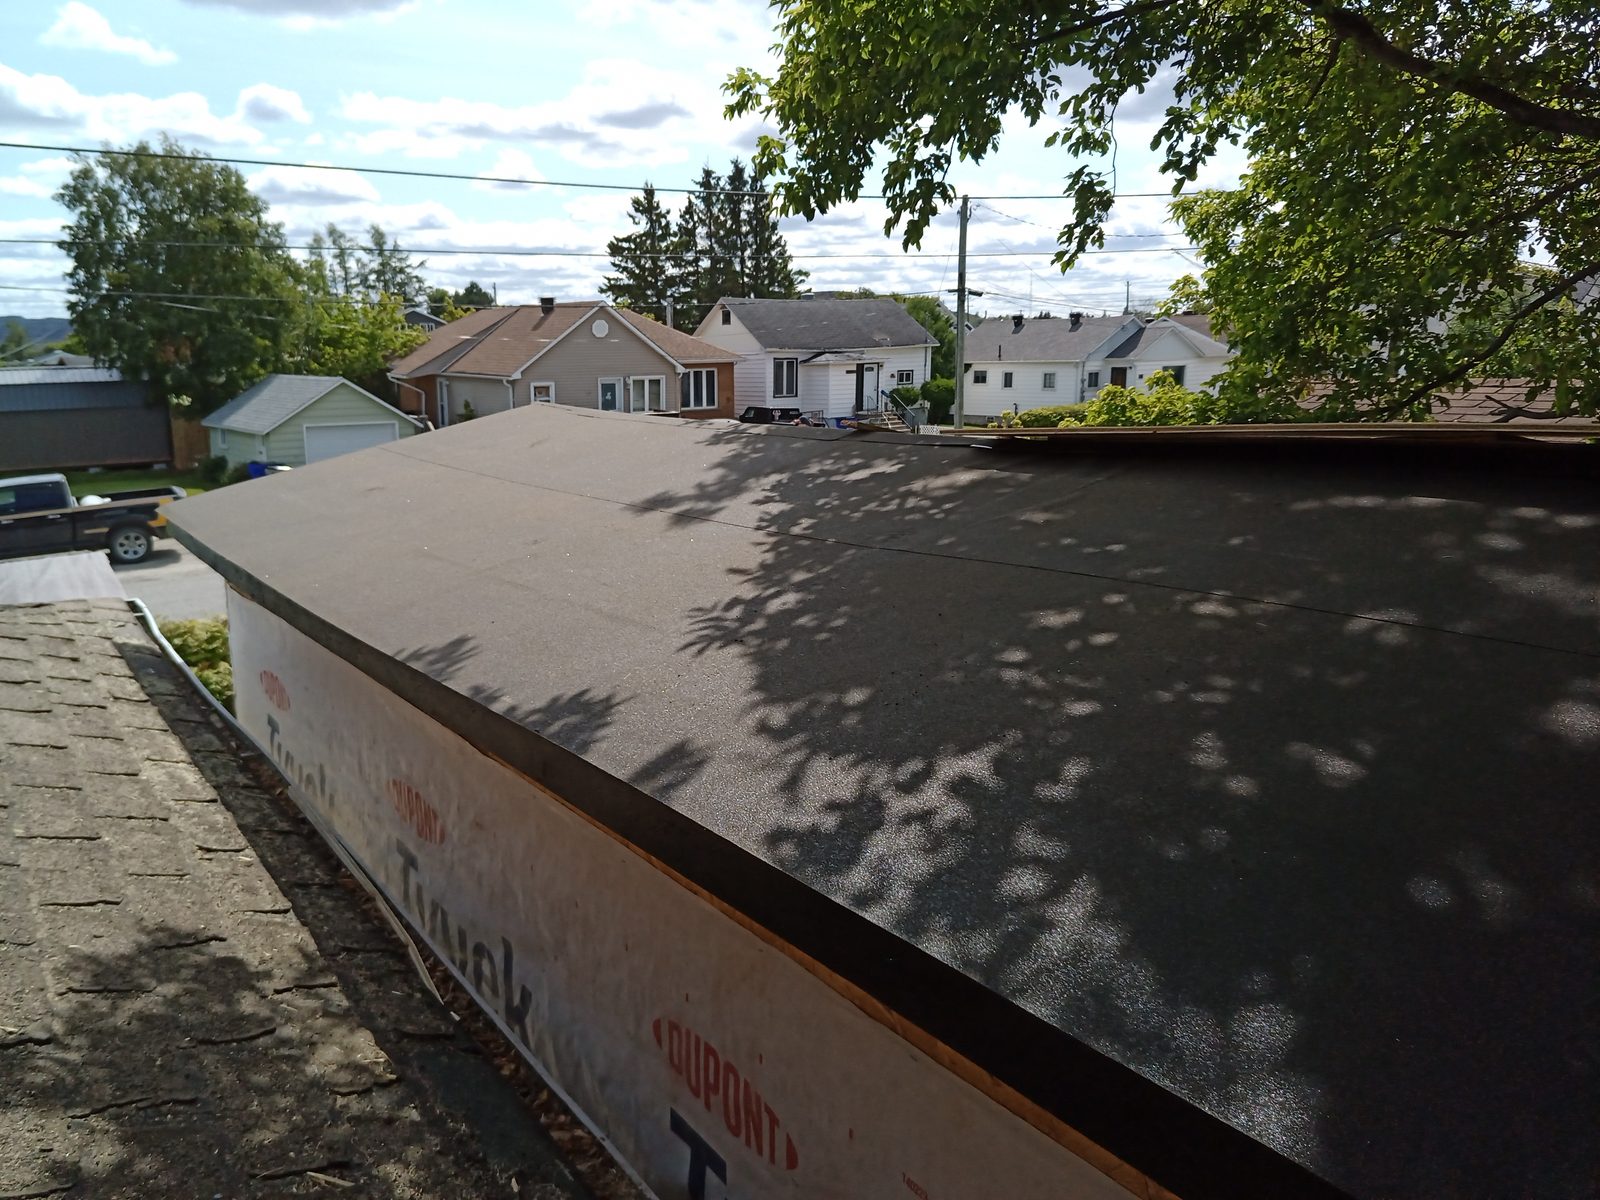
Drip edge installed. Those are just boards laying on the roof to the right. It is entirely covered in ice barrier.
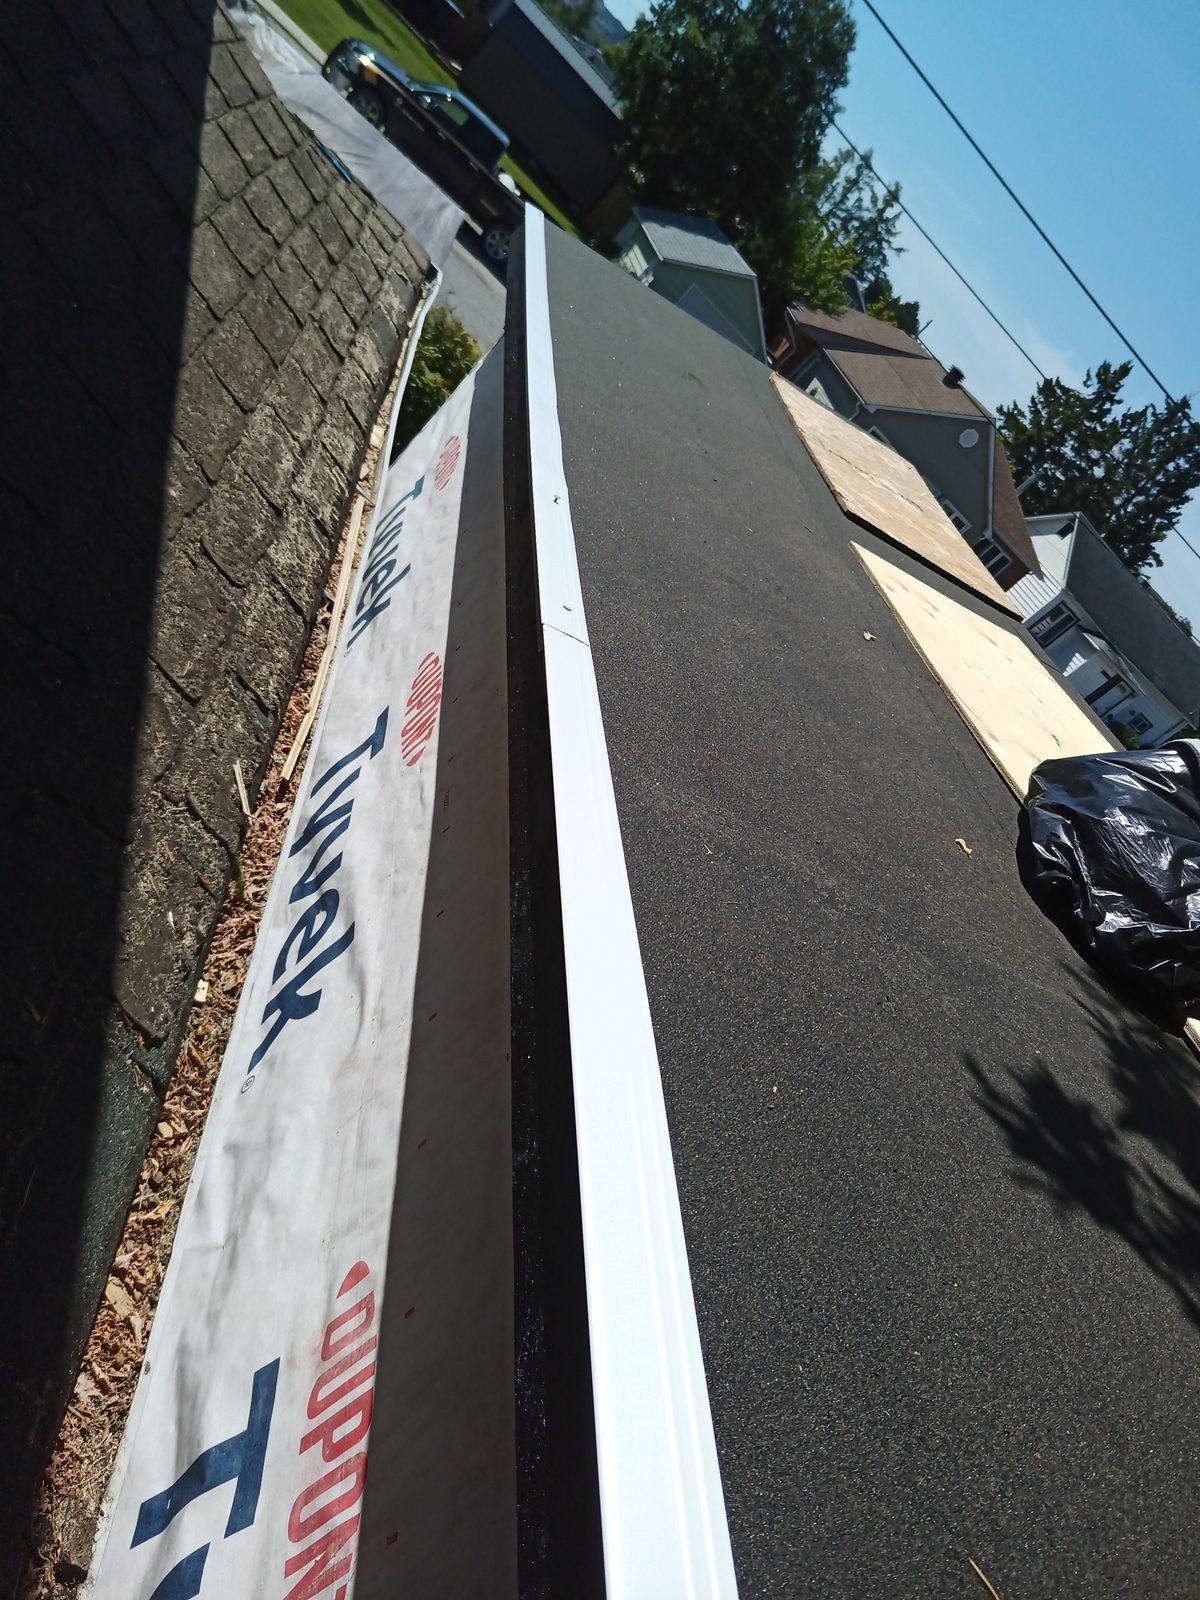
Underlayment
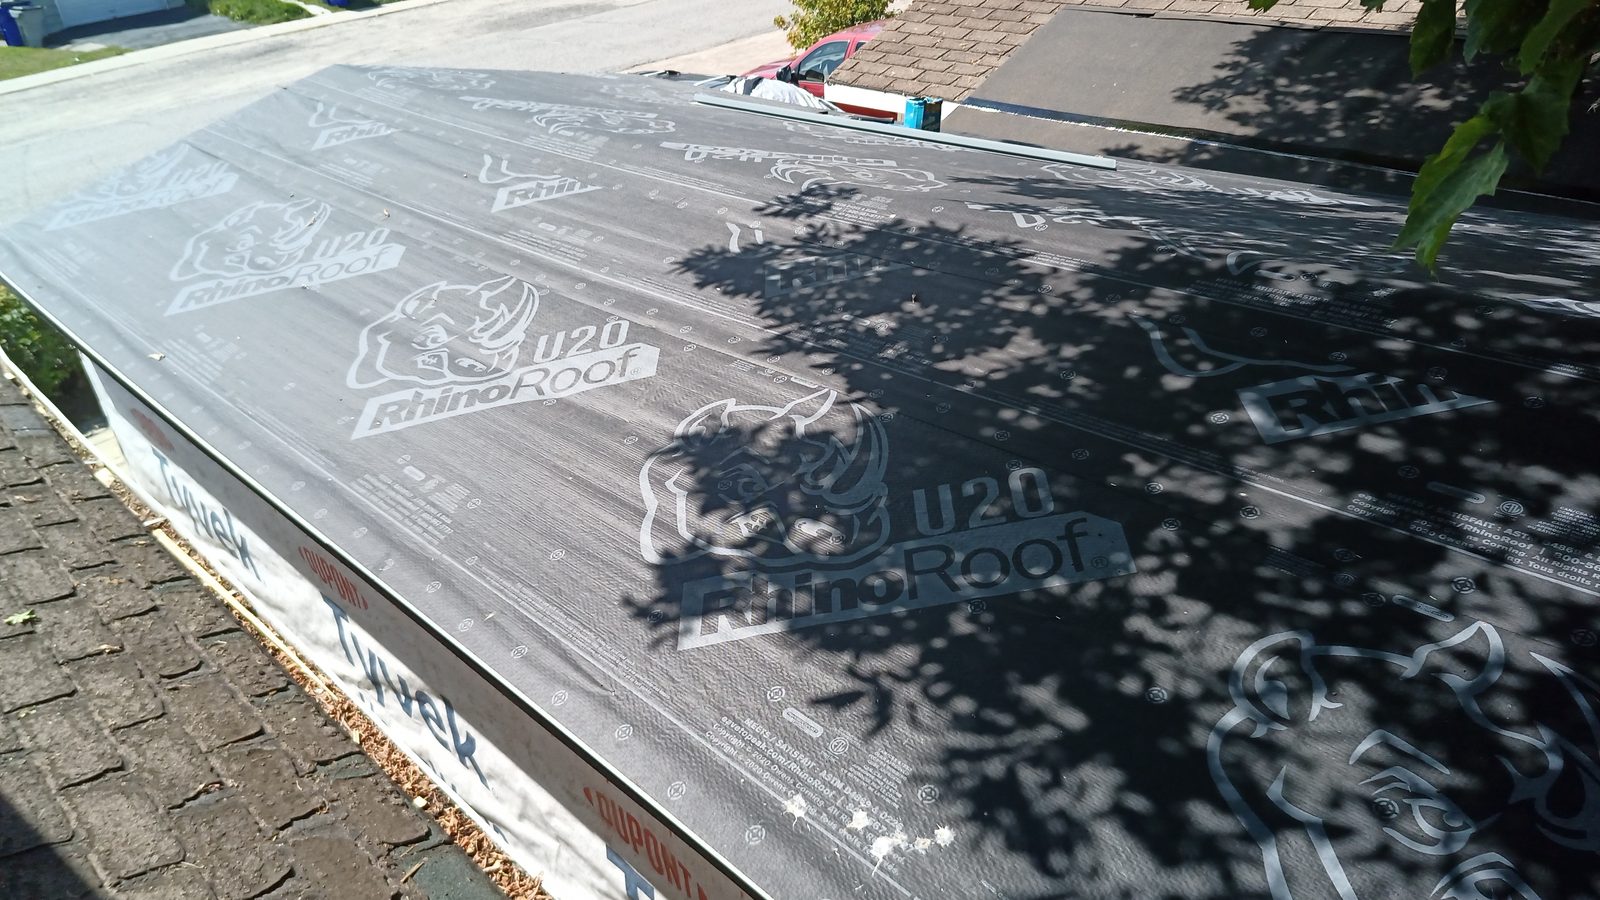
Here is the GAF barrier on the smaller shell.
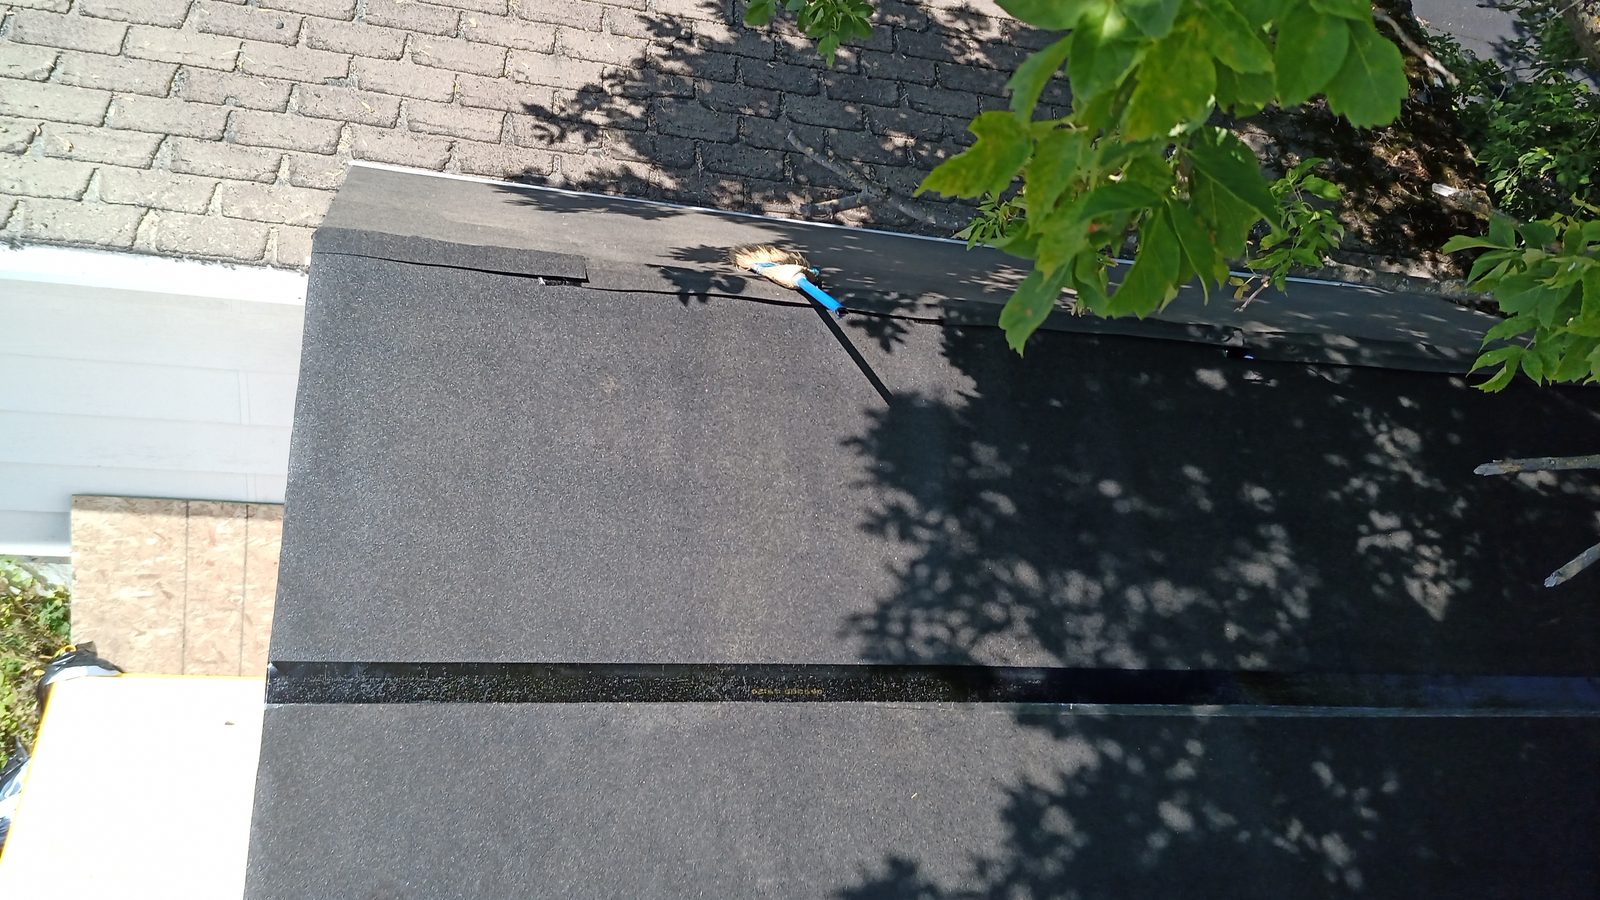
Complete coverage with underlayment.
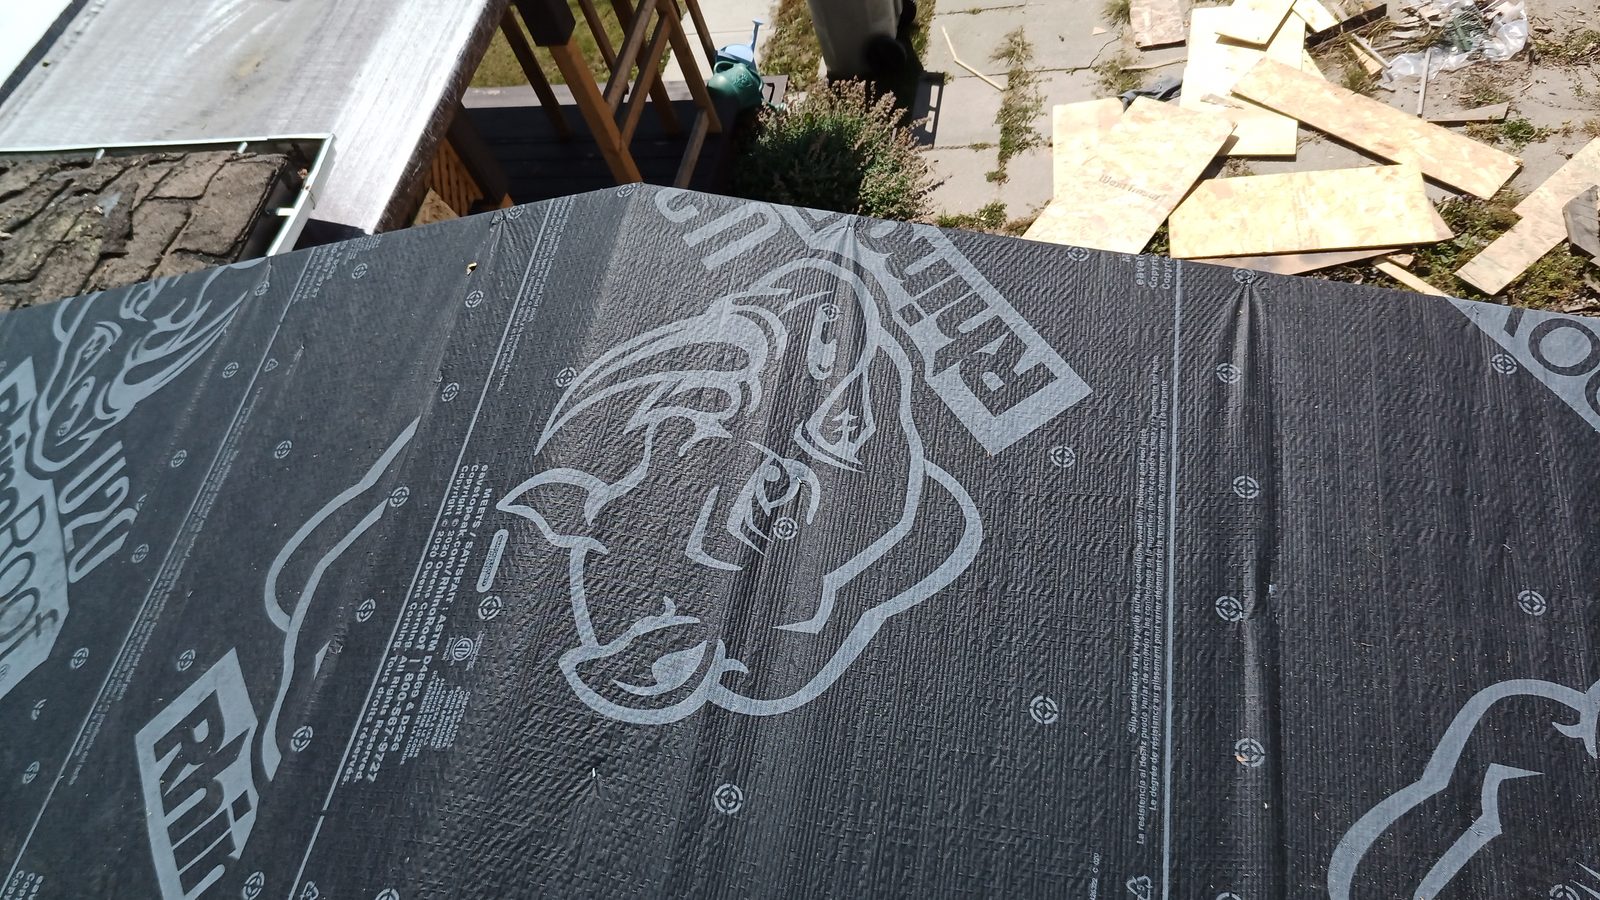
Underlayment goes over the drip edge :)
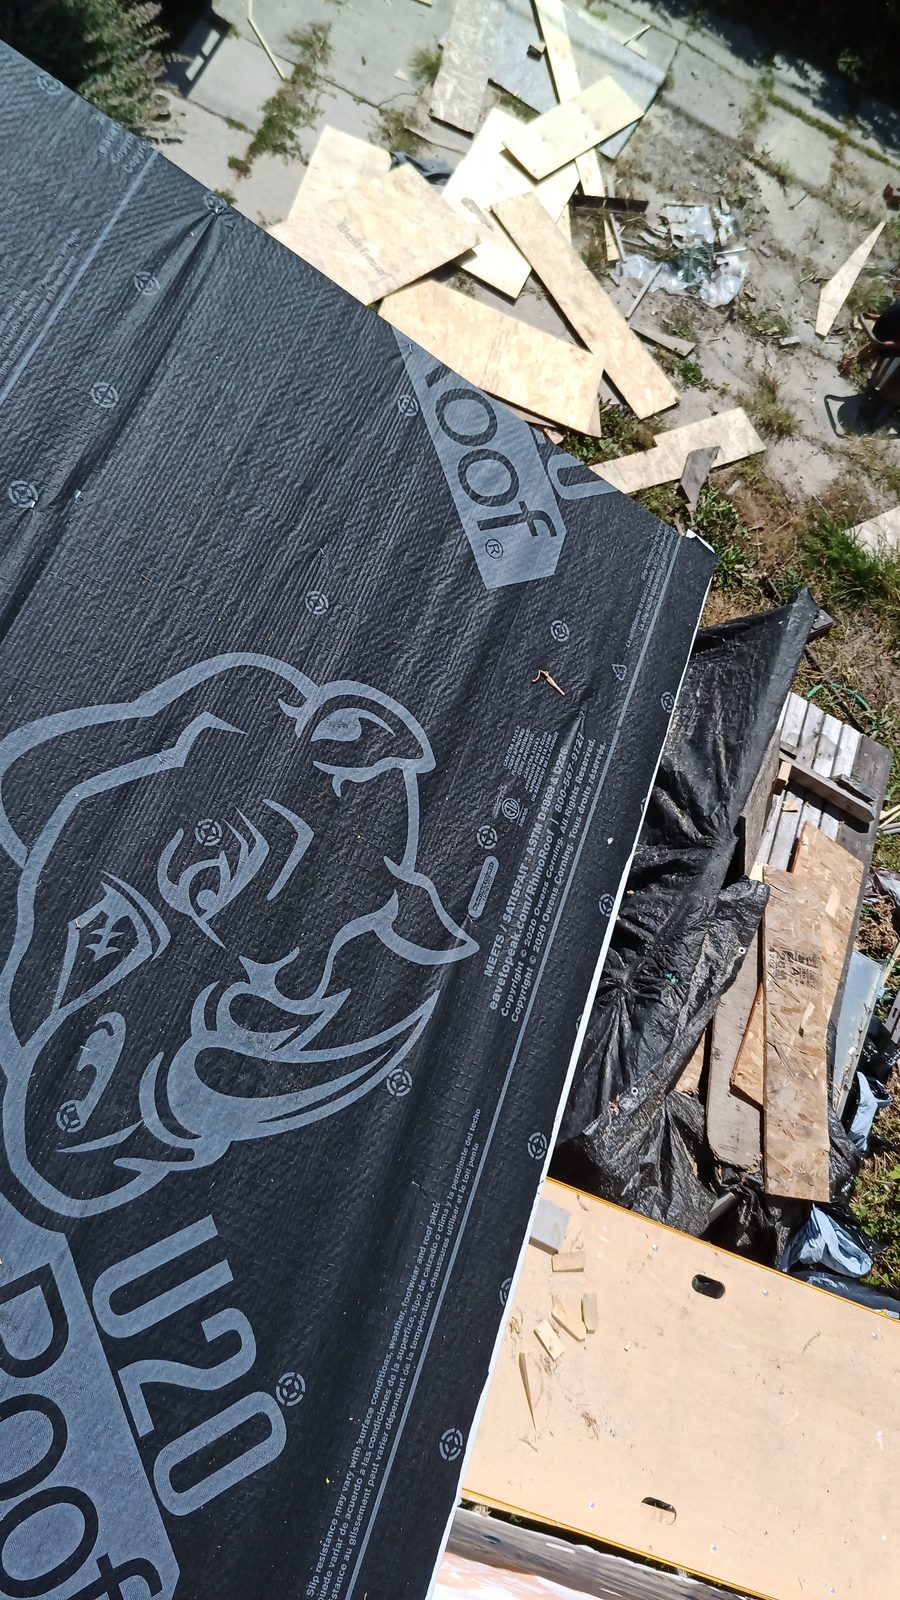
Rather than use trimmed shingles as the starter row (old school roofers), i bought starter row separately and went around the perimeter of both shell roofs.
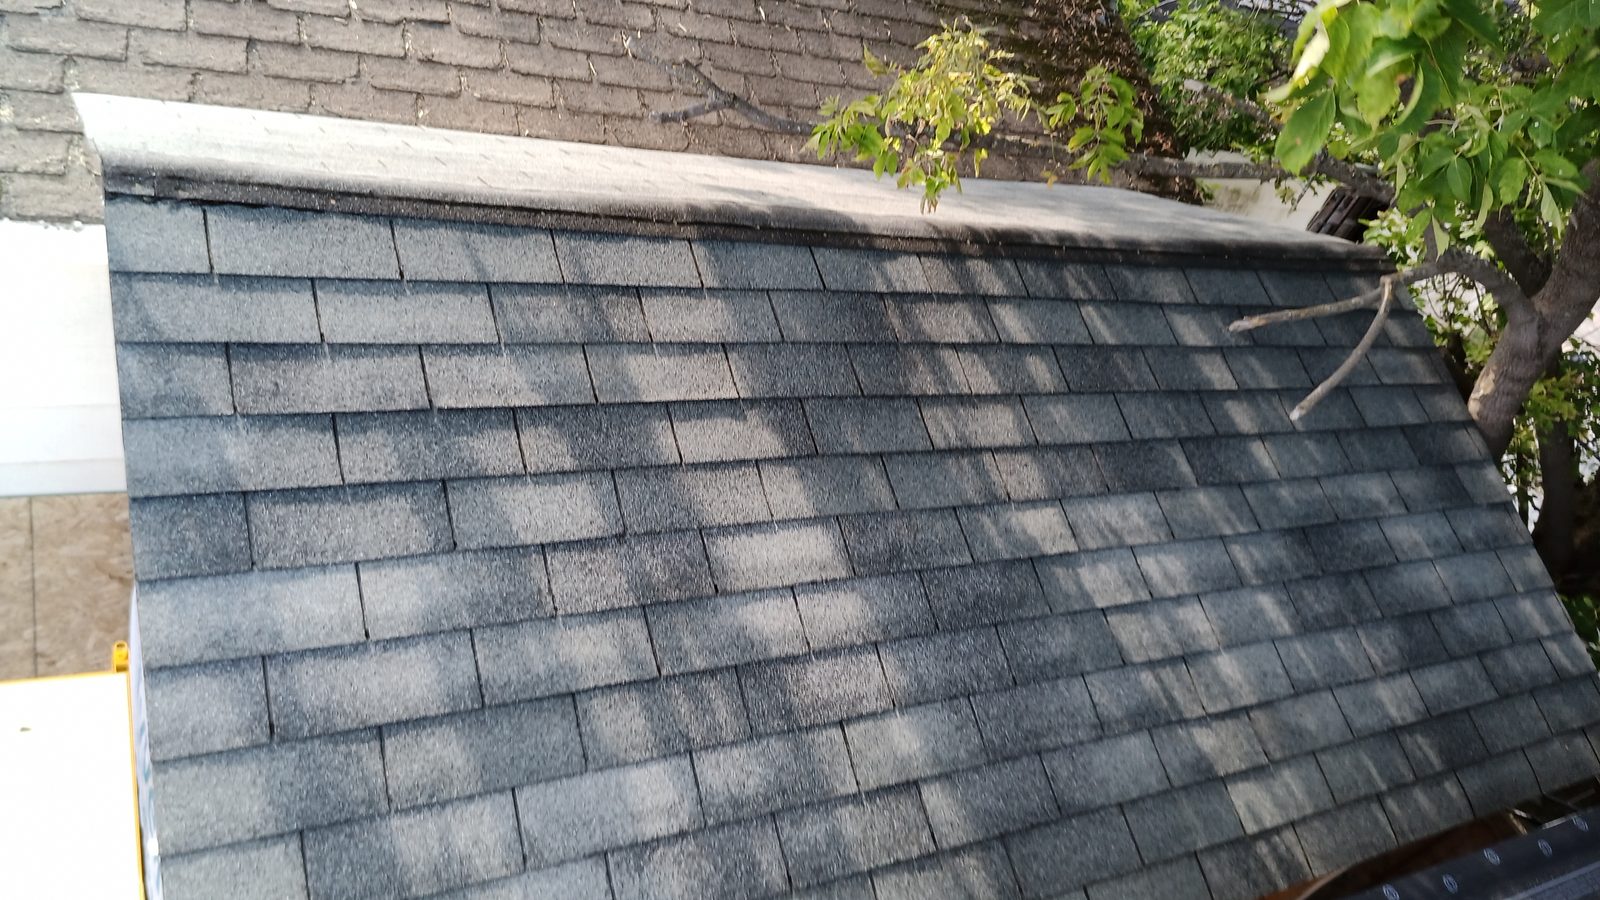
Smaller roof shingled first.
Ridge cap done for smaller shell.
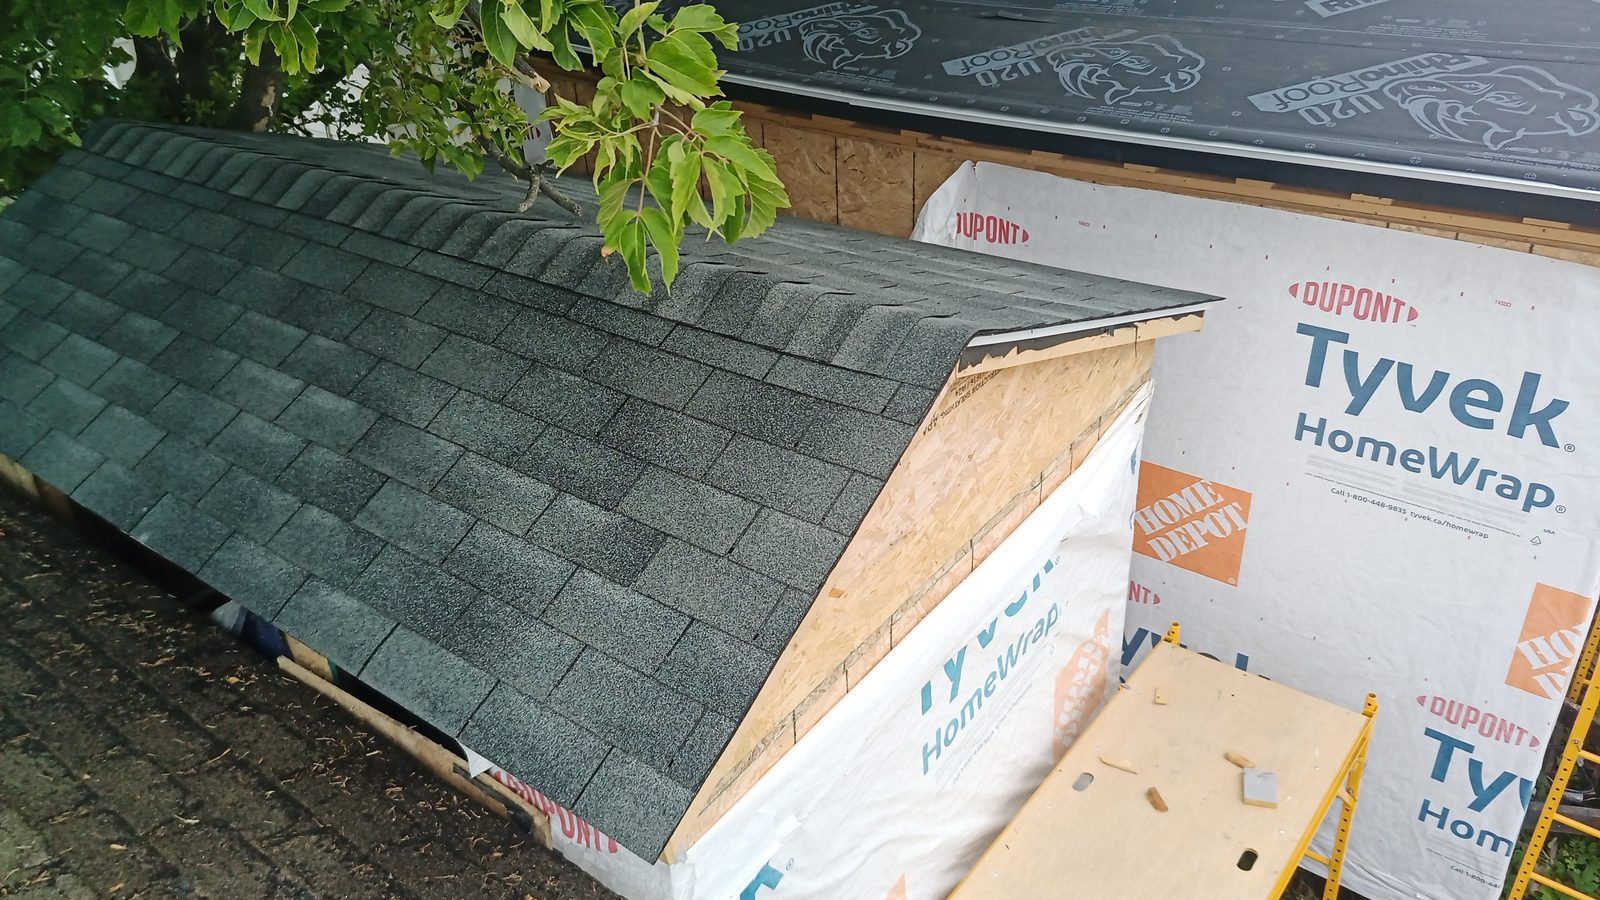
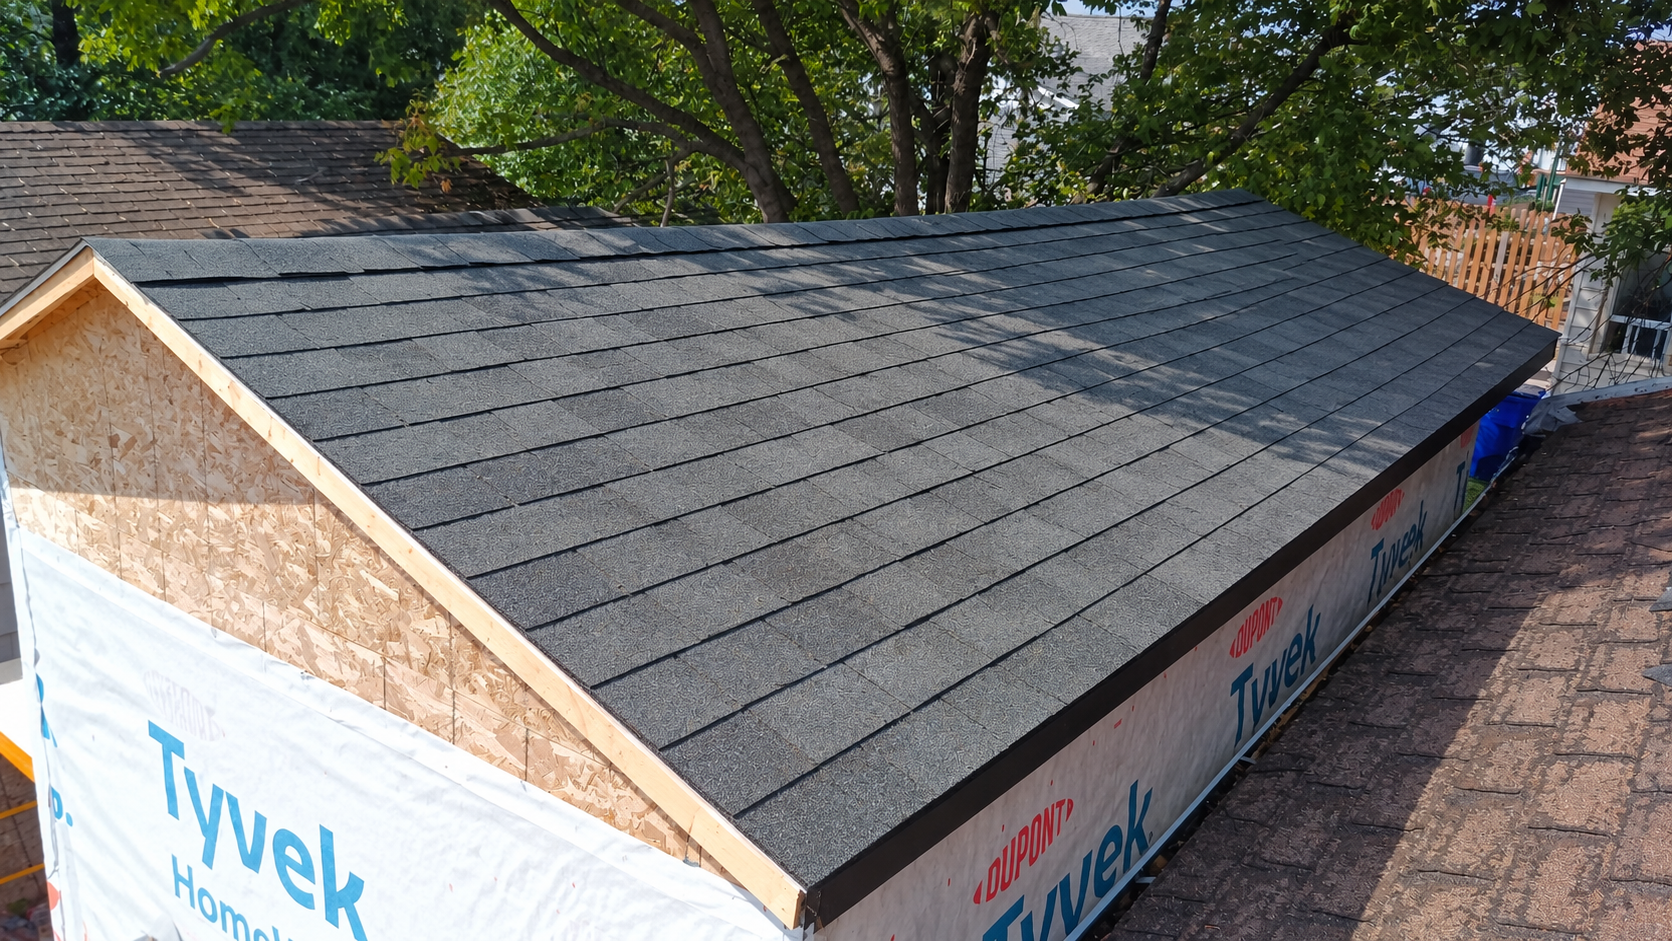
Shingles and ridgecap done for large shell.
Ok, jump forward to the interior of the smaller shell. Deciding which side the door goes on
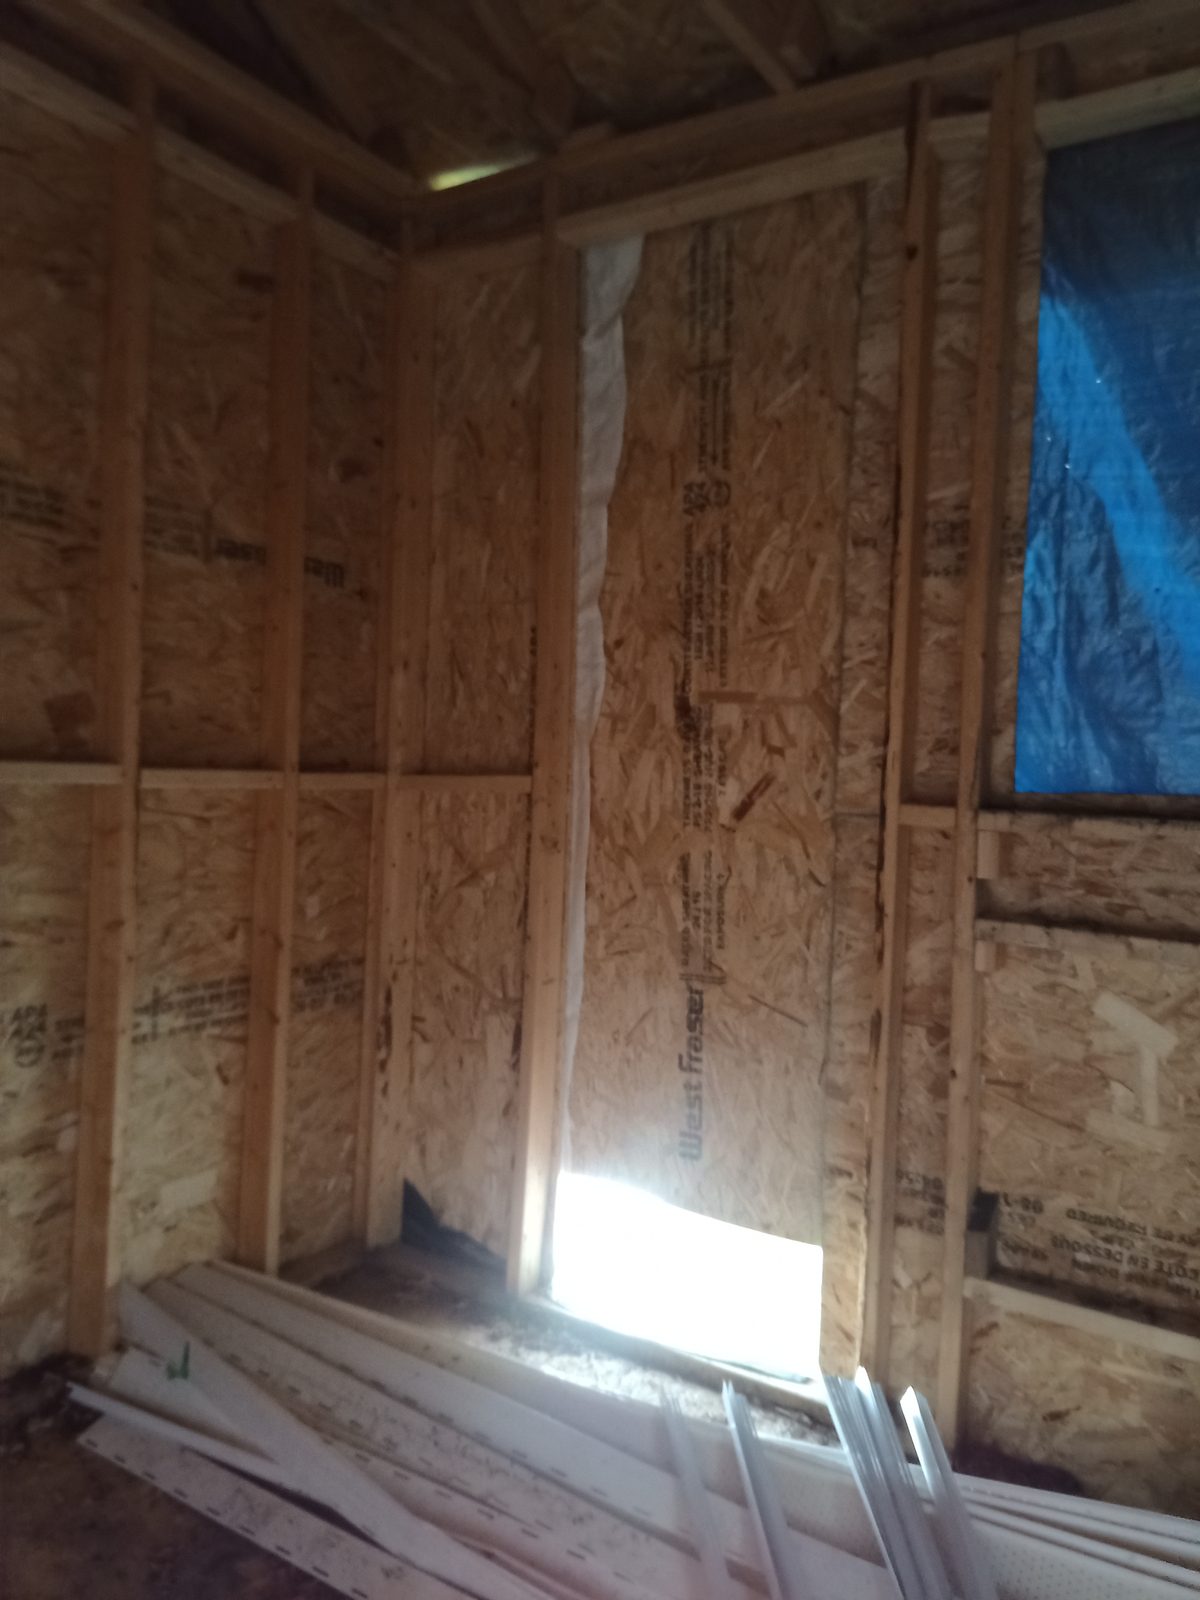
Placed a 2x6 at each end of the smaller shell so that it's easier to add a ceiling. The underside of the 2x6s are flush with the bottom of the trusses.
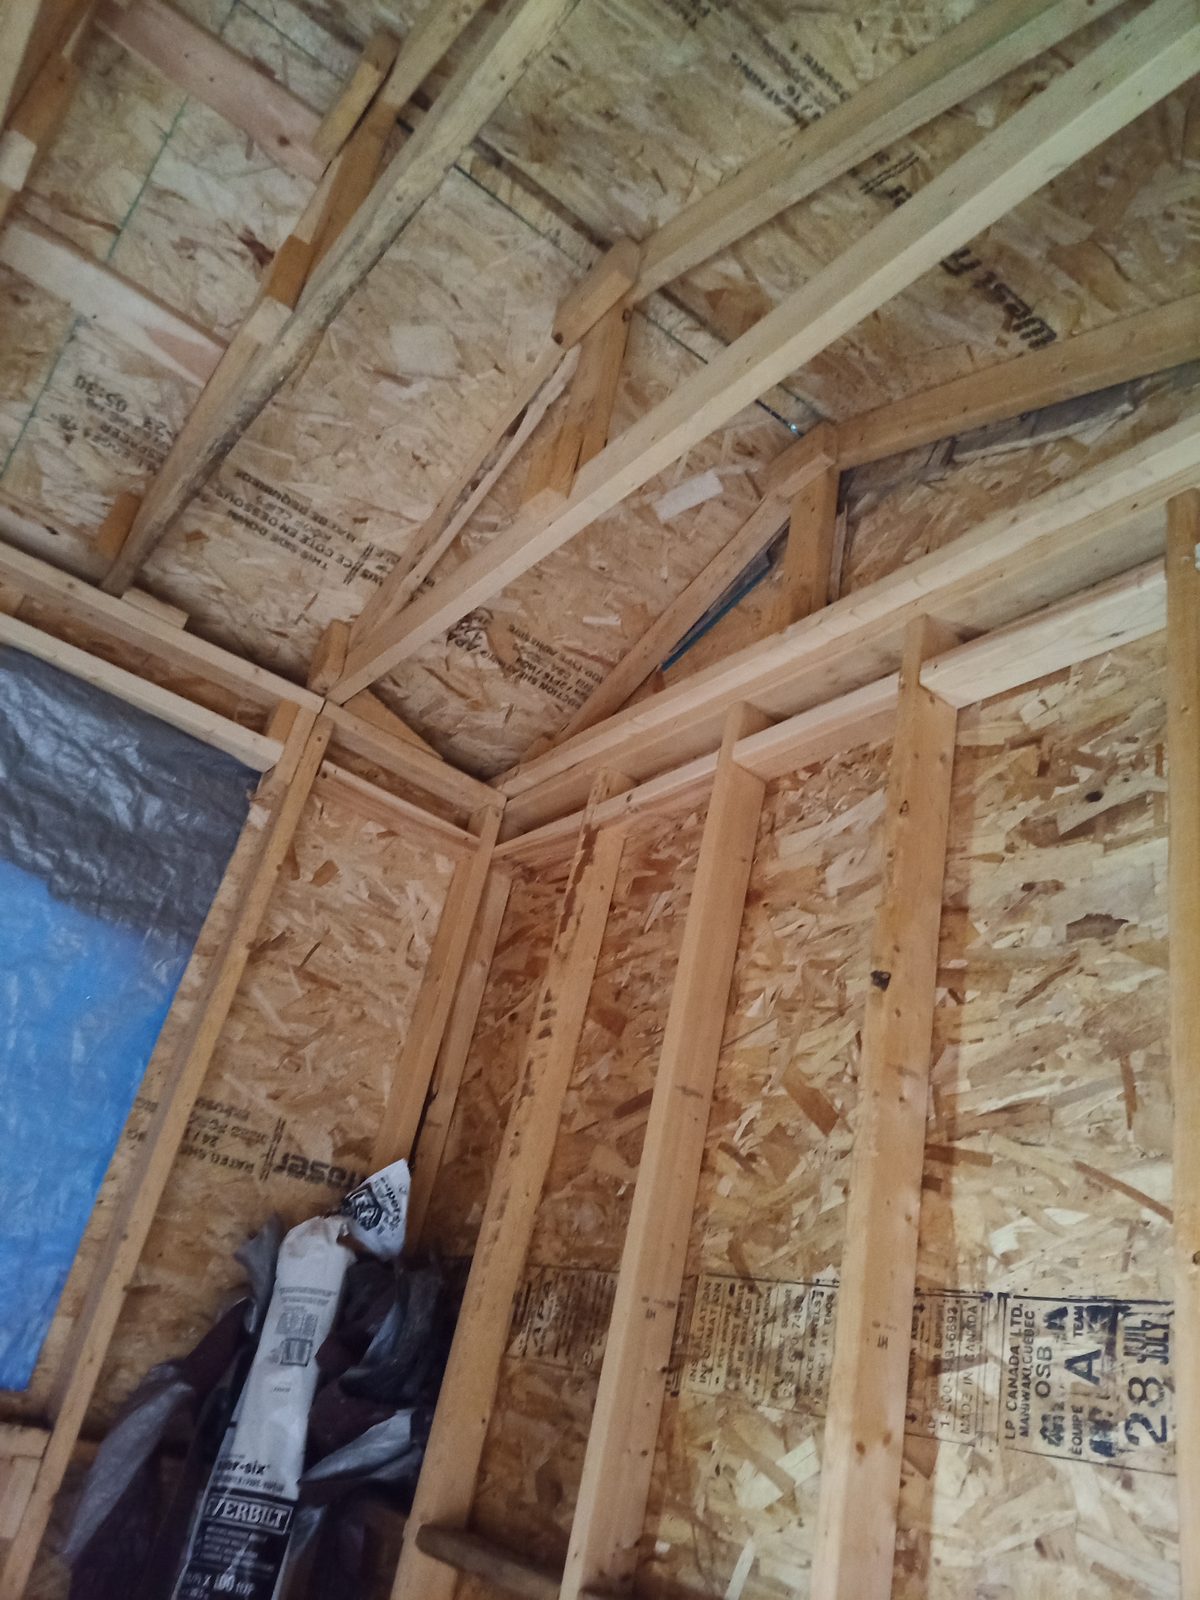
Studs are 16" on center. Note: Not perfect, because I had a helper. But this is a solid structure.
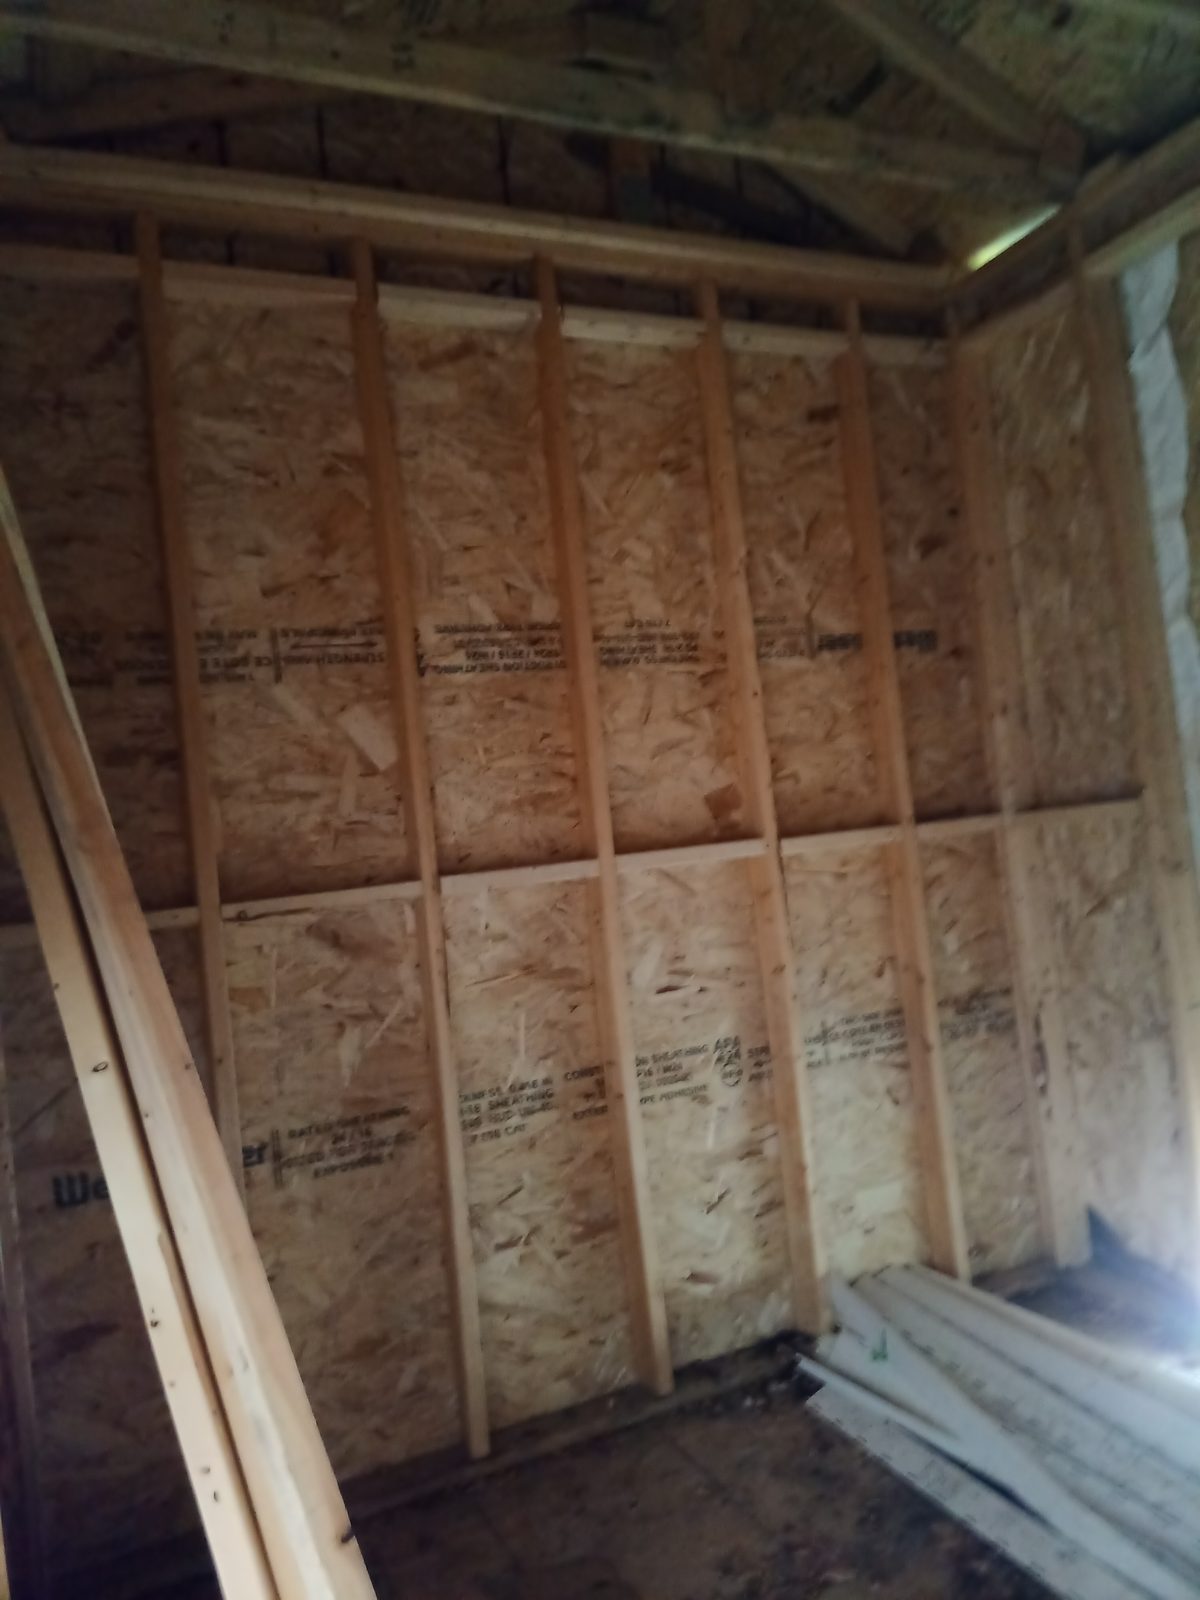
Replaced the stud in the doorway for smaller shell (owner gets to choose where door goes. Plus, if shells are being joined, it's not easy to predict where that will be). Note the casement header and crippler for this window opening. There is a window for this.
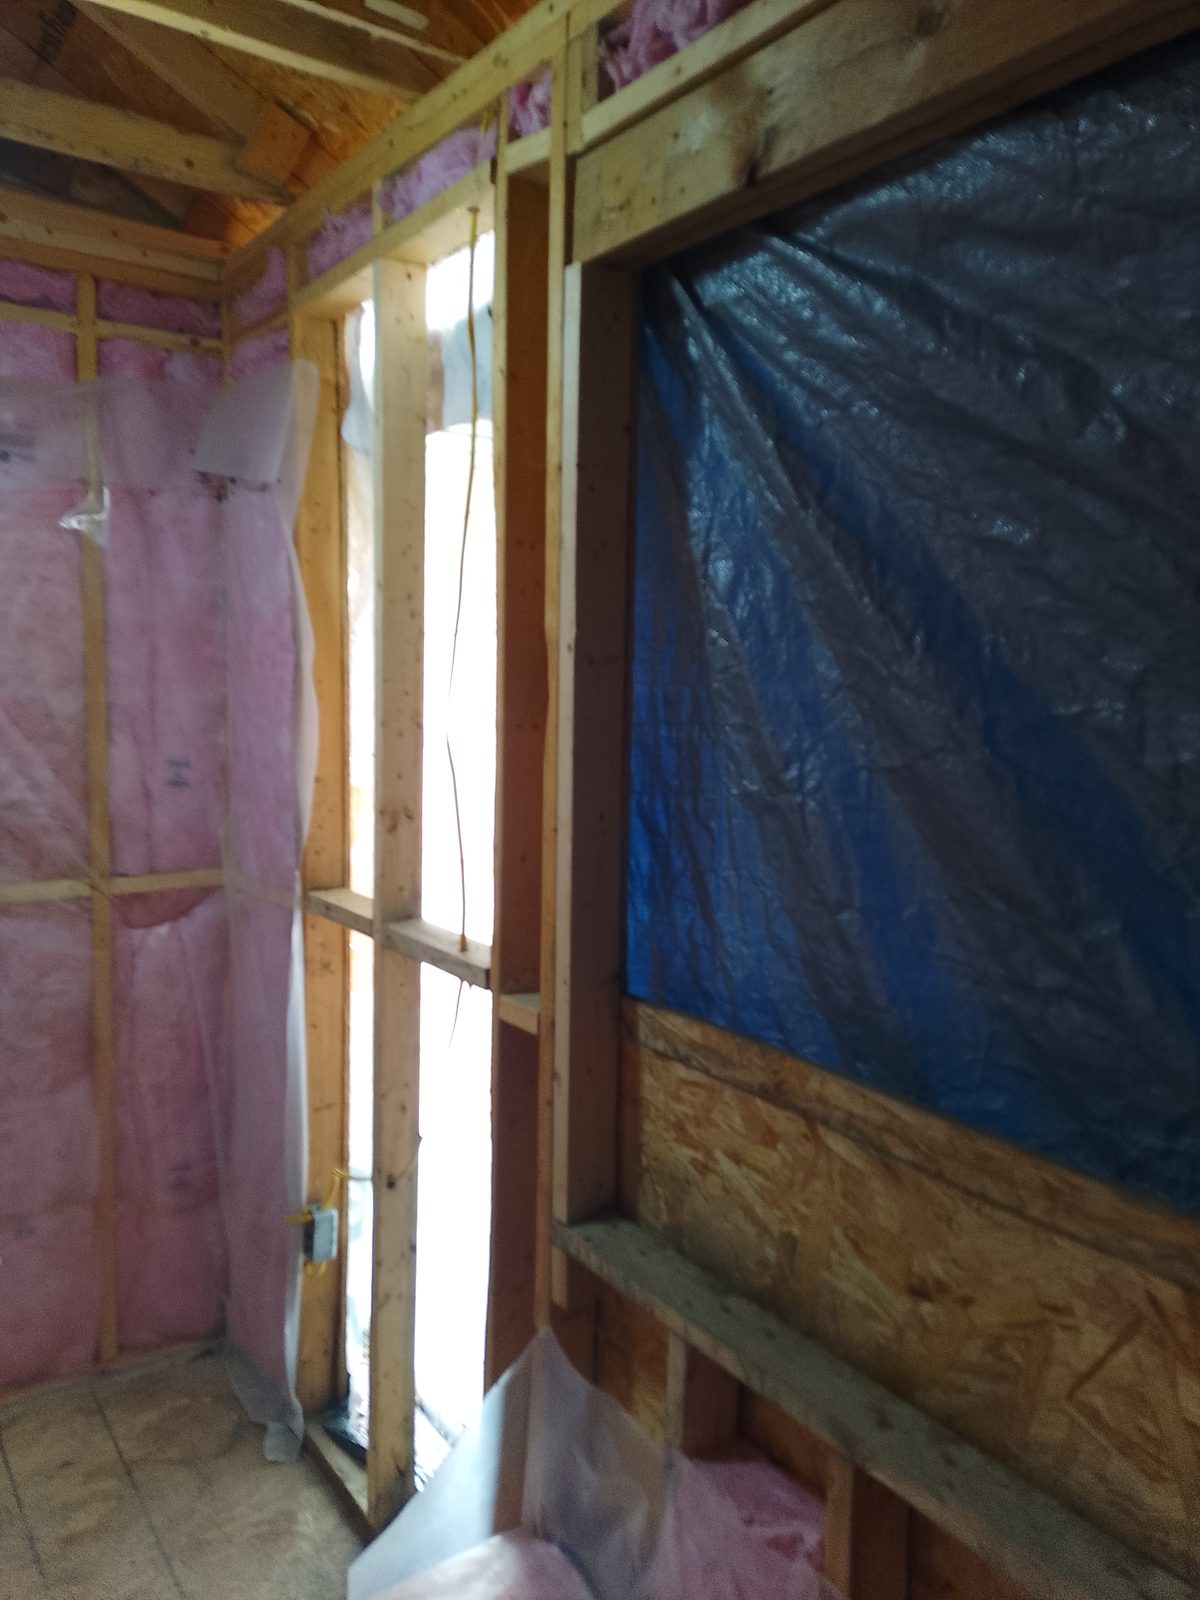
Vapour barrier is rolled down. It will reach ceiling when the time comes, there is plenty of vapour barrier and a piece already cut for the ceiling. Wiring is already strung through for ceiling light, 2 outlets and a switch. Interior size 11'2" x 7'8".
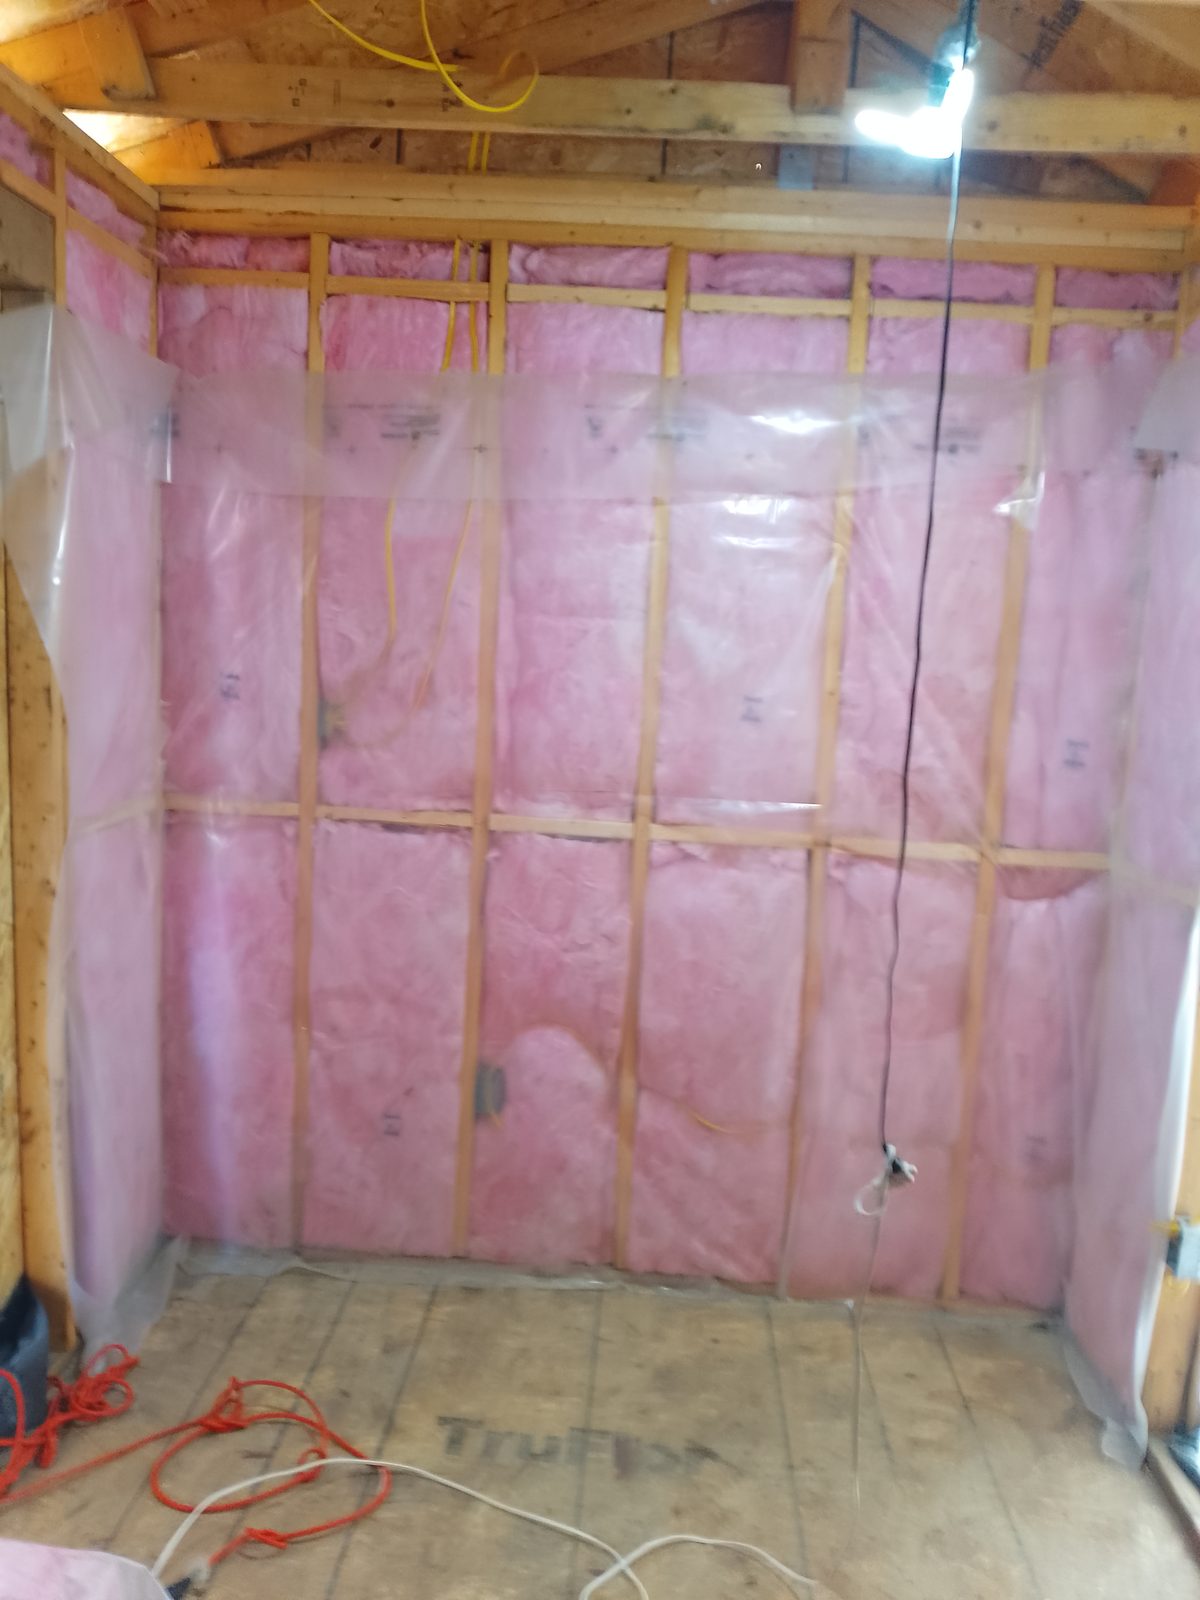
Doorway casing and large window casing for other side of smaller shelter. Yes there is a window for this opening. I did buy a door. It was part of a set of patio doors. The door is a deluxe patio door with double pane window and blinds in between the panes. It will take a bit of work to modifiy the frame for the door. But it is high end.
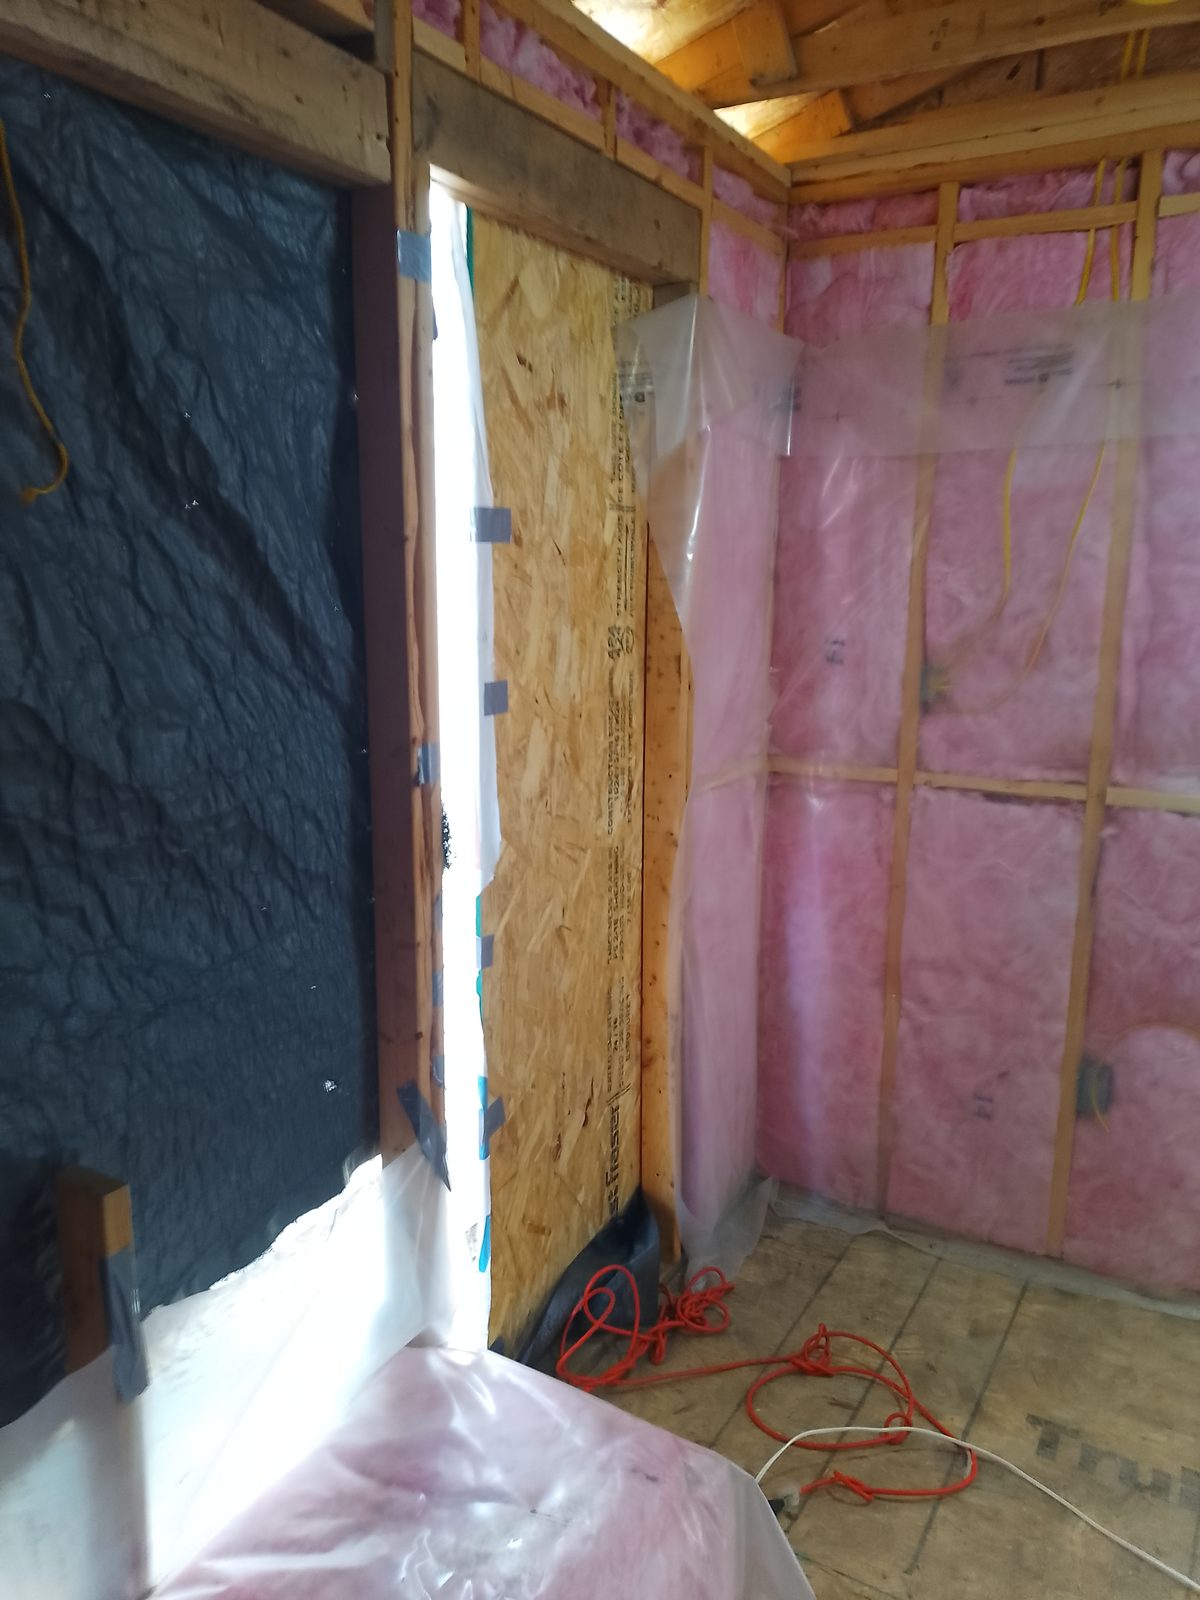
So, back of the small shell. Again, interior of this one room shell 11'2" x 7'8"
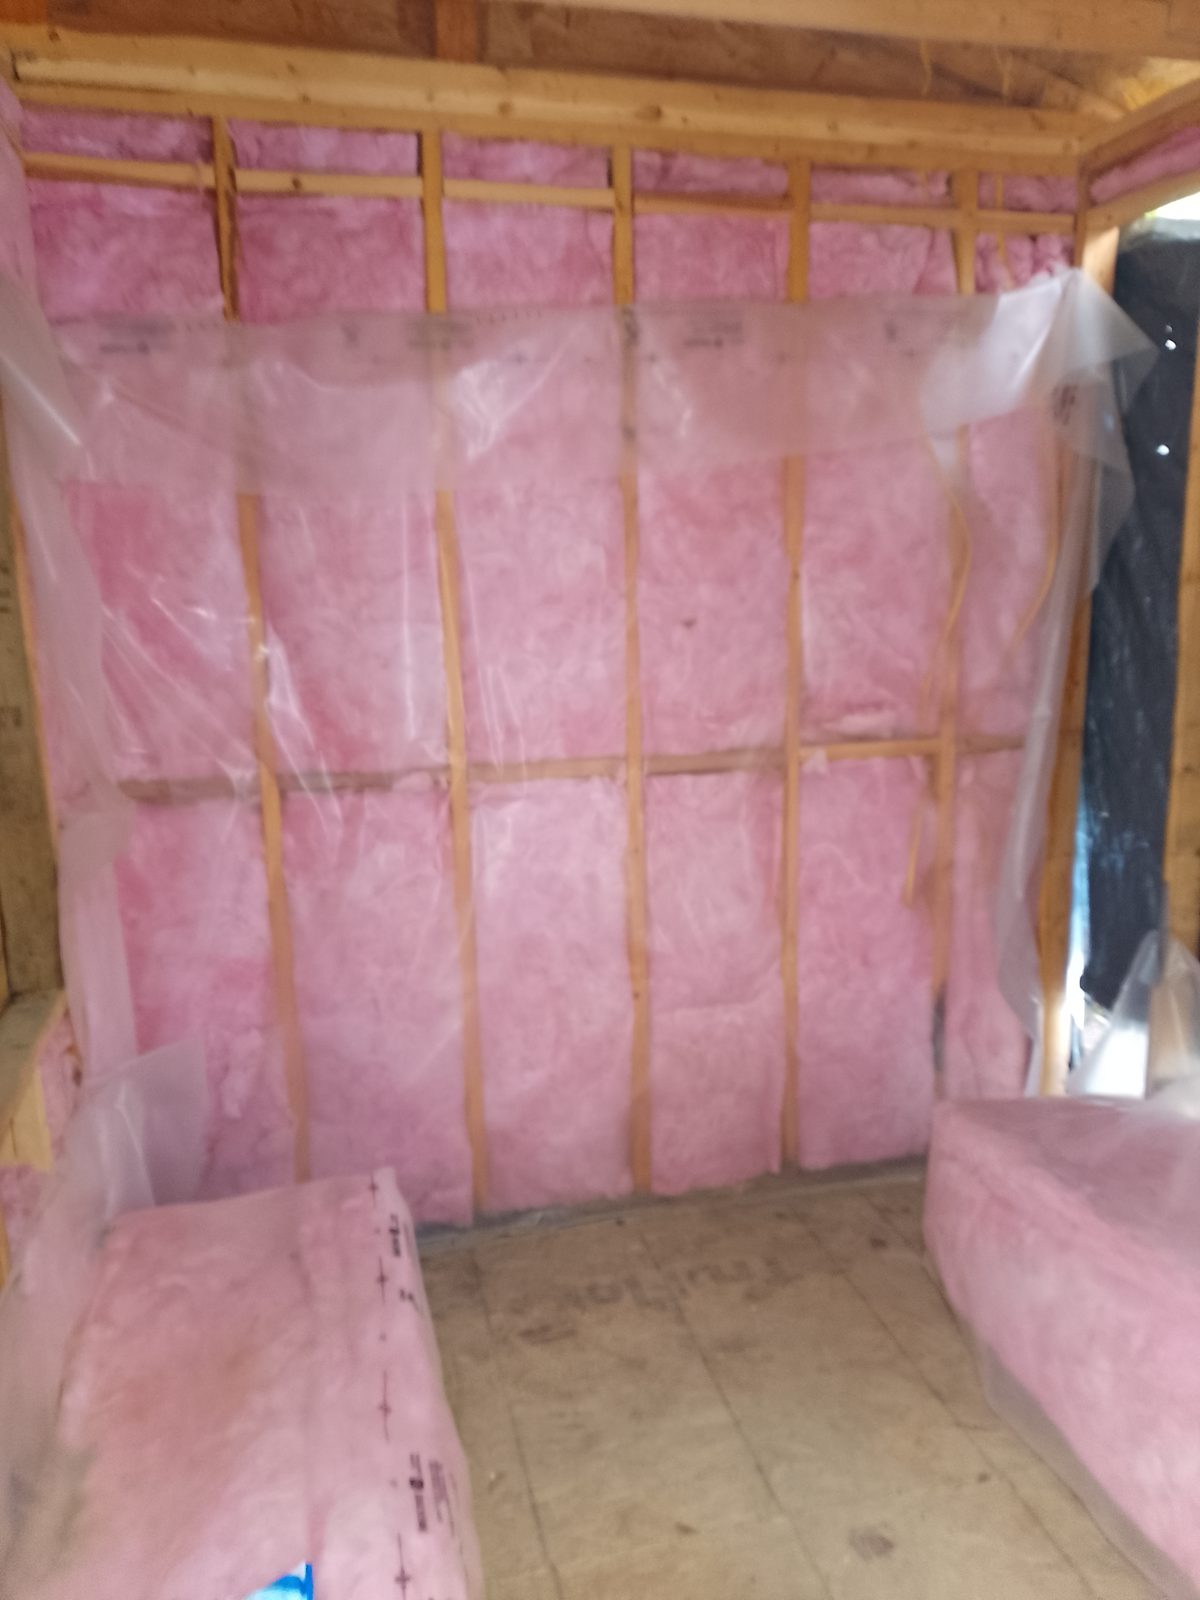
If i can use stronger wood from my used pile when it comes to load bearing, I do.
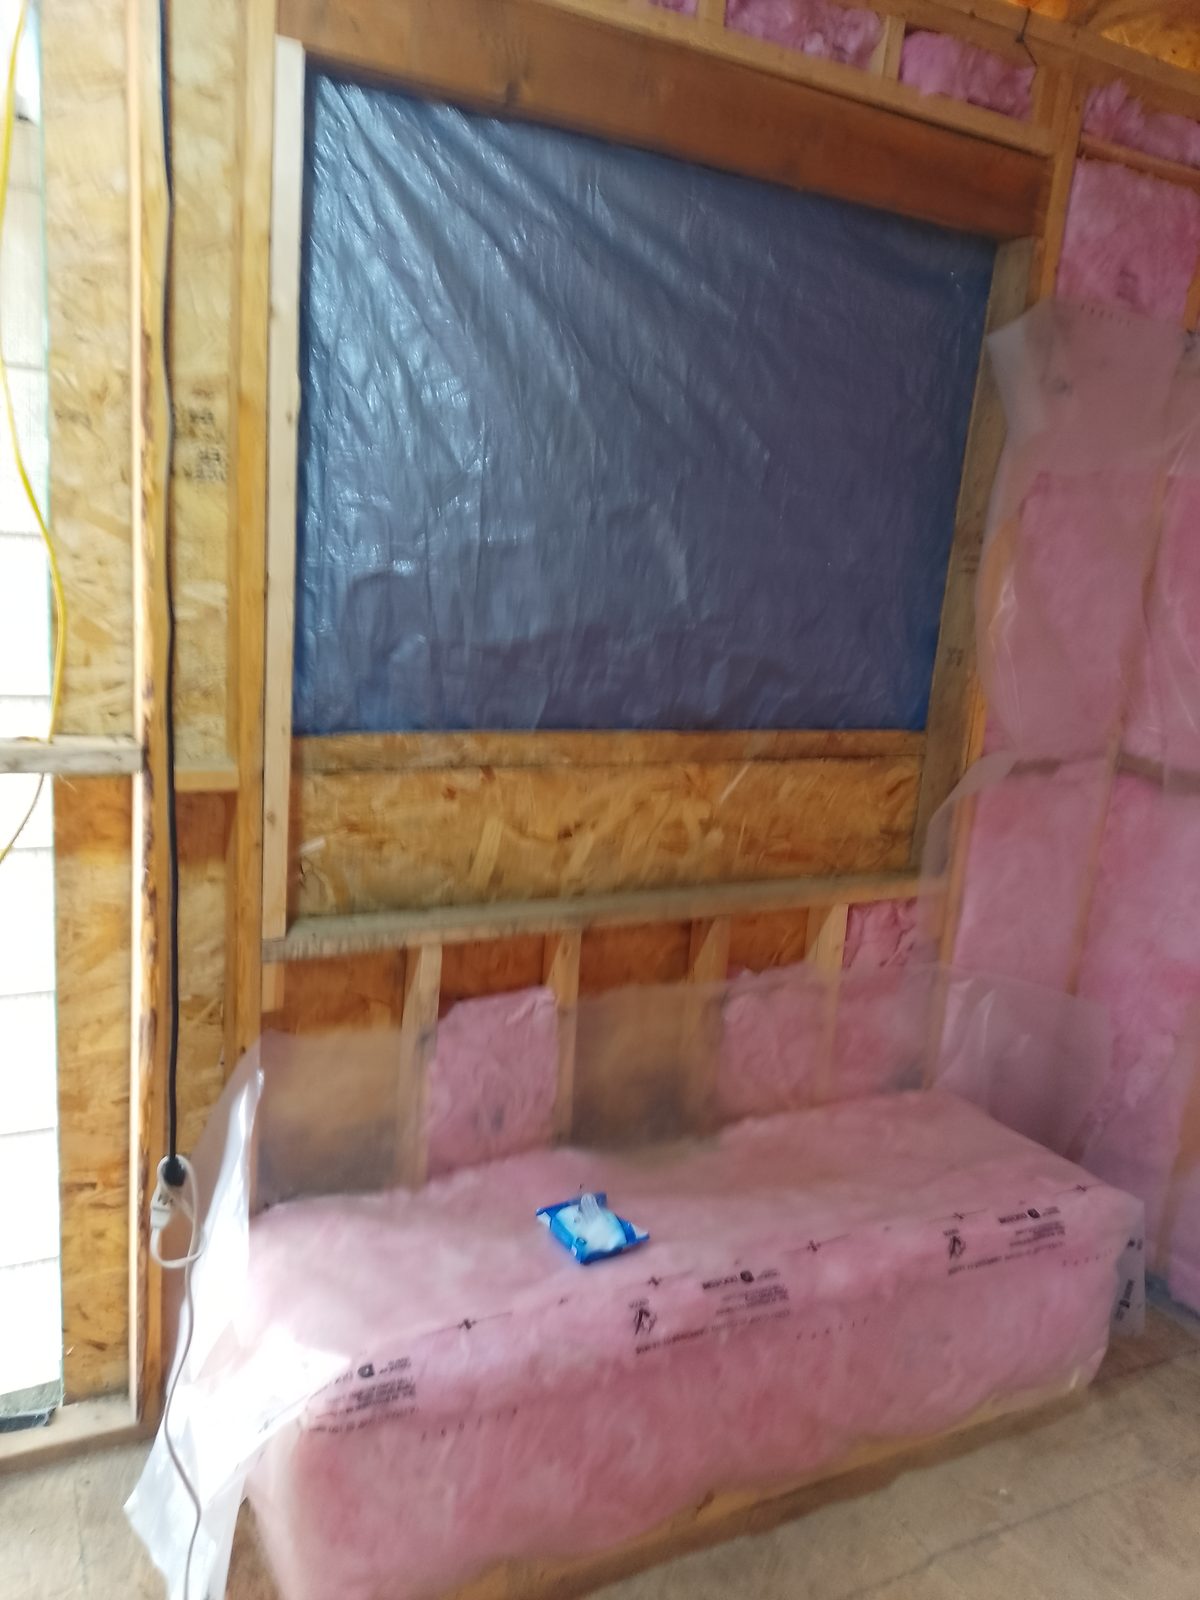
Front of smaller shell. Still have a piece of 2 of exterior 1/2" plywood that needs to be put on. This also depends on where the door will go.
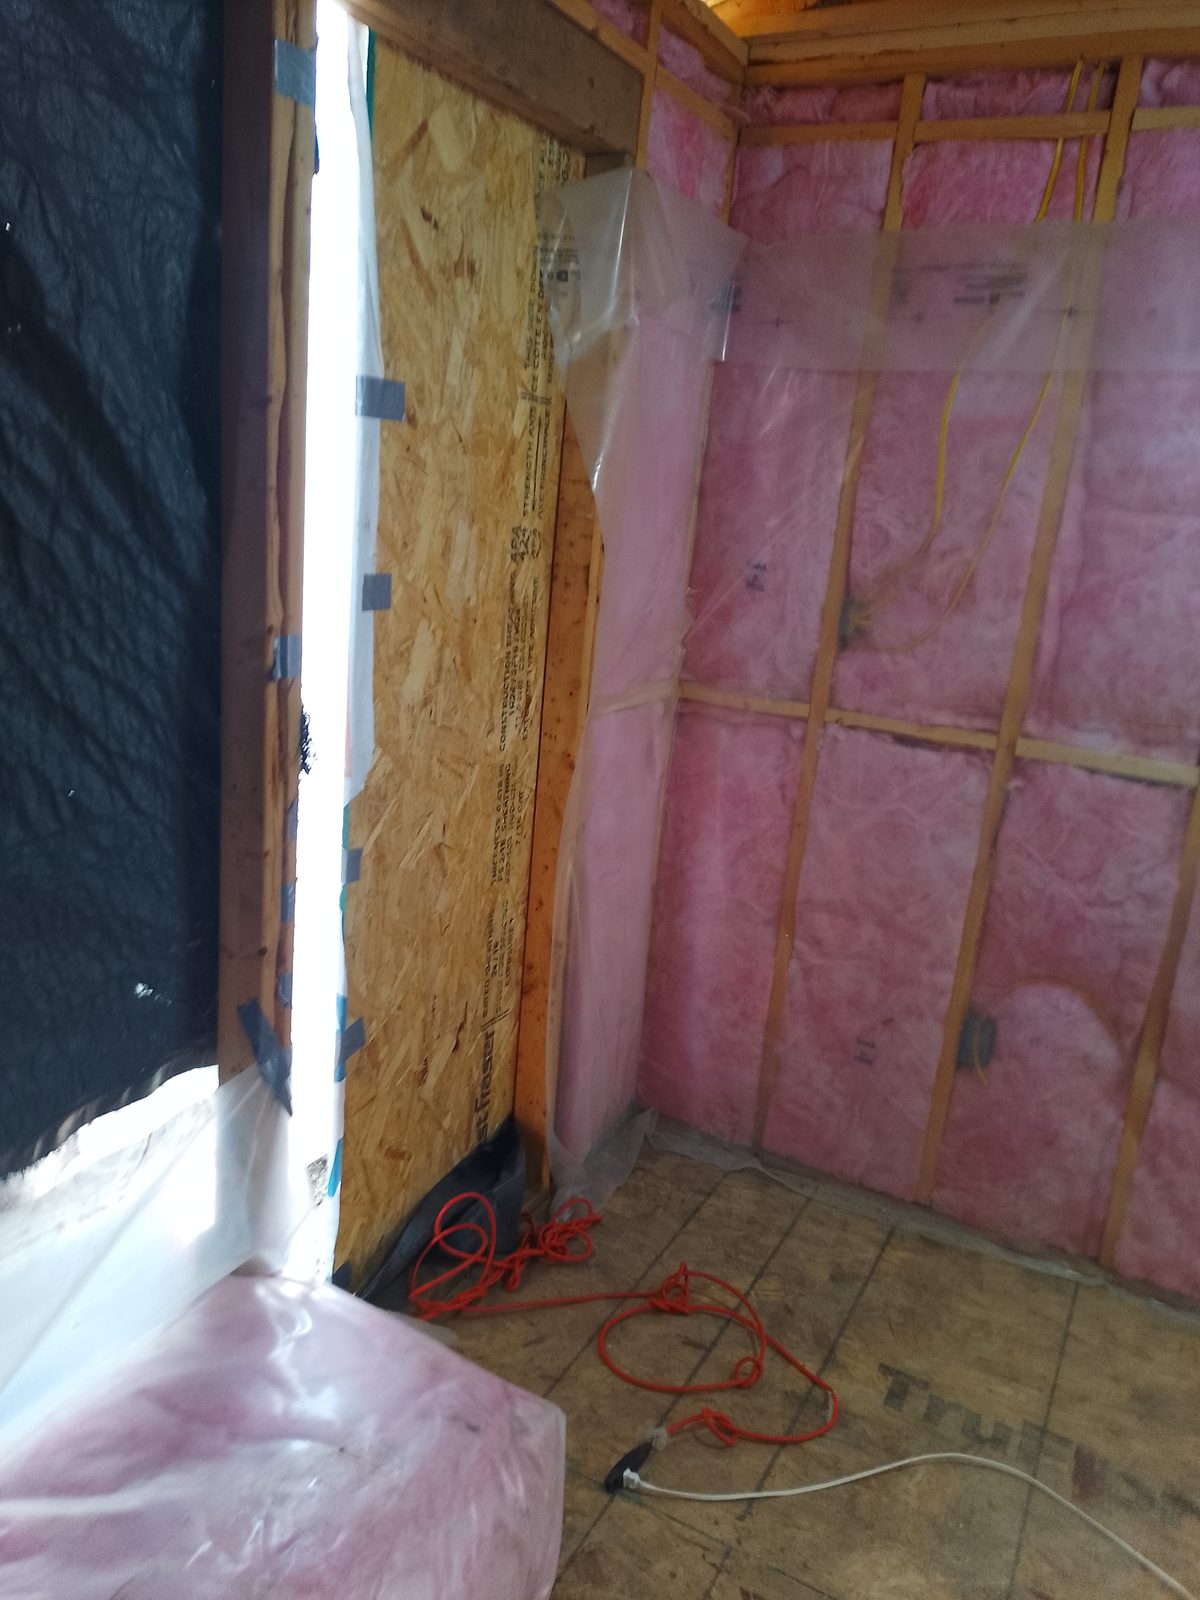
Trusses are about 16" on center. I was going to put a skylight in here. (crazy idea, which i changed my mind on) So I added in another truss after the fact.
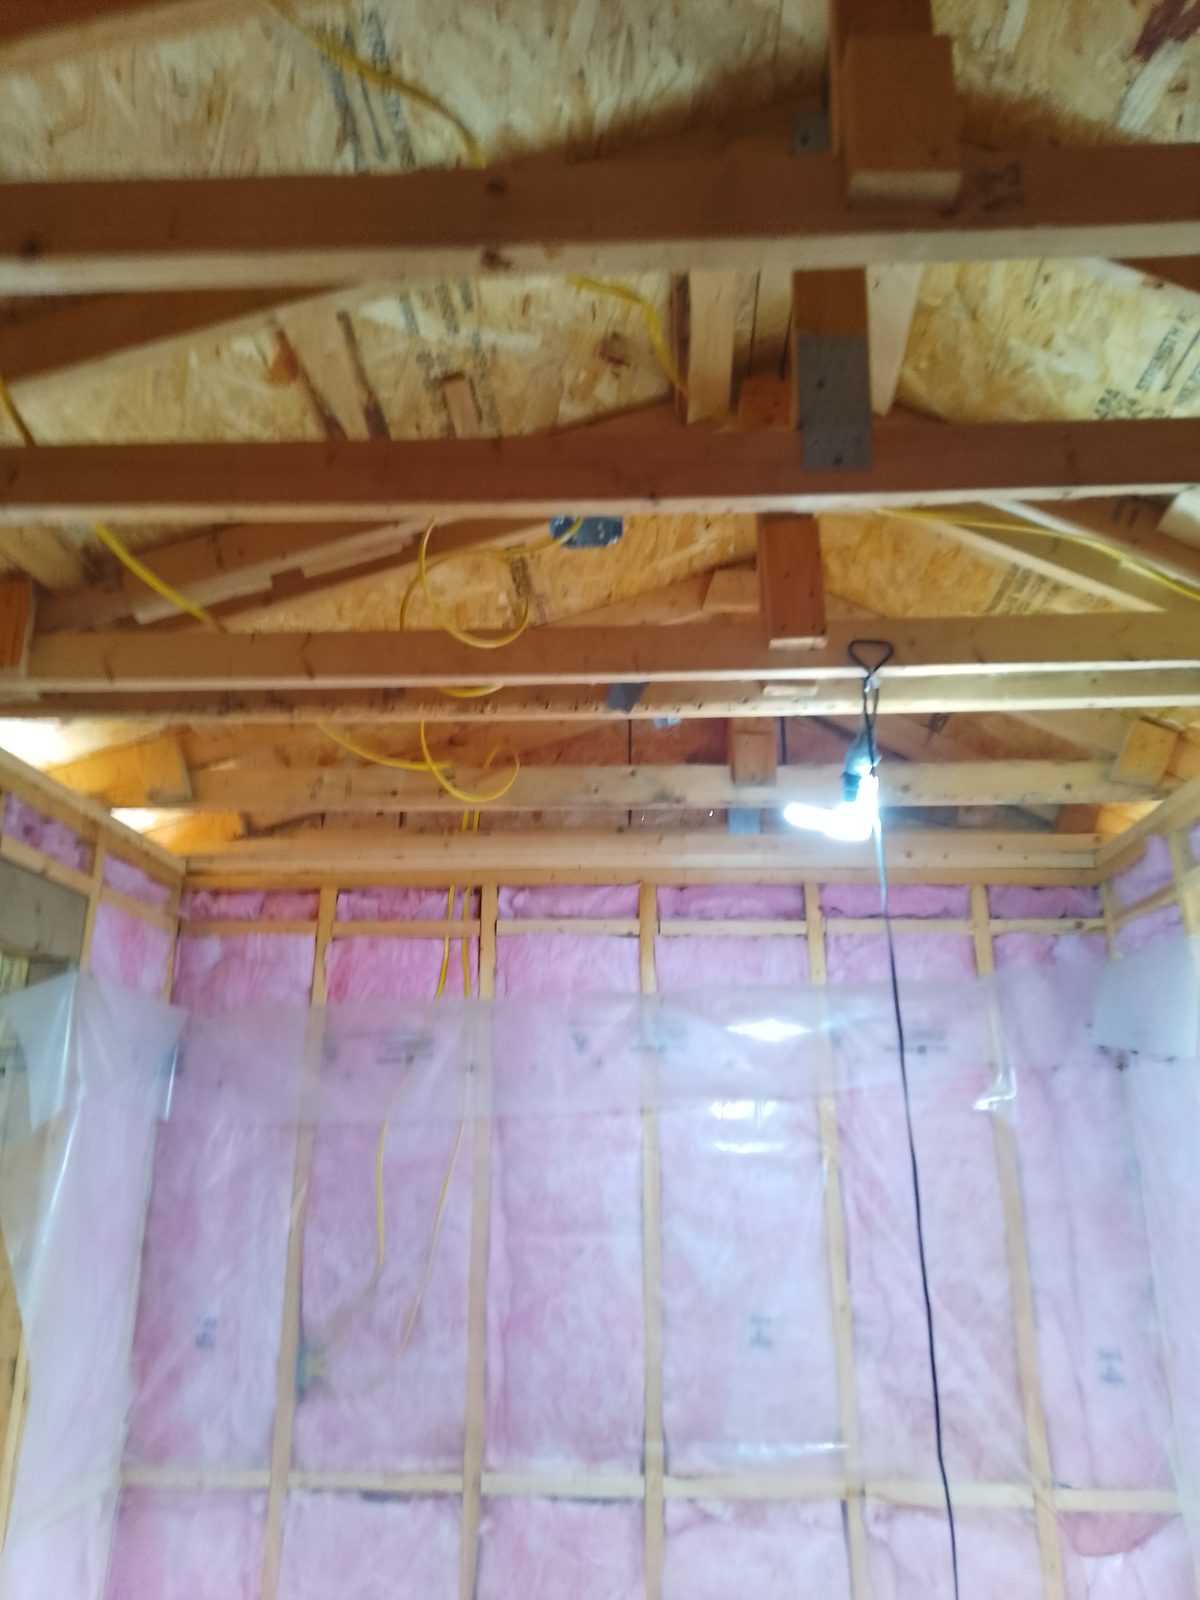
So there is just one wonky part for the trusses in the smaller shell.
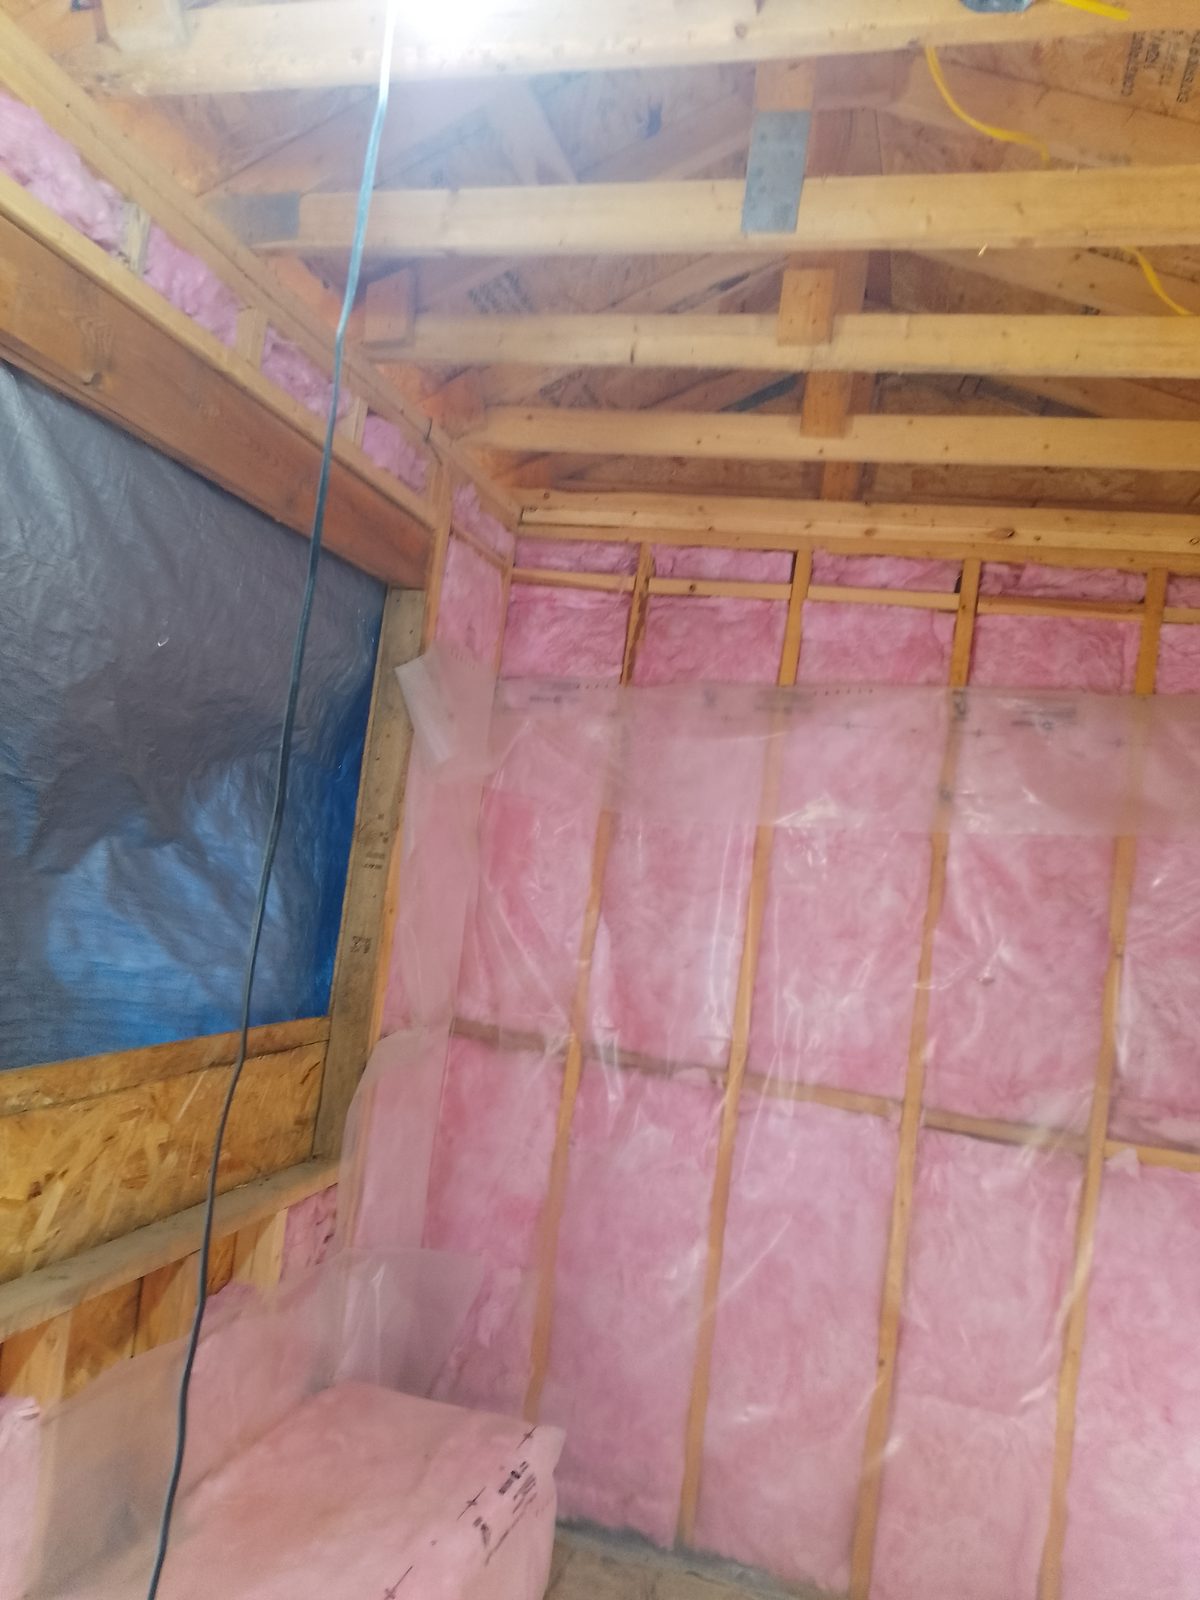
Light fixture (switch is located at front, left).
Light switch. There is an outlet further down.
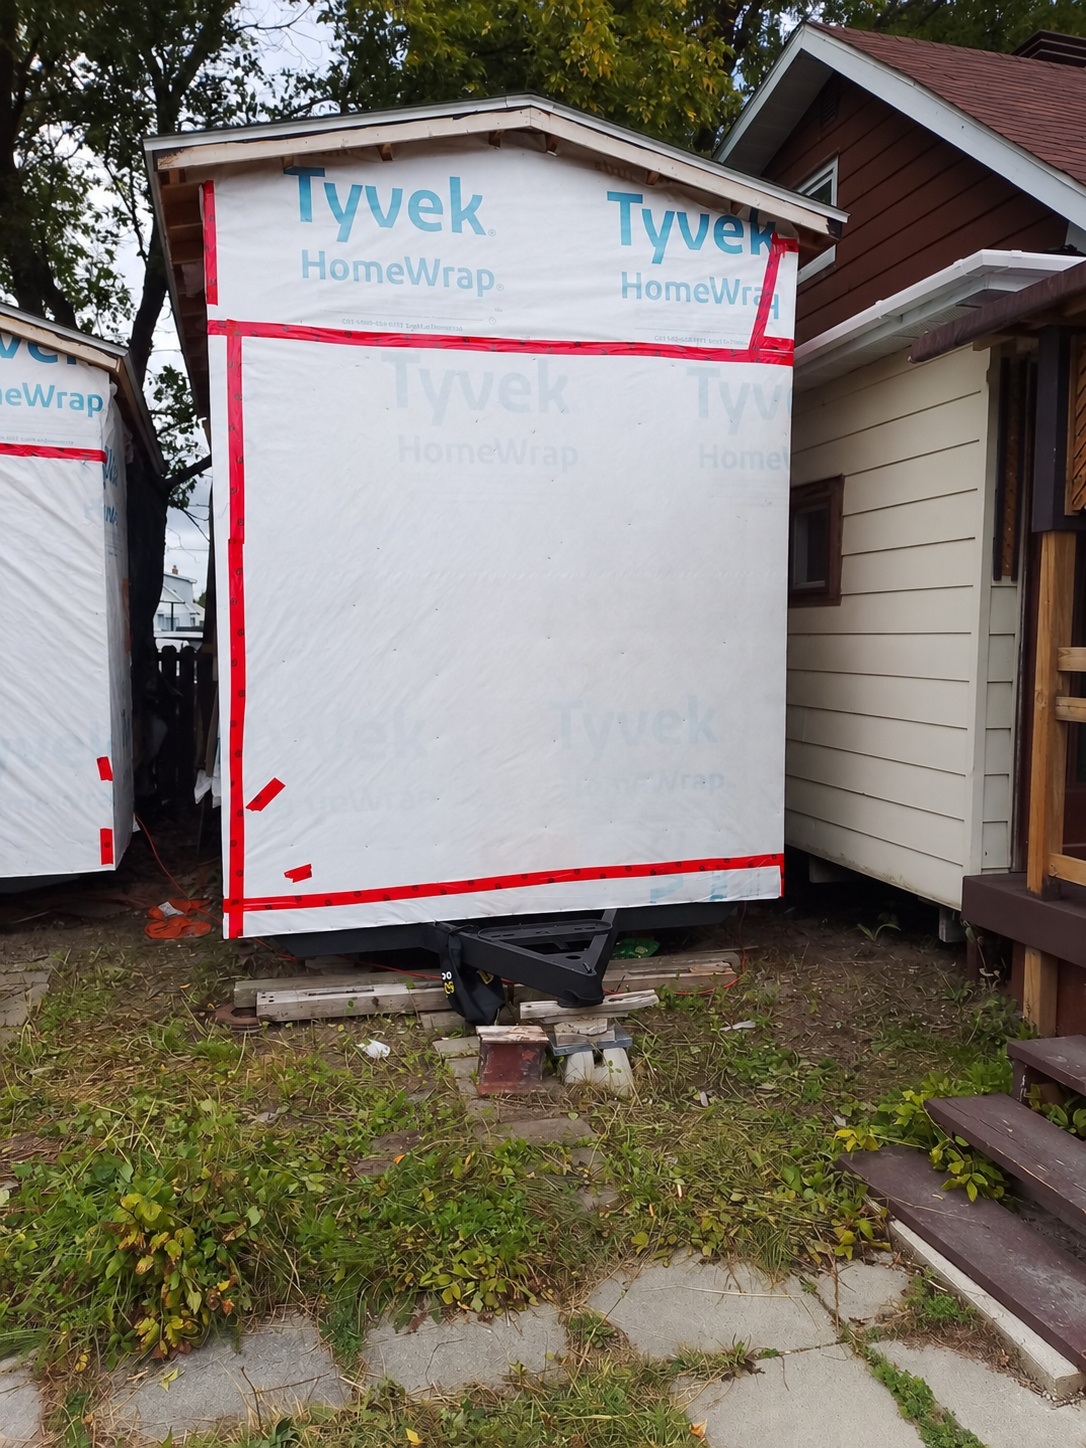
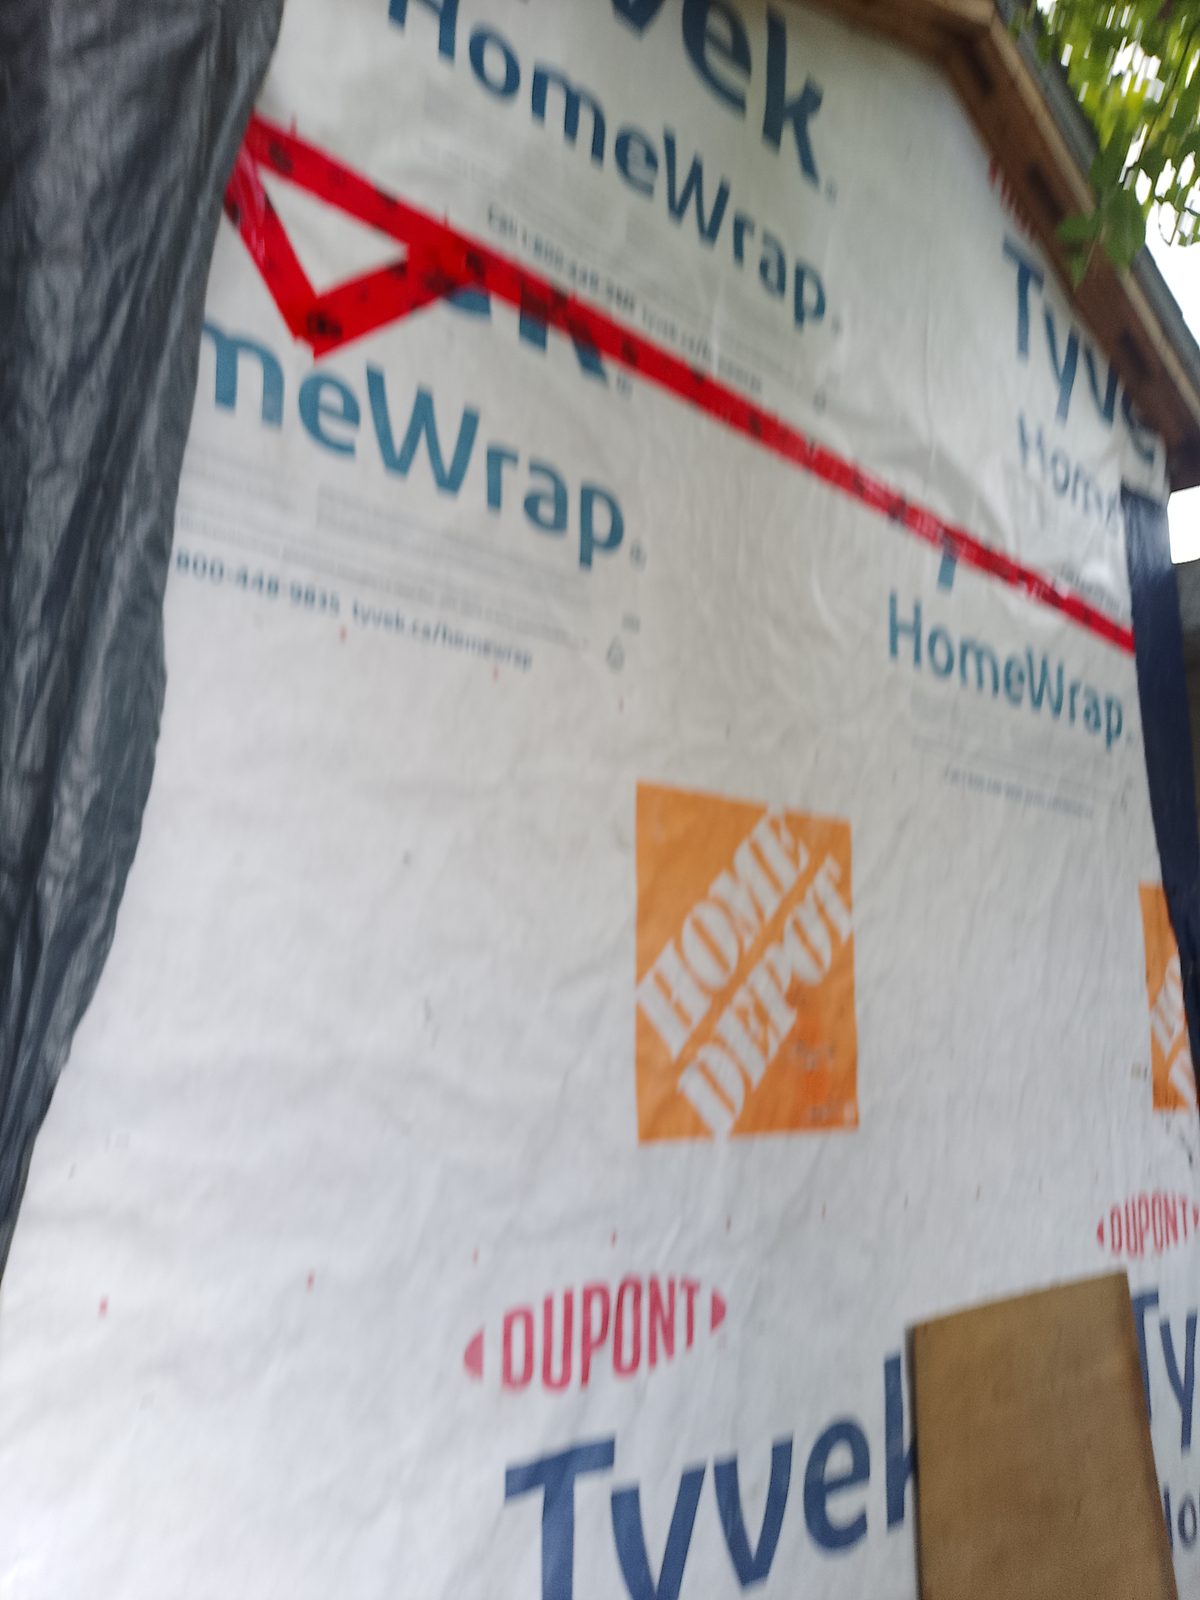
Taping up the Tyvek.
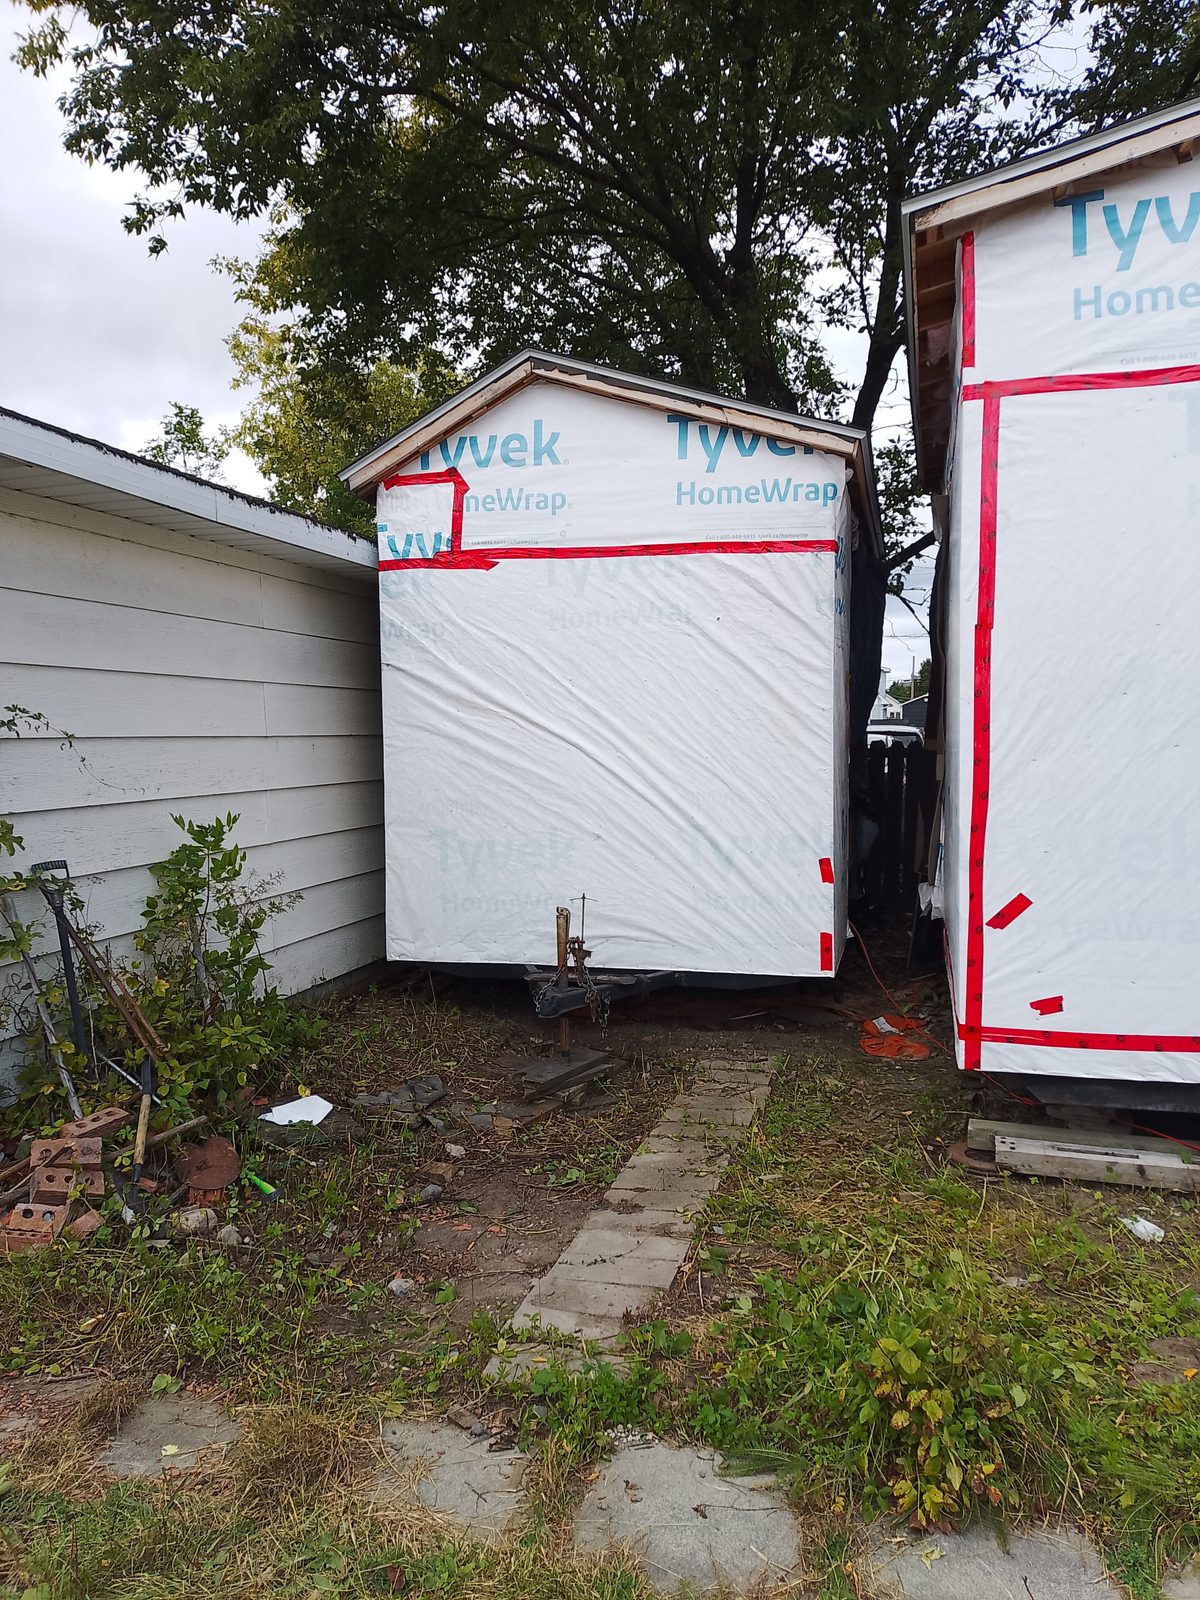
Taping up the Tyvek.
This insulation showing in the overhang will be protected once it is tucked away and that can be done when the overhang vents are installed. Yes i already bought sufficient venting and trim. It will need to be trimmed to size.
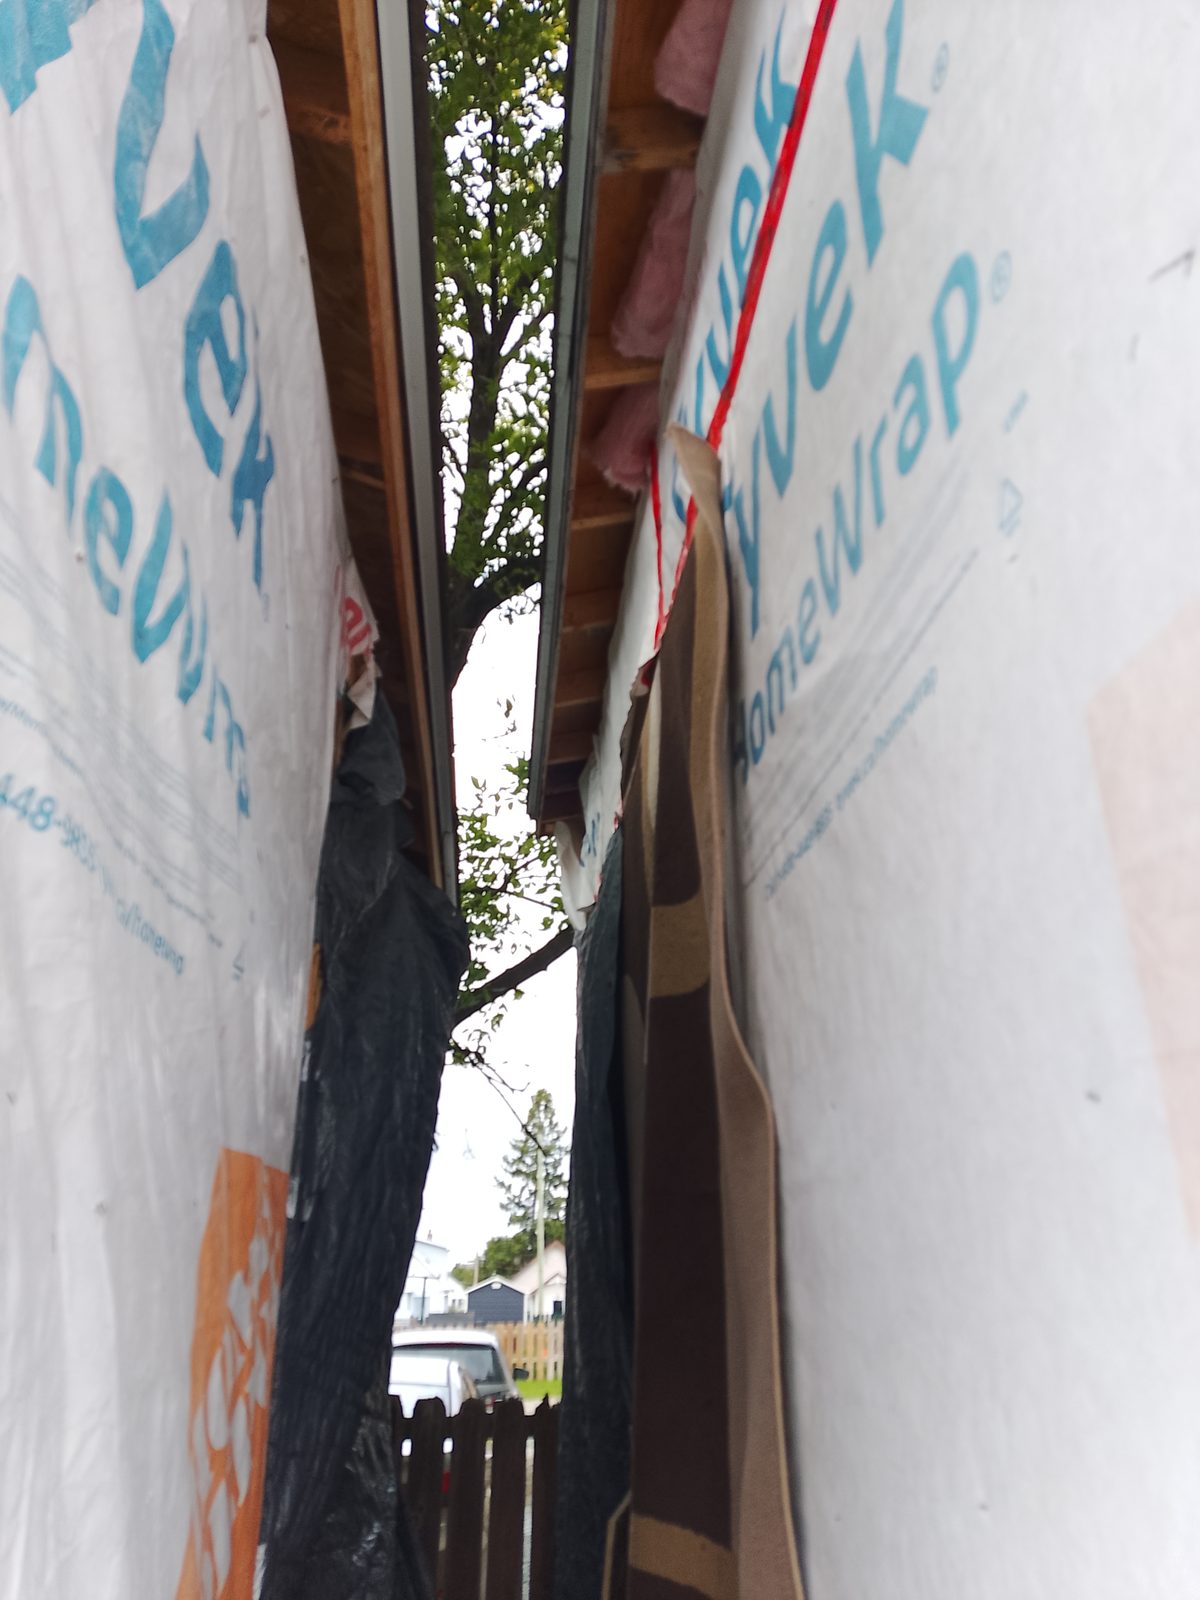
So minimal overhang. The main reason is this adds to load width for transport. At one end the air can flow over the blown insulation, as well as in the smaller shell (i have six bags, more than enough). Where the vaulted ceiling is, there is just enough room for air to move over, but i do recommend a small vent below the peak.
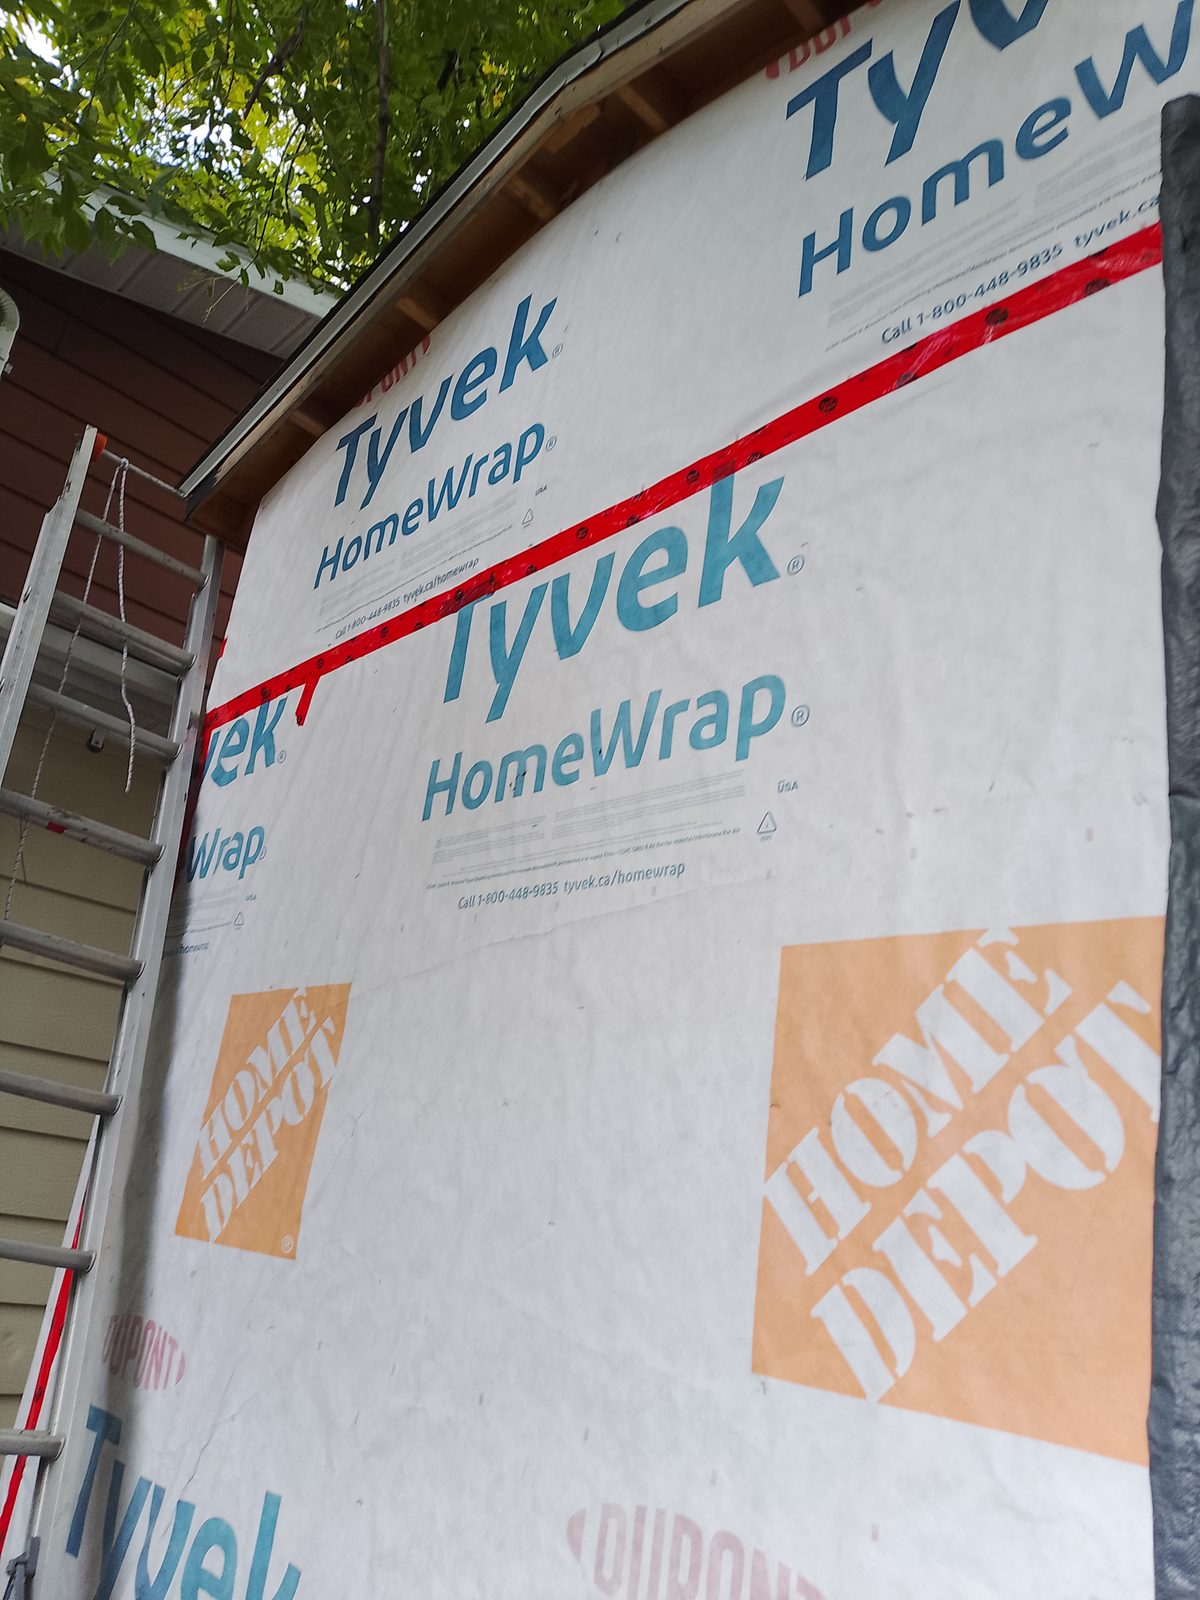
The only locations where there is no Tyvek is where there is a working entrance or extra large window.
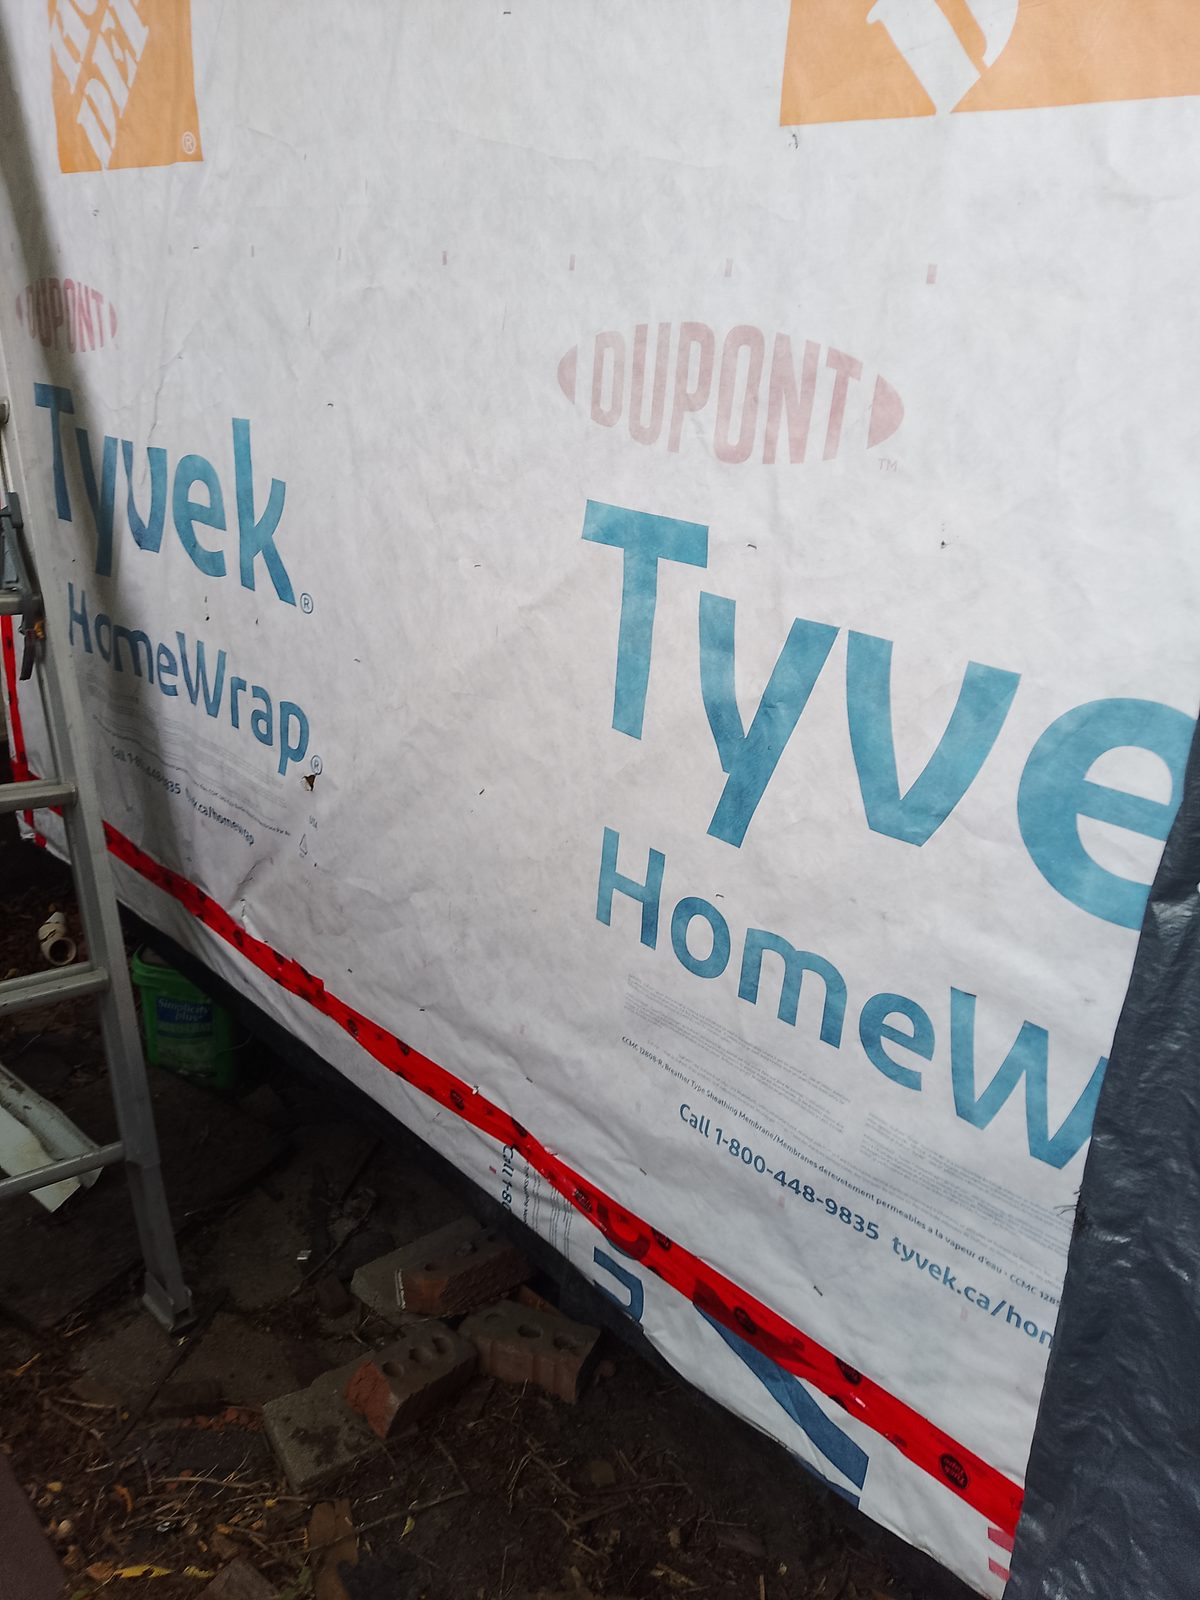
Tyvek on back of smaller shell. I still have some 9 foot Tyvek and 3 foot. There should be enough for full coverage. I also have LOTS of roof underlayment if you want to double up.
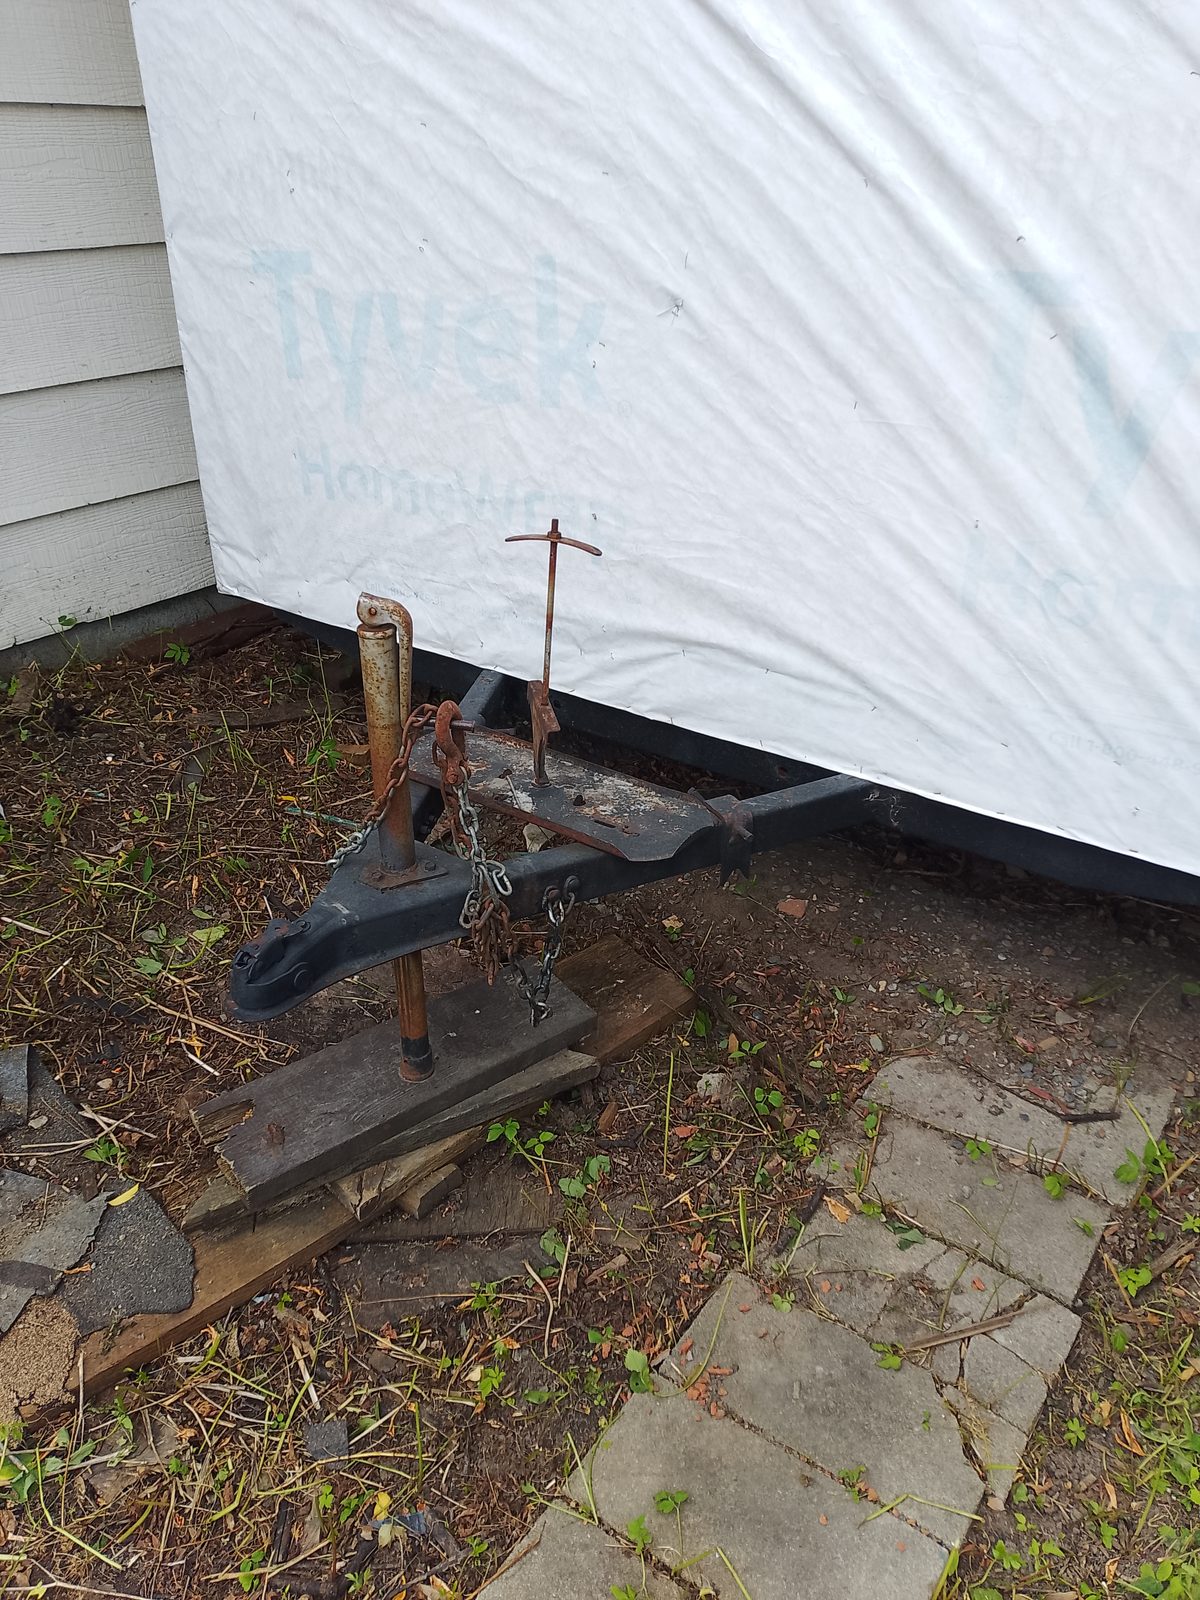
I have lots of extra black anti rust paint.
Photos to come:
50 foot roll of copper propane piping. (some flared fittings)
5 Windows
1 patio door
2 x planed 10" width 3" this 5 foot long planking for possible stairs to loft
18 x 24" full planed 2x4x for counter top
1 solid desktop for possible conter top
8 sheets of vinyl venting. Enough to do both shells
8 strips of vent securing. Enough to do both shells
8 10' x 4" white aluminum fascia covers.
Well pump with bladder tank
2 solar panels, 2 110v inverters
1 pair of trailer rear lights